
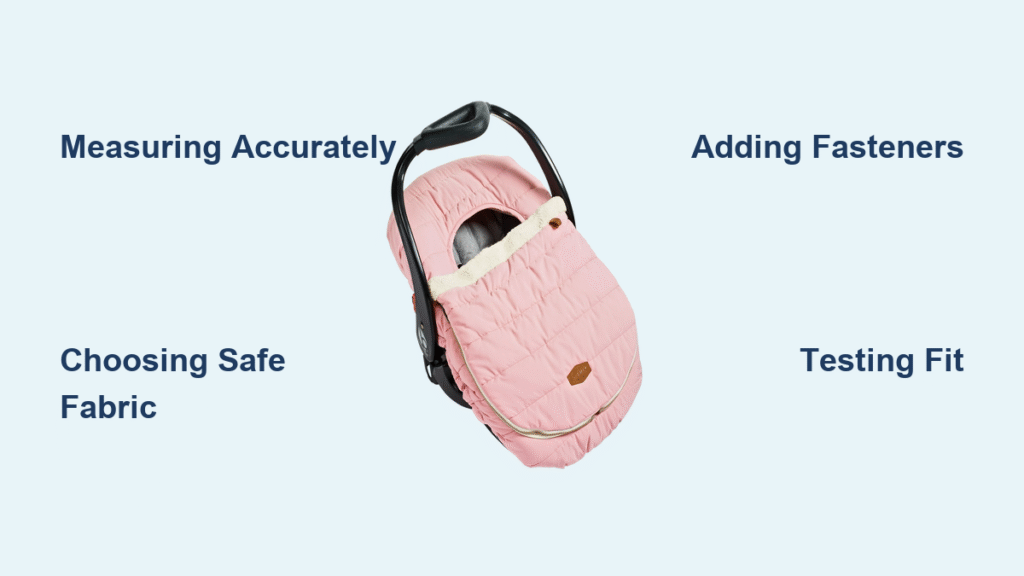
Dealing with spills, crumbs, and everyday wear on your infant car seat can be a parent’s nightmare—especially when those built-in covers start looking faded or stained after just a few months. If you’re tired of shelling out for expensive replacements that don’t quite fit your style or budget, making your own infant car seat slip covers is a game-changer. This DIY project lets you create custom, washable covers that snap on and off easily, protecting your car seat while adding a personal touch like fun patterns or soft fabrics for your little one’s comfort.
In this comprehensive guide, we’ll walk you through everything from selecting materials to sewing the final product, so you can craft slip covers that fit perfectly and last. Whether you’re a beginner sewer or have some experience, you’ll find step-by-step instructions, safety tips, and troubleshooting advice. By the end, you’ll have the confidence to make infant car seat slip covers that not only solve your immediate needs but also save you money long-term—let’s get started!
What You’ll Need to Make Infant Car Seat Slip Covers
Before diving into the sewing, gather your supplies. The key is choosing durable, baby-safe materials that are easy to clean and won’t compromise the car seat’s safety harness. Focus on breathable fabrics like cotton or polyester blends, and opt for machine-washable options to handle inevitable messes.
Here’s a breakdown of essential materials and tools. Quantities are based on a standard infant car seat (like those from Graco or Chicco models, measuring about 18-24 inches wide and 20-28 inches long—adjust as needed for your specific seat).
| Item | Quantity | Specifications |
|---|---|---|
| Fabric (main body) | 2-3 yards | Medium-weight cotton or canvas; choose flame-retardant if possible (e.g., 100% cotton certified by ASTM standards for baby products). Waterproof lining like PUL (polyurethane laminate) for added spill protection. |
| Accent fabric (for straps/edges) | 0.5-1 yard | Contrasting cotton or fleece for comfort; soft against baby’s skin. |
| Thread | 1-2 spools | Heavy-duty polyester matching your fabric color; UV-resistant for longevity. |
| Fasteners | As needed | Hook-and-loop (Velcro) strips (1-2 yards total) or zippers (12-18 inches) for easy on/off; sew-in snaps (10-20 pieces) for secure fit. |
| Interfacing | 1 yard | Fusible medium-weight to reinforce straps and edges; prevents sagging. |
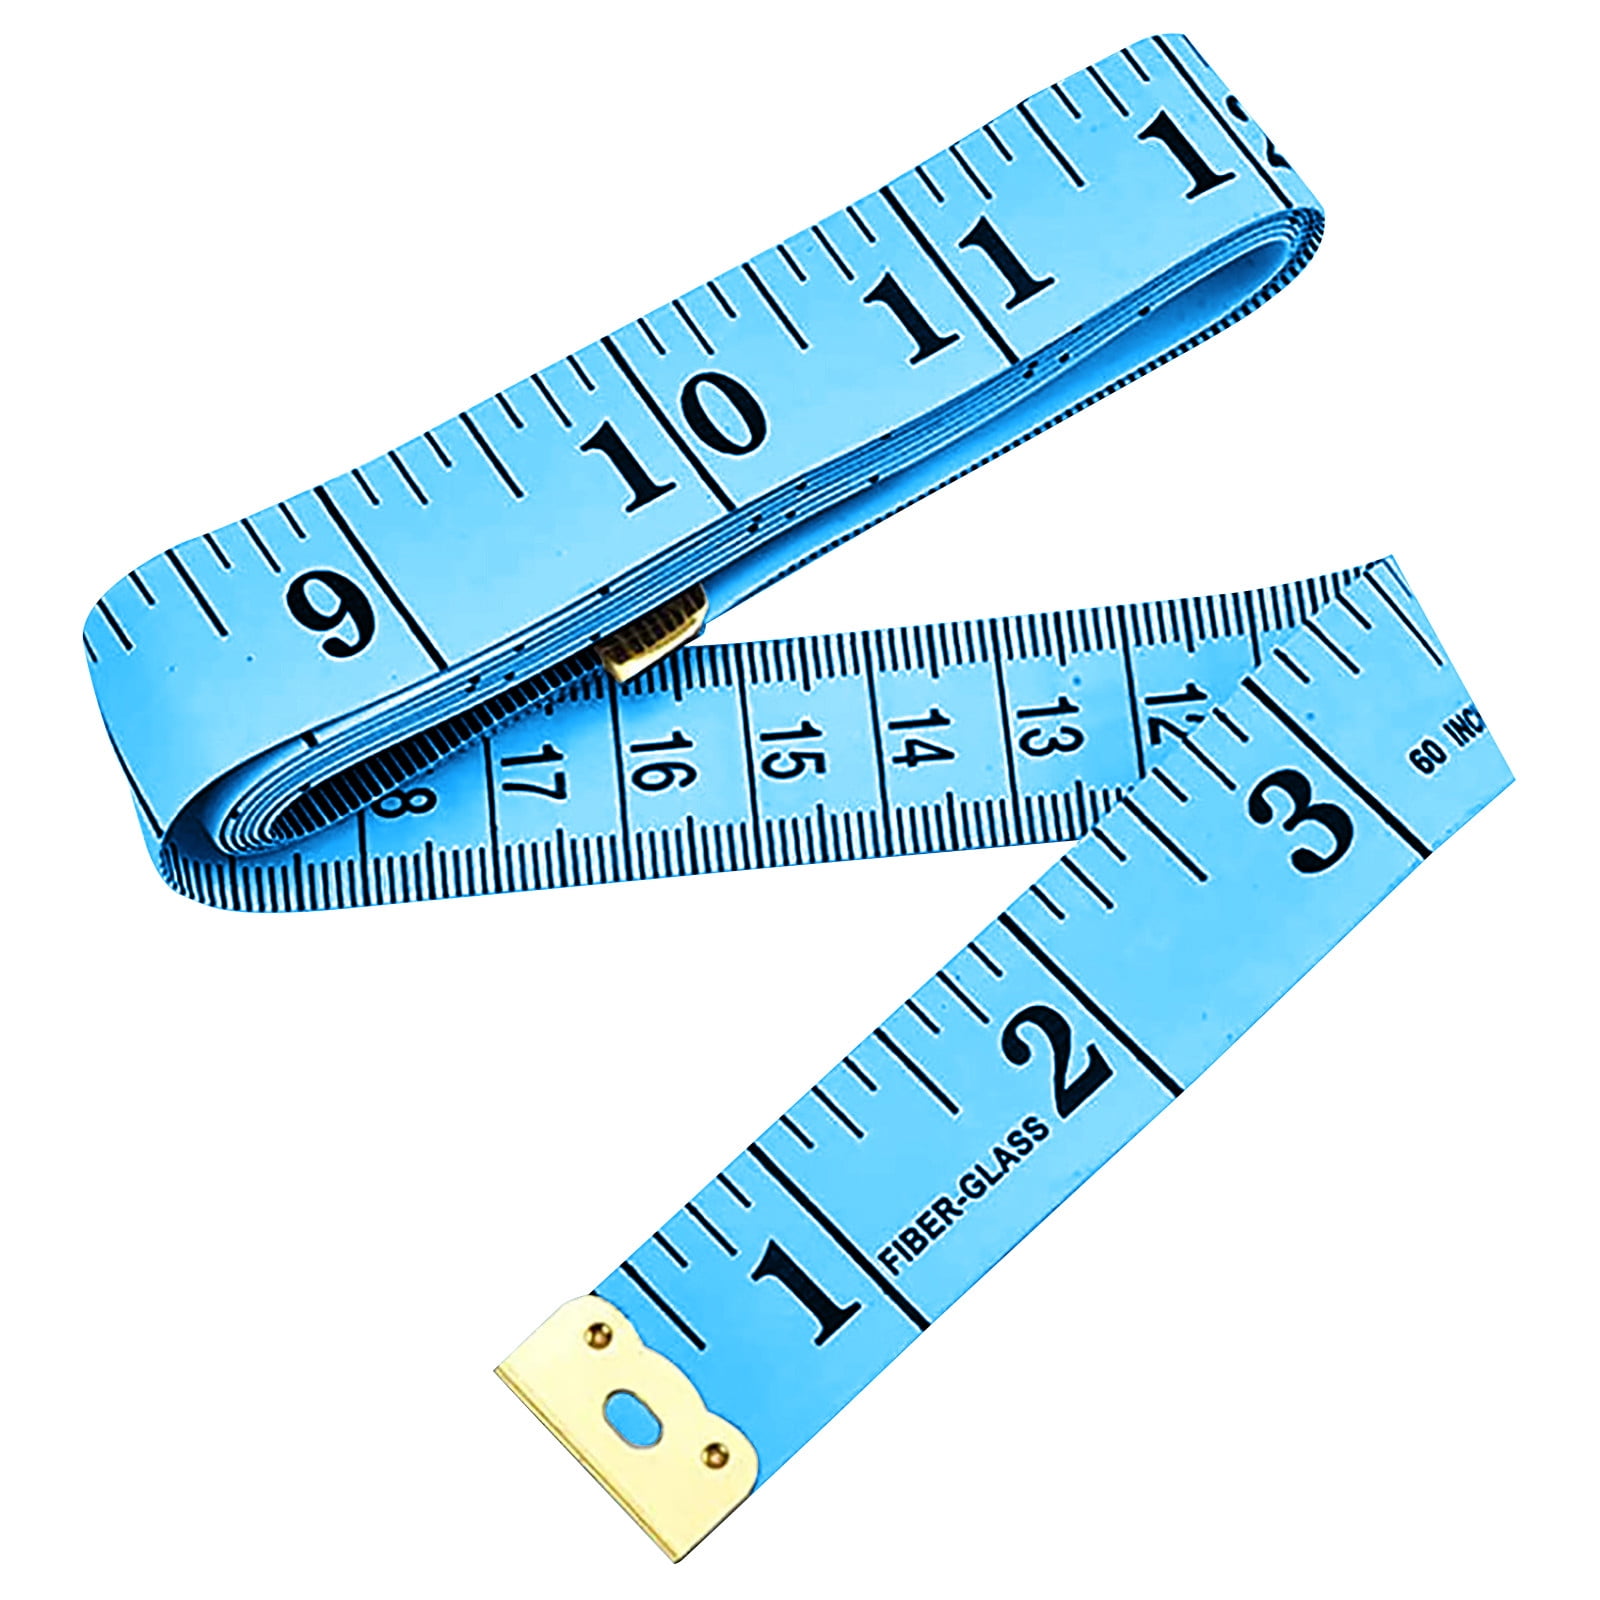
| Measuring tape | 1 | Flexible fabric tape measure for accurate car seat dimensions. |
| Sewing machine or needle/thread | 1 | Basic machine with zigzag stitch capability; hand-sewing alternative for beginners. |
| Scissors or rotary cutter | 1 set | Sharp fabric scissors; self-healing mat for rotary cutting. |
| Pins or clips | 1 pack (50+) | Straight pins or wonder clips to hold layers without poking baby later. |
| Marking chalk or pen | 1 | Fabric-safe, washable marker for patterns. |
| Pattern paper or newspaper | 2-3 sheets | For creating a custom template; butcher paper works too. |
Pro Tip: Shop at fabric stores like Joann or online at Fabric.com for baby-safe, eco-friendly options. Total cost? Around $20-50, depending on fabric choices—far less than store-bought covers at $30-80 each.
Important: Always verify your car seat model’s safety guidelines (check the manufacturer’s manual) before adding any covers. Slip covers should not obstruct harness straps, buckles, or airbags, and they must be removable for cleaning.
Preparing to Sew Your Infant Car Seat Slip Covers
Sewing custom infant car seat slip covers starts with careful preparation to ensure a snug fit and safe design. Rushing this step can lead to ill-fitting covers that shift during use, so take your time—about 30-45 minutes here will save headaches later.
Safety Considerations First
Safety is non-negotiable when crafting anything for your baby. Avoid bulky fabrics that could interfere with the car’s crash-test ratings. Use only certified flame-retardant materials if your local regulations require it (e.g., in the EU or certain US states). Test any fasteners to ensure they don’t pinch skin or come loose easily. If you’re unsure about compatibility, consult your car seat’s user manual or the manufacturer’s website—brands like Britax or Evenflo often have DIY guidelines.
Warning: Never sew covers directly onto the car seat structure. They must be slip-on designs that can be fully removed for inspection and cleaning. If your seat has a specific harness system, design openings accordingly to avoid friction.
Measuring Your Car Seat Accurately
Grab your measuring tape and remove any existing covers from the infant car seat. Work in a well-lit area on a flat surface.
- Measure the seat base (bottom where baby sits): Width at the widest point, length from front to back.
- Measure the backrest: Height from seat base to top, width across the middle.
- Note openings: Mark positions for harness straps, buckle, and headrest adjusters—add 1-2 inches of seam allowance around these.
- Account for curves: Infant seats have contoured shapes, so measure along the edges and add 0.5-1 inch for ease (fabric stretch).
Sketch a rough pattern on paper, dividing into panels: seat base, backrest, and side wings. For a standard seat, you’ll need about 4-6 pattern pieces. Double-check measurements twice—accuracy here prevents loose or tight fits.
Gathering and Prepping Materials
Pre-wash your fabric to prevent shrinkage (use gentle cycle, cold water). Iron everything flat. If using interfacing, cut it to match strap patterns and fuse it following package instructions (usually 5-10 seconds with a hot iron). Organize tools nearby to streamline the process.
This prep phase should take 45-60 minutes total, setting you up for smooth sewing.
Step-by-Step Guide to Making Infant Car Seat Slip Covers
Now for the fun part: turning measurements into a functional slip cover. This process takes 2-4 hours, depending on your sewing skill level. We’ll break it into phases for manageability. Use a 1/2-inch seam allowance throughout unless noted, and backstitch at starts/ends for durability.
Phase 1: Creating and Cutting Your Pattern
Start by drafting a template to ensure precision.
- Lay pattern paper over the car seat and trace the outline, adding seam allowances. Cut out the main panels: one for the seat base (rectangle with curved front), two side wings, and one backrest.
- For straps or flaps: Trace existing harness paths and add 2-inch wide strips for coverage.
- Pin the pattern to your fabric (right sides out) and cut carefully. If using a rotary cutter, use a mat to avoid slips. You’ll end up with 8-12 pieces total (doubles for lining if adding waterproof layer).
- Label each piece with chalk (e.g., “left side”) to avoid mix-ups.
Time: 30-45 minutes. If your car seat has unique features like a canopy, create a separate flap pattern.
Phase 2: Assembling the Main Body
Sew the core structure first—think of it like building a pillowcase for your seat.
Preparing the Panels
- Clip or pin side wings to the seat base panel, right sides facing. Sew along the bottom and side edges, leaving the top open.
- Attach the backrest to the seat base’s rear edge, matching curves. Press seams open with an iron for a clean finish.
Adding Lining (Optional for Extra Protection)
If using waterproof fabric, cut identical pieces and sew them to the main panels before assembly (wrong sides together). This creates a sandwiched layer—quilt lightly with straight stitches for stability.
Time: 45-60 minutes. Test-fit on the car seat periodically to check drape.
Phase 3: Incorporating Fasteners and Straps
Make it easy to install with secure, baby-friendly closures.
- Cut Velcro or snap pieces to fit: For example, 4-inch strips for under the seat base and sides.
- Sew soft (loop) side to the cover’s underside; rough (hook) side to fabric tabs that wrap around the seat frame. For zippers, install along one side seam using a zipper foot on your machine.
- For harness covers: Sew small fabric tubes or flaps over strap paths, leaving slots for buckles. Reinforce with interfacing and double stitching— these endure tugging.
- Add elastic or drawstrings (1/4-inch wide) along edges for a snug fit: Thread through casings sewn into hems.
Troubleshooting Tip: If fasteners snag, switch to magnetic snaps for a smoother feel (available at sewing supply stores).
Time: 30-45 minutes. Ensure all edges are serged or zigzagged to prevent fraying.
Phase 4: Finishing Touches and Hemming
Polish it off for a professional look.
- Hem all raw edges: Fold 1/4 inch, then 1/2 inch, and sew straight.
- Topstitch around openings for reinforcement—especially near the baby’s face area.
- If desired, add piping or bias tape along seams for durability and style (pre-made piping saves time).
Turn the cover right-side out, give it a final press, and voilà—your slip cover is ready.
Time: 20-30 minutes.
Post-Completion Testing and Troubleshooting
Once sewn, test your infant car seat slip covers thoroughly before relying on them daily.
Fitting and Functionality Check
Slip the cover onto the car seat: It should hug contours without bunching or blocking harness access. Buckle in a doll or weighted bag to simulate use—adjust straps if it shifts. Tug on edges to ensure fasteners hold (aim for no movement over bumps).
Washing and Durability Test
Machine-wash on gentle cycle (cold water, no bleach) and air-dry to check for color fading or seam stress. Reinstall and inspect for wear points.
Common Issues and Fixes:
– Too loose: Add more elastic or darts (tucks sewn into fabric) for shaping.
– Doesn’t fit harness: Re-cut slots larger by 1/4 inch and reinforce with bias tape.
– Fabric slips: Apply non-slip gripper dots (from craft stores) to the underside.
– If sewing errors occur (e.g., puckered seams), rip out stitches with a seam ripper and re-sew slowly.
This testing phase takes 15-30 minutes but ensures safety and longevity—expect your covers to last 1-2 years with proper care.
Pro Tips for Perfect Infant Car Seat Slip Covers
Elevate your DIY game with these expert insights to make your slip covers even better:
- Fabric Selection Hacks: Go for organic cotton to avoid irritants; patterns like animals or pastels add whimsy. For heavy use, layer with mesh inserts for airflow in hot climates.
- Customization Ideas: Personalize with appliqué (iron-on letters for baby’s name) or pockets for toys. Use remnant fabrics to mix textures—soft minky for the head area.
- Sewing Shortcuts: If no machine, hand-sew with a blanket stitch for edges—takes longer but works for simple designs. Invest in a walking foot attachment for even fabric feeding on thick layers.
- Common Mistakes to Avoid: Don’t skip pre-washing; shrinkage can ruin fit. Over-tighten elastic—it can make removal tough. Always test zippers before full assembly to avoid jams.
- Optimization for Longevity: Sew in care labels (e.g., “Machine wash cold”) and store flat when not in use. Rotate covers seasonally for freshness.
- Eco-Friendly Twist: Use upcycled fabrics from old curtains or thrifted sheets to reduce waste.
- Time-Saving: Make multiples at once—cut patterns for twins’ seats in one go.
These tweaks can cut sewing time by 20% while boosting quality.
When to Seek Professional Help
DIY infant car seat slip covers are straightforward, but if sewing isn’t your forte or you need complex customizations (e.g., for a specialty car seat like a convertible model), consider pros. Signs you might need help: Persistent fit issues after multiple tries, or if you’re working with advanced materials like leather.
Look for local seamstresses via Etsy sellers or upholstery shops specializing in baby gear—check reviews for “car seat cover experience.” Expect costs of $50-150, depending on design. If your covers affect warranty, contact the car seat manufacturer first. For safety certification, pros can ensure compliance with standards like FMVSS 213.
FAQ
Q: How long does it take to make infant car seat slip covers from scratch?
A: For beginners, plan 3-5 hours total, including prep and testing. Experienced sewers can finish in 2 hours. Break it into sessions if needed—prep one day, sew the next.
Q: Can I make slip covers without a sewing machine?
A: Yes! Use fabric glue for hems and no-sew fusible tape for seams. It’s less durable but great for quick prototypes. Hand-sewing works too, though it adds 1-2 hours.
Q: What fabrics are safest for baby car seat covers?
A: Prioritize breathable, hypoallergenic options like 100% cotton or bamboo. Avoid synthetics that trap heat, and ensure flame-retardancy per CPSC guidelines. Always wash new fabric before use.
Q: Will homemade slip covers void my car seat warranty?
A: Usually not, if they’re removable and don’t alter the structure. Check your model’s manual (e.g., Graco advises against permanent mods). Removable slip covers are generally fine.
Q: How do I clean my DIY infant car seat slip covers?
A: Spot-clean stains with mild soap, or machine-wash on gentle (cold water, tumble dry low). Air-dry to preserve shape. Wash every 1-2 weeks or after spills to prevent mold.
Q: Can I adapt this for convertible car seats?
A: Absolutely—measure the larger frame and add modular panels for booster mode. Focus on adjustable straps. For rear-facing infant stages, keep it snug around the base.
Q: What if my measurements are off after cutting?
A: No panic—use extra fabric to patch or let out seams. For future projects, add 1-inch extra allowance. Practice on scrap first if unsure.
Q: Are there free patterns online for infant car seat slip covers?
A: Yes, sites like Pinterest or AllFreeSewing offer basics. Customize them to your measurements for the best fit—avoid one-size-fits-all downloads.
Alternative Solutions to DIY Slip Covers
If sewing feels overwhelming, consider these options. DIY shines for customization and cost, but pre-made alternatives offer convenience.
| Solution | Pros | Cons | Best For |
|---|---|---|---|
| Buy Pre-Made Slip Covers (e.g., from Amazon or Skip Hop) | Quick install, universal fit, machine-washable designs starting at $20. | Limited patterns, may not match your seat perfectly. | Busy parents needing instant protection. |
| No-Sew Fabric Wraps (using old towels or blankets) | Zero cost if using household items, easy to swap. | Less polished, potential slipping without fasteners. | Temporary fixes or travel. |
| Custom Upholstery Service | Tailored fit, premium fabrics like leather. | Higher cost ($100+), longer wait time. | High-end or heavily used seats. |
| Universal Seat Protectors (e.g., from Munchkin) | Affordable ($15-30), waterproof layers. | Bulkier, not as “slip cover”-like. | Basic spill defense without sewing. |
Weigh pros/cons based on your needs—DIY wins for personalization, but buying saves time.
Enjoy Your Custom Infant Car Seat Slip Covers
You’ve now got a full roadmap to creating durable, stylish infant car seat slip covers that keep your baby safe and your car clean:
- Essential materials and precise measuring for a perfect fit
- Step-by-step sewing phases from pattern to finish
- Testing tips and pro hacks for longevity
Following this guide empowers you to tackle messes head-on with covers that reflect your style—all while saving money and avoiding waste. Slip them on today and admire the transformation; your car seat will look (and feel) brand new.
Ready to sew? Share your fabric choices or progress photos in the comments below—we’d love to see your creations and offer tips! If you hit any snags, describe them for community advice. Happy crafting!


