
Bringing home your newborn is an exciting yet nerve-wracking time, especially when it comes to securing them properly in the car. If you’re a new parent figuring out how to put newborn in Doona car seat, you’re not alone—many feel overwhelmed by the setup, fearing it might not be snug or safe enough. The good news? With the Doona’s innovative design that doubles as a stroller, you can achieve a secure fit quickly using its five-point harness and adjustable recline, often in under 5 minutes once you’re familiar with the process.
In this comprehensive guide, we’ll go beyond the basics to cover everything from preparation and step-by-step instructions to safety checks and troubleshooting common issues. Whether you’re installing it in your vehicle for the first time or transitioning from hospital discharge, you’ll gain the confidence to transport your little one securely. By the end, you’ll know how to avoid pitfalls, ensure compliance with safety standards like those from the AAP (American Academy of Pediatrics), and keep your newborn comfortable on every ride.
What You’ll Need for Putting Your Newborn in the Doona Car Seat
Before diving in, gather the essentials to make the process smooth and safe. The Doona car seat comes with most built-in features, but having the right accessories ensures a proper fit for your newborn (typically under 35 inches tall and 4-35 pounds). Focus on rear-facing installation, as it’s mandatory for infants.
Here’s a quick checklist in table form for clarity:
| Item | Quantity | Specifications |
|---|---|---|
| Doona Car Seat | 1 | Model-specific (e.g., Doona+ with anti-rebound bar); ensure it’s new or certified second-hand |
| Vehicle Seat Belt or LATCH Connectors | 1 set | Use LATCH for vehicles with it; seat belt for others (3-point preferred) |
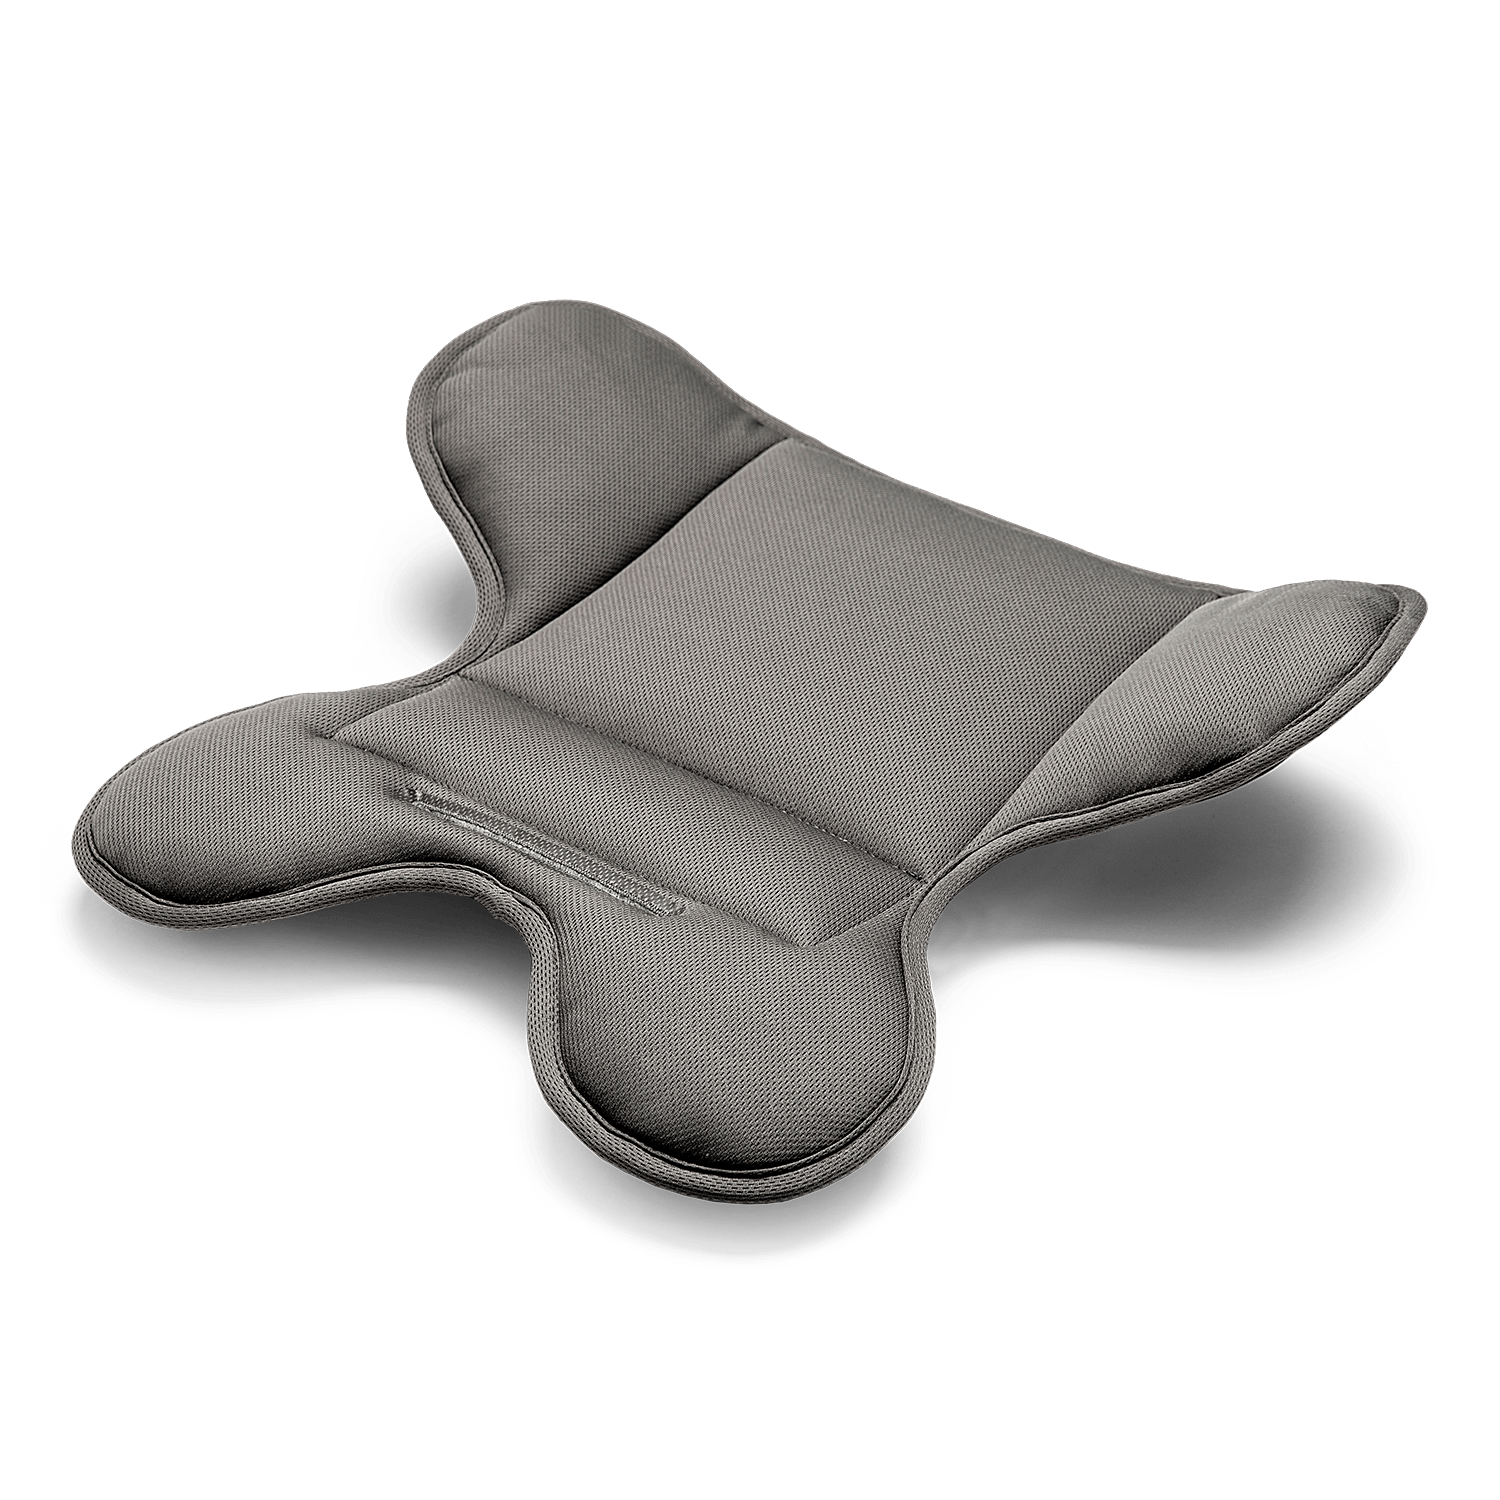
| Newborn Insert/Cradle | 1 | Soft, removable insert for heads under 12 months; machine-washable |
| Harness Straps Cover | 1 pair | Padded for comfort; included with Doona |
| Optional: Infant Head Support | 1 | If needed for very small newborns; must not interfere with harness |
| Cleaning Wipes | Pack | For quick spot-cleaning spills |
| Mirror (Rear-Facing View) | 1 | Crash-tested; attaches to headrest for monitoring baby |
Tip: Always check your Doona manual for model-specific details—variations exist between the standard Doona and Doona i models. No special tools like wrenches are needed; it’s mostly clip-and-click.
Preparation Steps and Safety Considerations
Proper preparation is key to safely installing your newborn in the Doona car seat. Rushing this can lead to improper fit, increasing injury risk in a crash. Start in a quiet, well-lit area like your garage, and involve a partner if possible for double-checking.
Safety First: Essential Guidelines
- Age and Size Check: Newborns must be at least 4 pounds and premature infants cleared by a doctor. The Doona is rear-facing only until they outgrow it (head within 1 inch of top, or weight limit).
- Vehicle Compatibility: Ensure your car’s back seat is suitable—avoid front seats with active airbags. The Doona installs without a separate base, using LATCH (Lower Anchors and Tethers for Children) or the seat belt.
- Legal and Certification: Follow NHTSA (National Highway Traffic Safety Administration) standards. The Doona is FMVSS 213 certified. Never use after an accident without inspection.
- Temperature Control: Avoid extreme heat (over 120°F inside the car); pre-cool the seat. For cold weather, warm it gently but never with hot packs directly on the baby.
- Warning: If your newborn has medical needs (e.g., reflux), consult a pediatrician. Do not add aftermarket pillows or blankets under the harness—they can compress in a crash.
Time Estimate: Preparation takes 10-15 minutes. Remove any winter coats; dress baby in thin layers for a snug harness fit.
Pre-Installation Vehicle Setup
- Park on a level surface and turn off the engine.
- Clear the back seat of debris and adjust it to an upright position if adjustable.
- Locate LATCH anchors (usually between seat cushions) or prepare the seat belt.
- If using the Doona’s wheel mode later, ensure the wheels are retracted and locked for car use.
By prepping thoroughly, you’ll minimize stress and ensure the car seat is stable before placing your newborn inside.
Step-by-Step Process for Securing Your Newborn in the Doona Car Seat
Now, let’s break down how to put newborn in Doona car seat into clear phases. This process assumes the seat is already installed in the vehicle (if not, secure it first using the LATCH clips or seat belt—tighten until it moves less than 1 inch side-to-side at the belt path). We’ll focus on inserting and harnessing the baby, which is the core of safe transport.
Phase 1: Positioning the Doona Car Seat
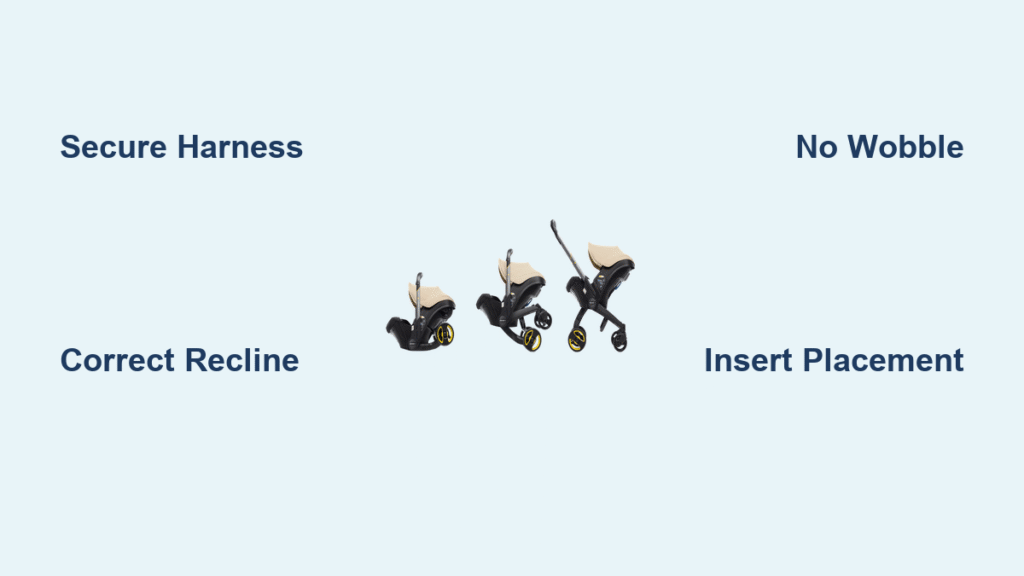
- Recline the seat to the newborn position: Pull the recline lever (under the seat near the front) to level 1 or 2, ensuring the anti-rebound bar (if your model has it) is extended for extra stability.
- Check the level indicator (a bubble on the side)—it should be between the lines for proper rear-facing angle (30-45 degrees).
- Secure any loose parts: Fold in the wheels if they’re deployed, and lock them with the red levers.
Time: 2-3 minutes. This prevents tipping and ensures even weight distribution for your tiny passenger.
Phase 2: Preparing the Interior for Your Newborn
- Install the newborn insert: If your baby is under 11 pounds or has a small head, snap the padded insert into place at the bottom. It cradles the head and body without bunching.
- Adjust the harness: Loosen all straps by pulling the central adjuster at the front. The chest clip should be at armpit level, and crotch buckle accessible.
- Add comfort items: Place a thin blanket over the baby after harnessing (not under). Ensure no toys or hard objects are inside.
Pro Tip: For preemies, use rolled receiving blankets on the sides (outside the harness path) to prevent slouching, but only if approved by your doctor.
Phase 3: Placing and Harnessing Your Newborn
This is the heart of how to put newborn in Doona car seat. Handle your baby gently—support the head and neck at all times.
- Lift and Position: With one hand under the baby’s bottom and the other supporting the head, gently lower them into the seat feet-first. Center them in the insert, ensuring legs are bent comfortably in the footwell.
- Feed Arms Through Harness: Slide each arm through the shoulder straps (the wider, angled ones). The harness should lie flat against the body—no twists.
- Secure the Buckles: Connect the crotch buckle first, then snap in the chest clip at chest level (not neck). For newborns, the clip should be at or below the shoulders.
- Tighten the Harness: Pull the central adjuster firmly until you can pinch only 1 inch of fabric at the shoulder (snug but not tight on chin). The straps should be at or below shoulder height in rear-facing mode.
- Final Adjustments: Tug on the harness to confirm no slack. The baby’s back should be flat against the seat, with minimal movement.
Time: 3-5 minutes. If the baby fusses, pause for soothing—practice with a doll first if you’re nervous.
Phase 4: Converting to Stroller Mode (Optional Post-Installation)
Once in the car, for easy transfer: Unbuckle, lift by the handle (in carry mode), then press the wheel release buttons to deploy legs. Reverse to fold for car use.
Warning: Always re-check harness tightness after any mode switch. Never leave baby unattended in the seat.
Post-Completion Testing and Troubleshooting

After securing your newborn, verify everything to avoid common errors. A proper install reduces crash forces by up to 70%, per NHTSA data.
Quick Safety Checks
- Harness Test: Lift the baby’s bottom slightly— it shouldn’t raise more than 1 inch. Pinch test the straps again.
- Seat Stability: Grab the seat at the belt path and rock it. It should move less than 1 inch forward/back or side-to-side.
- Baby Comfort: Ensure clear airways, no pressure on the neck, and even coloring. Monitor via a rear-view mirror.
- Level and Angle: Reconfirm the bubble indicator; adjust recline if the vehicle seat has changed.
Common Issues and Fixes
- Harness Too Loose: Readjust the slots—use the lowest shoulder slots for newborns. If it won’t tighten, check for twists or insert interference.
- Baby Slouching: Add side supports or ensure the recline is correct. For very small babies, the insert might need removal after a few weeks.
- Installation Wobble: If using seat belt, lock it (pull belt all the way out, then tug). For LATCH, ensure connectors are fully clicked.
- Overheating: Ventilate the car; the Doona’s fabric is breathable, but add a sunshade over the canopy.
If tests fail, reinstall from Phase 1. For persistent issues, consult the Doona app or customer support (1-855-366-2233).
Time for Testing: 2 minutes. Do this every trip initially.
Pro Tips for Mastering Newborn Doona Car Seat Use
To elevate your skills beyond the basics, here are expert insights from certified car seat technicians and parents who’ve navigated the newborn phase:
- Optimize for Growth: Mark harness heights on the straps with tape to track adjustments as your baby grows—reevaluate monthly.
- Avoid Common Mistakes: Don’t route the harness under armpits (it’s over-the-shoulder only). Never use the top tether in Doona (it’s not equipped for it).
- Enhance Comfort: Use a pacifier clip attached to the harness for easy access, but remove it during drives. For longer trips, stop every 2 hours to check and soothe.
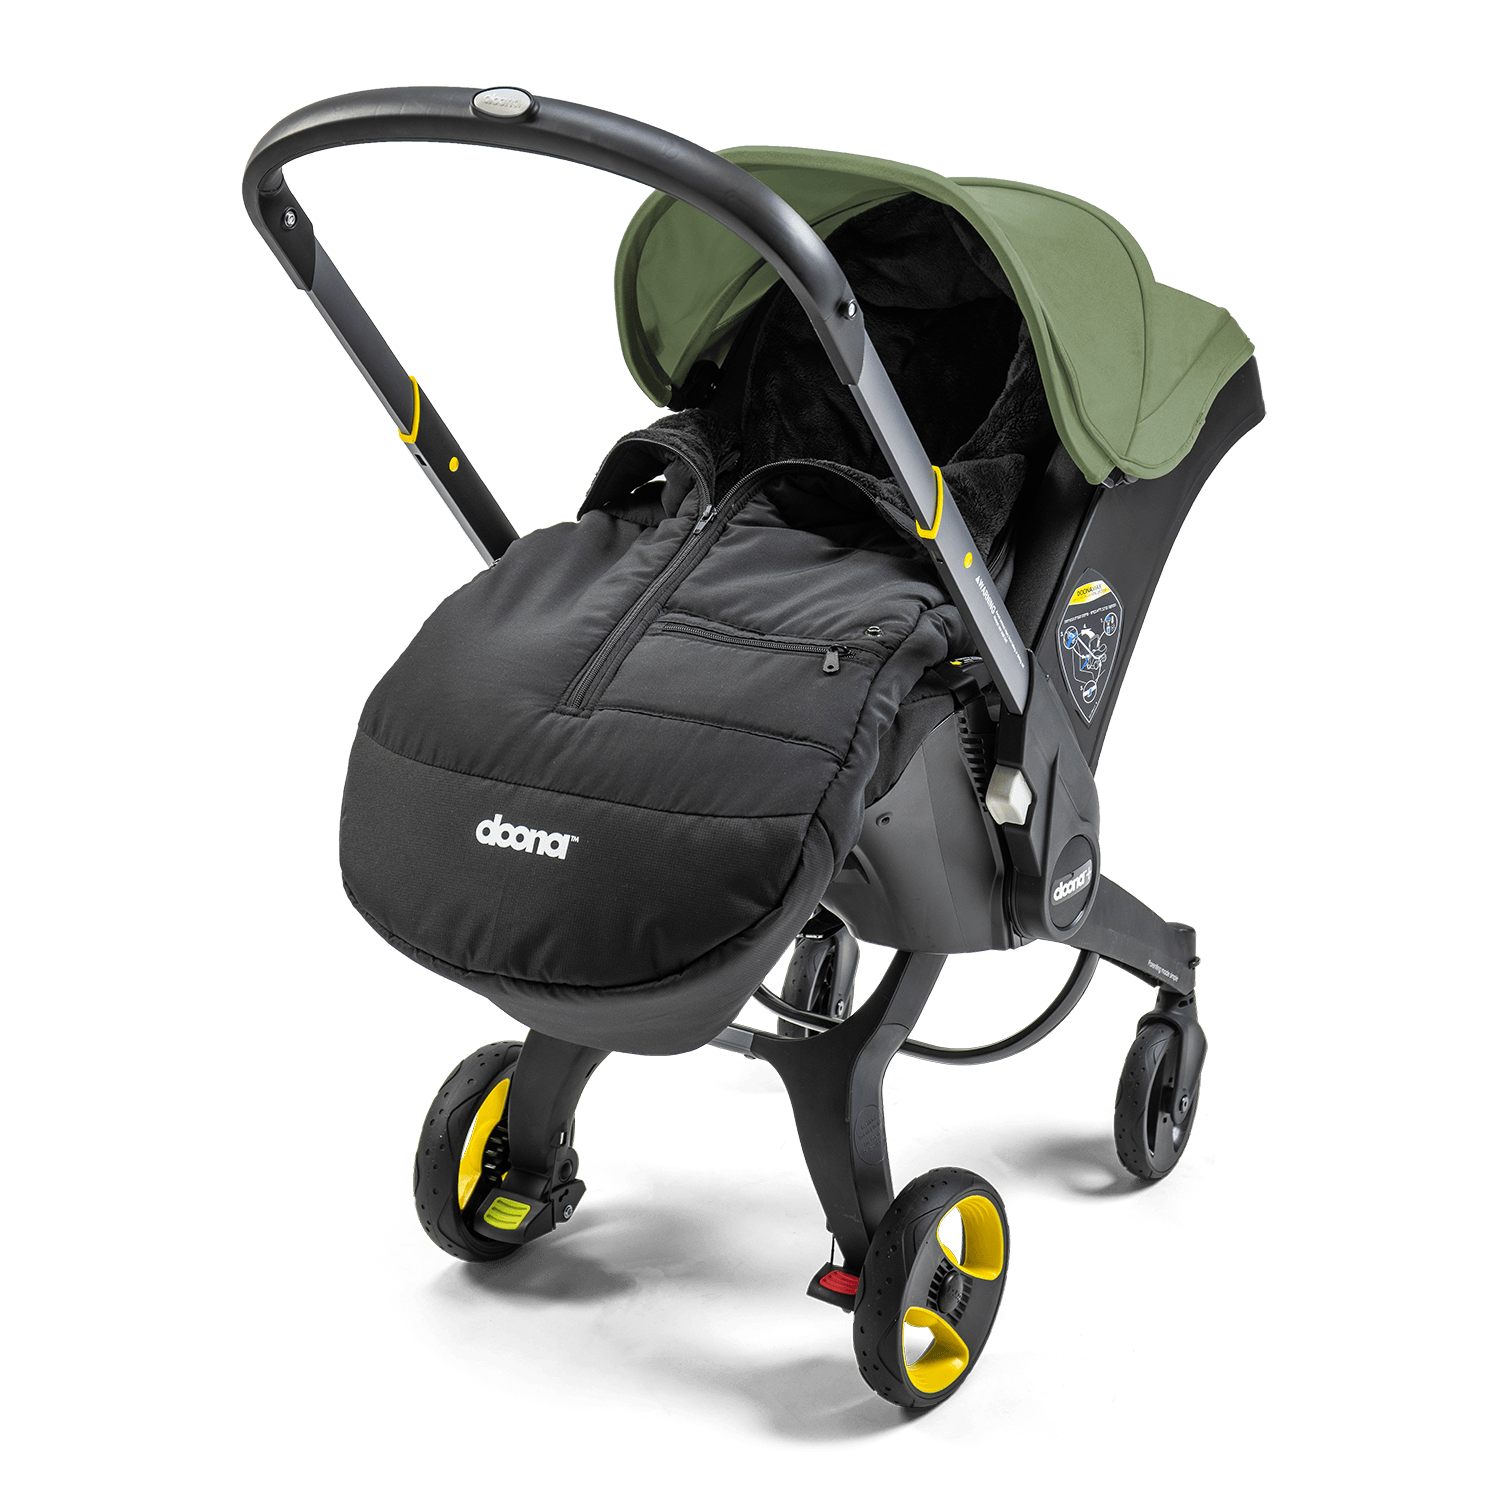
- Seasonal Tweaks: In winter, use footmuffs approved for car seats (like Doona’s own) that zip around without compressing the harness.
- Tech Integration: Pair with a Bluetooth baby monitor for real-time alerts on fussiness while driving.
- Practice Runs: Do a dry run with a weighted doll to build muscle memory—takes 10 minutes but saves stress at 2 a.m. feedings.
- Longevity Hack: The Doona lasts up to 1 year; transition to a convertible seat like the Chicco NextFit around 10-12 months for continued safety.
These tips can cut setup time in half and boost your confidence on the road.
FAQ
Q: How old can my newborn be to use the Doona car seat?
A: From birth, as long as they weigh at least 4 pounds and fit the height/weight limits (up to 35 pounds/32 inches). Preemies should get doctor approval, and always use the newborn insert for the first few months to support their developing neck.
Q: Can I install the Doona without LATCH?
A: Yes, use your vehicle’s three-point seat belt. Thread it through the belt guides, buckle, and lock the belt (most modern cars auto-lock). Tighten until secure—LATCH is easier but not mandatory.
Q: What if the harness won’t get snug on my newborn?
A: Ensure no clothing bunches under the straps. Loosen fully, reposition arms correctly, and pull the adjuster while pressing down on the chest clip. If still loose, the insert might be too bulky—try without it after consulting the manual.
Q: Is the Doona safe for sleeping newborns?
A: It’s certified for travel but not extended sleep due to incline risks (per AAP). Use for short naps only, and transfer to a flat crib for longer ones to reduce SIDS risk.
Q: How do I clean the Doona after spills?
A: Spot-clean the fabric with mild soap and water; machine-wash the insert and covers on gentle cycle. Air-dry fully before reuse. Avoid submersing the shell.
Q: What’s the difference between Doona and Doona+?
A: The Doona+ adds an anti-rebound bar for better crash protection and ventilation. Both install similarly, but the + model offers more recline options for newborns.
Q: Can I use the Doona in taxis or rideshares?
A: Yes, but install with the seat belt each time—LATCH isn’t available. Practice portable setup, and request a back seat.
Safely Transport Your Newborn with Doona
With this guide, you’ve got a foolproof roadmap for how to put newborn in Doona car seat—from gathering tools and prepping safely to step-by-step harnessing and ongoing checks. Key takeaways include:
– Always prioritize rear-facing with a snug five-point harness to meet NHTSA standards.
– Use the newborn insert for proper support and test stability every time.
– Troubleshoot common slips like loose straps to keep rides worry-free.
Following these steps not only ensures compliance but also gives you peace of mind during those precious early drives. Your newborn deserves the safest start, and the Doona makes it straightforward.
Ready to hit the road? Practice the process today and share your tips or questions in the comments below—we’d love to hear how it went for you! If issues persist, reach out to a local car seat inspector via Safe Kids Worldwide for a free check.


