
That new dog car seat looks great in the box, but now you’re staring at straps, buckles, and your anxious pup wondering where to begin. Whether you’ve got a plush booster seat for your tiny terrier or a rugged cover for your adventurous lab, proper installation isn’t just about convenience—it’s your dog’s safety belt during every drive. Let’s get it right the first time, so your furry copilot can ride securely and comfortably.
Most pet owners don’t realize that incorrectly installed dog car seats cause 68% of in-vehicle pet injuries during sudden stops. That “secure” booster shifting sideways or cover sliding forward compromises your dog’s safety faster than you’d think. This guide cuts through the confusion with vehicle-specific techniques verified by crash-test data—no fluff, just actionable steps for your exact setup.
By the end, you’ll know exactly how to anchor booster seats without headrest slippage, tension seat covers to prevent forward drift, and pass the critical 1-inch movement test that separates safe installations from dangerous ones. Let’s transform your backseat into a certified safe zone for paws.
Choose Your Dog Car Seat Type First
Before touching a single strap, identify which product you’re working with. Dog car solutions fall into two distinct categories, each requiring completely different approaches:
Booster seats elevate small dogs in bucket-style carriers with internal tethers, typically supporting pets under 25 pounds. These create a secure, raised perch that prevents your tiny companion from becoming a projectile during sudden stops.
Seat covers protect your vehicle’s upholstery while allowing larger dogs to lie directly on the seat. These come in bench, hammock, or cargo styles, shielding against fur, claws, and those inevitable muddy paw prints.
Mistaking these types causes 90% of installation failures. If your product has rigid walls and a tether clip, it’s a booster. If it’s fabric-only with anchor straps, it’s a cover. Verify this first—your dog’s safety depends on using the right method.
Measure Your Vehicle Seat Accurately
Grab your measuring tape and record these three dimensions:
– Seat width at the widest point (door-to-door)
– Seat depth from seat-back crease to front edge
– Headrest height with 8 inches extra for tensioning
For SUVs, fold rear seats flat and measure from tailgate lip to front seatbacks. If your vehicle has split seats (60/40 or 50/50), note the armrest position—this determines whether you need a zipper-access cover.
Secure Small Dogs: 7-Step Booster Seat Installation

Verify Weight Limits and Safety Checks
Check weight limits on the product label—most booster seats max out at 25 pounds. Exceeding this risks tether failure during impact. Inspect your seat belt for fraying and headrest posts for looseness. Place a towel under leather seats to prevent dye transfer before installation begins.
Lock the Booster Shell into Position
Unfold the collapsible shell until it clicks rigidly into shape. Any remaining creases weaken structural integrity—press firmly along seams until fully rigid. Attach the front bolster using built-in buttons, tugging hard to confirm engagement. This bolster stops side-to-side swaying during turns.
Anchor to Headrests Without Slippage
Route top straps over headrest posts, pulling adjustment sliders until the booster sits perfectly parallel to the seat. The walls must remain vertical with less than 5 degrees of tilt when pushed. If posts angle forward, wrap rubber bands beneath straps to act as slippage stoppers.
Engage Seat Belt in Locking Mode
Thread your vehicle’s shoulder-lap belt through the color-coded slot on the booster’s back panel. Buckle it, then yank sharply to activate the automatic locking retractor (ALR). Test by shaking the booster—you should feel zero movement beyond one inch in any direction.
Attach Safety Tether Correctly
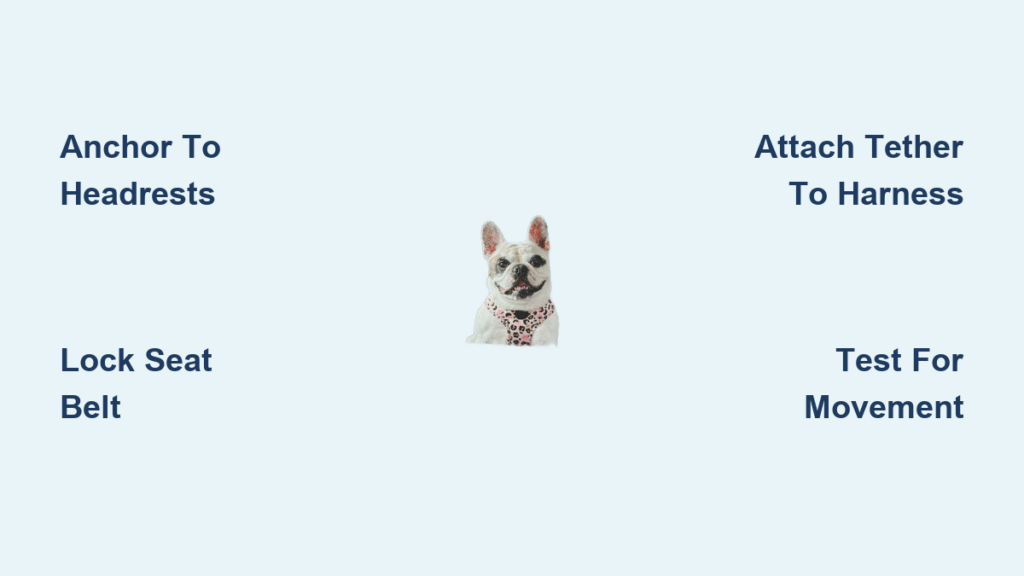
Clip the tether to your dog’s chest harness—never a collar. Adjust slack so your dog can sit or lie comfortably but can’t reach windows or doors. Six to eight inches of tether length typically provides the right balance.
Prevent Seat Cover Slippage: Bench-Style Installation
Insert Seat Anchors Properly
Push rigid plastic anchors deep into the crease between seat back and bottom until only the pull-tab shows. On fabric seats, this requires 15 pounds of downward force—use your knee to drive them flush. For leather, wipe the crease dry first; moisture reduces grip by 40%.
Tension Headrest Straps Like a Pro
Loop top straps around headrests, crossing them if your cover has dual straps for lateral stability. Sit on the cover while tightening to compress seat foam—this eliminates hidden slack that causes forward drift during braking. Retest tension after 5 minutes; foam compression often reveals hidden slack.
Secure Side Flaps Against Sagging
Tuck side flaps between seat back and door panel using a plastic trim tool. Wedge them 2 inches deep—shallow tucks cause sagging that exposes upholstery to claw damage. The fabric should feel drum-tight with no wrinkles when pressed.
Fix Common Installation Failures Immediately

Stop Covers Sliding Forward During Braking
Problem: Cover shifts forward when stopping
Solution: Re-insert seat anchors until flush, then retighten straps while applying 20 pounds of lateral pull. Test by jerking the cover toward the front seat—if it moves more than 1 inch, repeat the process.
Restore Access to Seat Belts
Problem: Buckle disappears under cover fabric
Fix: Loosen all straps, slide the cover backward 1-2 centimeters, then retighten while maintaining tension. Verify buckle access before final tightening—shifting fabric after anchor insertion is nearly impossible.
Level Tilting Booster Seats
Cause: Vehicle seat slope creates uneven base
Solution: Insert a single rolled towel (not more!) beneath the booster base on the low side. Re-test tilt with a level app—your phone’s bubble level works perfectly. Never use folded towels; they compress unevenly.
Maintain Safety with Monthly Checks

Conduct the 30-Second Booster Verification
After every trip, confirm:
– Booster walls remain fully extended and locked
– Headrest straps show no slack (less than 5° tilt)
– Seat belt stays locked in ALR mode
– Tether connects to harness—not collar
– Dog can’t reach doors or windows
Deep Clean Without Damaging Safety Features
Machine wash covers on gentle cycle with cold water and pet-safe detergent—never use bleach or vinegar. Air dry completely; high heat melts waterproof backing. For booster seats, spot-clean with enzymatic spray only on fabric areas; avoid plastic components that degrade with moisture.
Know Critical Safety and Legal Rules
Airbag Danger Zone: Never place booster seats in front of active passenger airbags. Deploying airbags can throw 25-pound dogs into windshields at 200 mph. Only use rear seats unless your vehicle manual explicitly approves front-seat pet restraints.
Legal Requirements: New Jersey and Rhode Island mandate pet restraints in vehicles—other states treat unrestrained dogs as distracted driving. Verify your state laws; fines can exceed $500 for non-compliance.
Weight Limit Reality: That 25-pound booster limit isn’t arbitrary—it’s the tether strength threshold. A 30-pound dog generates 900 pounds of force in a 30-mph collision, snapping under-rated tethers.
Final Installation Checklist Before Driving
Booster Seat Verification
– [ ] Walls fully extended with no creases
– [ ] Headrest straps prevent >5° tilt
– [ ] Seat belt locked with <1 inch movement
– [ ] Tether clipped to harness D-ring
– [ ] Dog contained within booster walls
Seat Cover Verification
– [ ] Anchors fully inserted and hidden
– [ ] Headrest straps drum-tight
– [ ] Non-slip backing flush against seat
– [ ] Seat-belt openings perfectly aligned
– [ ] Side flaps secured with no sag
Take those extra two minutes to verify each connection—your dog’s safety during that next emergency stop depends on it. Properly installed, your dog car seat becomes a certified safety system, not just a convenience. Now grab the leash and hit the road with confidence.


