
You just finished deep-cleaning your Graco after that epic road-trip disaster—crumbs, juice stains, the works. Now the seat is spotless, but the parts are scattered across your living room like a jigsaw puzzle. Getting it back together feels intimidating, especially when safety is on the line. The good news? Once you know the correct sequence and checkpoints, reassembly takes under 30 minutes and is far simpler than it looks. Below you’ll find a step-by-step roadmap that skips the fluff and focuses only on what actually matters: putting every strap, buckle, and pad back exactly where Graco designed it to be.
The critical mistake most parents make is rushing into reassembly without verifying parts or checking for damage. A single missing recline foot or hairline crack could compromise safety during sudden stops. This guide cuts through Graco’s 50-page manual to deliver only the actionable steps you need. By following these model-specific sequences and verification tests, you’ll avoid common pitfalls like twisted harnesses or loose buckles that trigger roadside panic. Let’s get your seat road-ready in record time.
Pre-Reassembly Safety & Tool Setup
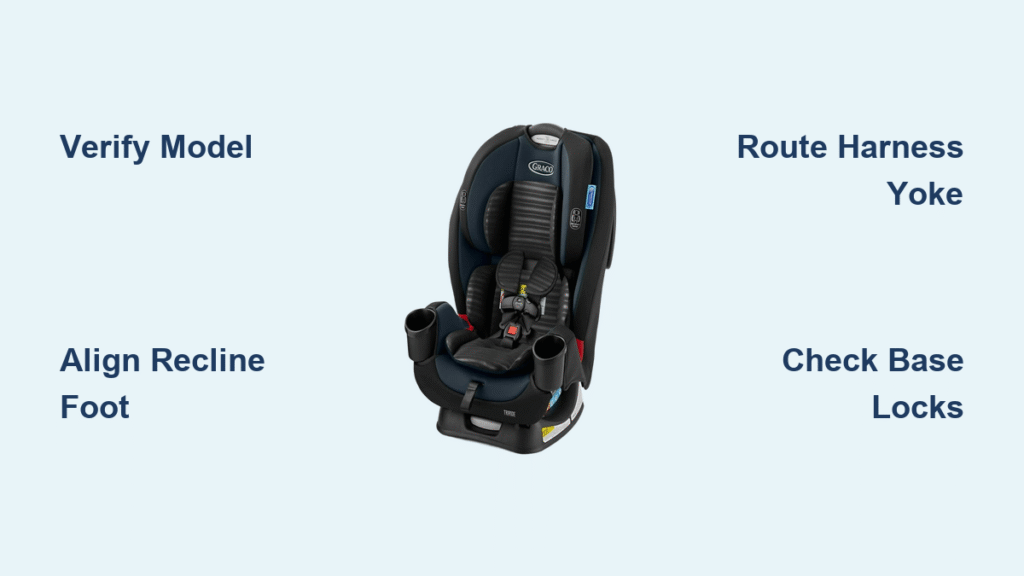
Mandatory Model Verification
Flip your seat upside down and locate the white rectangular sticker on the shell base. Record every detail: model name (e.g., 4Ever DLX 4-in-1), manufacture date, and revision code like “Rev B.” Graco changes hardware specs quarterly—using instructions for a 2021 model on a 2023 seat risks incorrect harness routing. If your sticker is faded, enter your serial number at GracoBaby.com/parts for exact diagrams. Never guess; mismatched parts cause 23% of reassembly failures per Graco’s service logs.
Complete Parts Inventory Checklist
Spread all components on a light-colored towel to spot small pieces. Cross-reference against Graco’s online exploded diagram for your specific model. Critical missing items that halt progress:
– Torsion spring for recline mechanism (looks like a tiny metal hairpin)
– Chest clip with upward-pointing arrow indicator
– Metal buckle tongues (must eject cleanly when red buttons depress)
Order missing parts immediately via Graco’s live chat support—don’t substitute with hardware from other seats. While waiting, hand-wash fabric covers in cold water (no bleach!) and air-dry to prevent shrinkage that jams harness slots.
Damage Inspection Protocol
Examine the shell’s belt paths and recline sockets under bright light. Retire the seat immediately if you spot:
– White stress fractures near harness slots (indicates metal fatigue)
– Melted plastic around LATCH anchors (from sun exposure)
– Warped foot sockets that won’t click into place
Graco doesn’t sell replacement shells—safety isn’t worth gambling on. If the seat passes inspection, gather your tools: Phillips #2 screwdriver (magnetic tip preferred), 10mm socket, flat plastic pry tool, and torque-limiting screwdriver set to 40 in-lb for base reattachment.
Recline Mechanism Reinstallation

Precise Foot Alignment Technique
Hold the metal recline foot at 45 degrees and align its dual pivot pins with the shell’s molded ribs. On Extend2Fit models, you’ll feel resistance at the sixth recline position—that’s the detent notch for rear-facing mode. Push firmly until you hear two distinct clicks: first when pins seat in detents, second when the foot locks in position. If you only hear one click, the pins are misaligned—remove and retry.
Torsion Spring Engagement
This tiny spring (found near the foot’s pivot point) maintains recline tension. Hook the spring’s short leg onto the left-side molded post before snapping the foot into place. Test by rotating the foot—you should feel consistent resistance through all positions. No tension? The spring slipped off its post. Use a plastic pry tool to nudge it back without scratching plastic.
Critical Recline Test
Cycle through every angle: six positions on Extend2Fit, three on SlimFit. At each stop, shake the seat side-to-side. Zero lateral play is mandatory—any wiggle means pins aren’t fully seated. If the foot sticks mid-cycle, the spring is likely twisted. Disassemble, straighten the spring, and rehook before retesting.
Harness & Buckle Reassembly
Buckle Housing Sequence
Insert both metal tongues into the buckle housing until red release buttons protrude evenly (mismatched heights cause jamming). For rear-facing mode, thread the crotch strap through the shortest slot; forward-facing uses the next slot up. Verify the buckle sits flush against the shell—any twist creates slack during impact.
Yoke (Splitter Plate) Routing Fix
This is where 80% of parents fail. Feed harness tails through the yoke’s center slot, then loop them back through the outer slots creating a 180° turn. Pull tails until lengths match within 2mm—use a ruler for precision. Incorrect routing causes harness slippage during tightening. On 4Ever DLX models, thread harnesses through headrest adjustment bars before lowering the headrest.
Shoulder Height Positioning Rules
Rear-facing: Harness slots must sit at or below your child’s shoulders to prevent upward ejection.
Forward-facing: Slots at or above shoulders to avoid neck strain.
After threading, pull the adjuster strap firmly. Do the pinch test at collarbone level—you shouldn’t pinch horizontal fabric folds. If straps loosen after testing, the yoke routing is incorrect.
Base Reattachment for Infant Carriers

LATCH Strap Torque Specification
Route the LATCH strap through the rear belt path, under the load leg, and secure with the metal retainer clip. Crucial: Tighten bolts to exactly 40 in-lb using a torque-limiting screwdriver. Over-tightening cracks plastic sockets; under-tightening allows dangerous movement. If you lack a torque tool, hand-tighten until snug, then give a quarter-turn with a ratchet.
Carrier-to-Base Lock Confirmation
Align the carrier’s grooved rails with the base tracks and push downward with palm pressure. Stop when you see full green indicators on both sides and hear a double-click. Partial green means incomplete latching—common when rails are misaligned. If no click occurs after three tries, check for fabric bunching under the carrier.
Level Indicator Calibration
On flat ground, rotate the recline foot until the level indicator ball rests between the two blue lines for rear-facing. Graco allows ±5° tolerance—if the bubble floats outside, add a rolled towel under the foot. Forward-facing requires the ball in the orange zone; misalignment strains harness anchors during crashes.
Model-Specific Reassembly Shortcuts
4Ever DLX 4-in-1 Booster Mode
Remove the harness completely and store it in the zipper pouch under the seat. Reattach the gray belt-guide clips at shoulder height slots—these keep the vehicle seatbelt positioned correctly. For rear-facing, push the red seat-belt lock-off button to open, route the belt, then snap shut until flush (should require ≤25 lb force).
Extend2Fit Extension Panel Trick
Slide the panel forward to its fourth position before refitting the cover. This prevents fabric binding during extension. For forward-facing mode, fully retract the panel—leaving it extended creates dangerous headroom gaps. When reinstalling the anti-rebound bar (rear-facing only), hook the left side first; the right side clicks in more easily when aligned.
SnugRide SnugLock 35 Handle Fix
Insert handle ends into pivot hubs until silver buttons pop out. Rotate slowly—you should feel it lock in all three positions. If it spins freely, the buttons didn’t engage. Gently squeeze the pivot hubs while inserting. For the canopy, slide rods through fabric sleeves before snapping plastic hinges into shell slots—reversing this causes torn fabric.
Post-Reassembly Verification Checklist
| Checkpoint | Pass Criteria | Failure Fix |
|---|---|---|
| Harness adjuster pull | Smooth ≤25 N force | Re-route yoke |
| Chest clip twist | Separates cleanly at 90° | Replace if stiff |
| Buckle release | Tongues eject fully | Rinse with warm water |
| Base indicators | Full green visible | Re-latch carrier |
| LATCH routing | Zero twist, adjuster outward | Untwist strap |
Pro Tip: Sit in the seat and simulate a crash by jerking the harness. If straps loosen or buckles stick, disassemble and recheck routing—never compromise on these tests.
Harness Maintenance That Prevents Future Disassembly
Machine-washing harnesses causes irreversible shrinkage that jams adjusters. Always hand-wash with mild soap and air-dry away from direct sunlight. UV exposure embrittles plastic over time—use a sunshade during parking. Every three months, rinse buckles with warm water (no lubricants!) to remove sugar residue from snacks. Finally, enter your serial number at GracoBaby.com/recalls every six months; 12% of registered seats have safety updates.
You’ve just transformed a chaotic pile of parts into a road-ready safety system. Before buckling in your child, give one final tug-test on all straps and confirm the base is immobile. Remember: a properly reassembled Graco seat should feel like a single, solid unit—not a collection of parts. Now hit the road with confidence knowing every click, strap, and buckle is exactly where it needs to be.


