
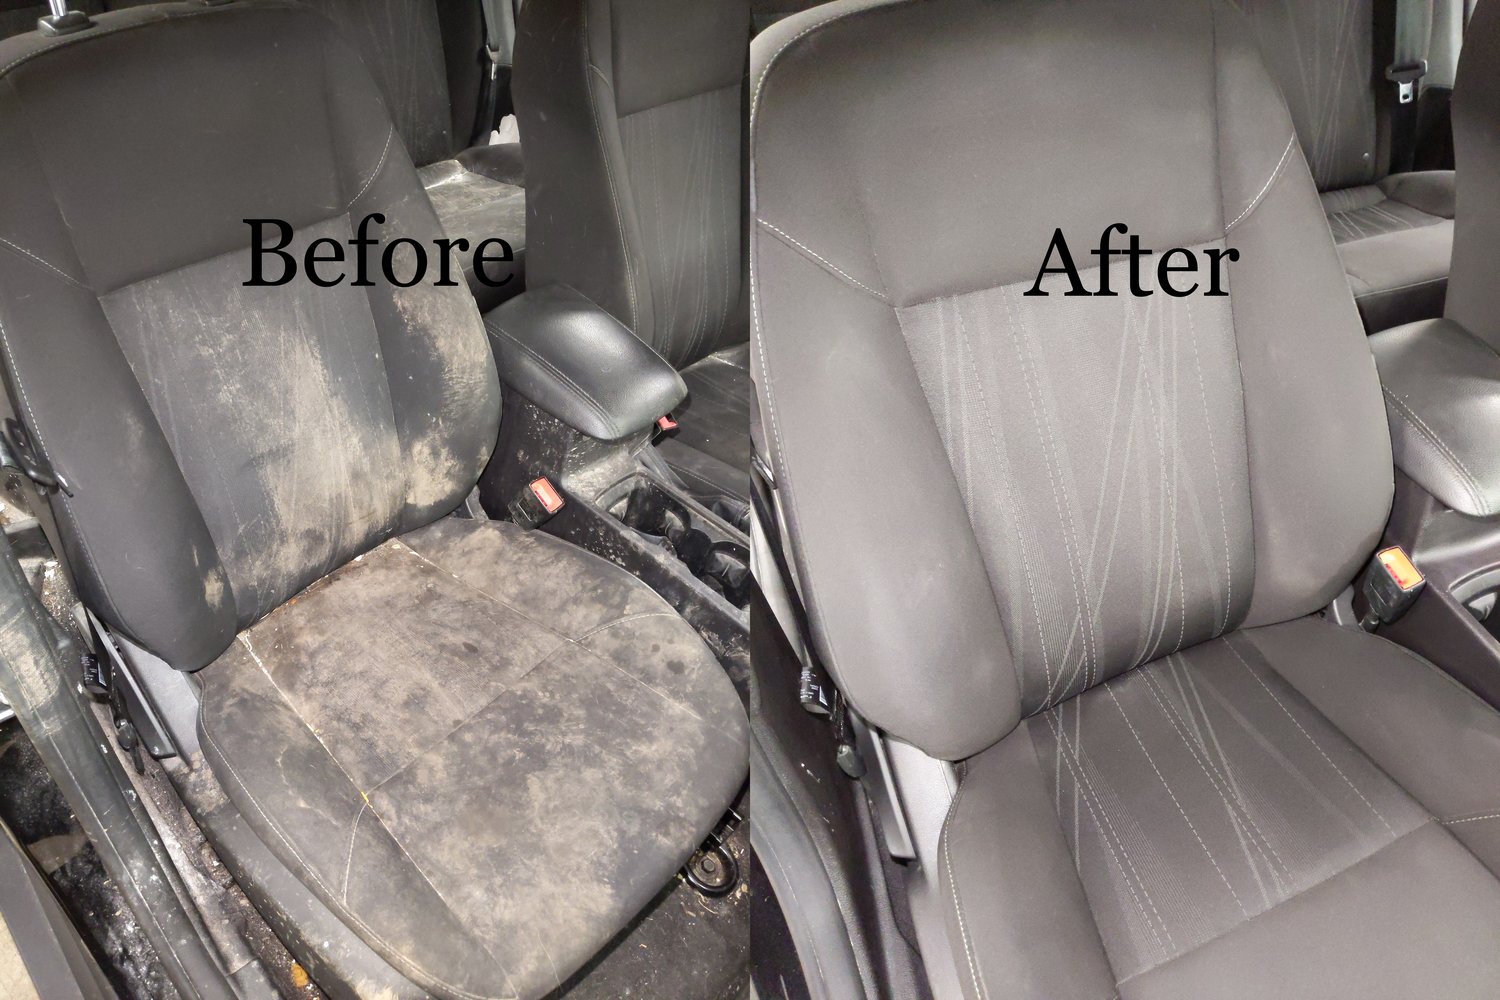
That coffee spill during your morning commute. The ketchup explosion from last week’s drive-thru lunch. Stuck-on gum from a backseat snack attack. Car seat stains transform your vehicle from a sanctuary into a constant reminder of messy moments. But here’s the truth: 90% of stains become permanent only because people use the wrong cleaning method. This guide cuts through the confusion with auto detailer-approved techniques that remove stains from fabric and leather seats—without damaging your upholstery. You’ll discover exactly which solution to grab for fresh spills versus set-in stains, avoid costly mistakes that ruin seat fabric, and restore your car’s interior in under 30 minutes.
Vacuum Seat Crevices Before Any Stain Treatment
Skipping this step pushes dirt deeper into fibers as you clean. Grab your vacuum’s upholstery attachment and methodically work along every seam, between cushions, and under seat edges where crumbs hide. For fabric seats, follow with a soft brush to loosen embedded particles. Leather seats need only a microfiber wipe after vacuuming to prevent scratching. This prep work removes 70% of surface debris before liquids even touch your seats.
Why Vacuuming First Prevents Permanent Damage
Dry debris acts like sandpaper when mixed with cleaning solutions. As you scrub, these particles grind into fibers, creating microscopic tears that trap stains permanently. Vacuuming first ensures your cleaning efforts lift stains instead of grinding them in. Always finish with a brush sweep for fabric seats—this exposes hidden dirt in the nap that vacuums miss.
Stop Coffee Stains Immediately With Club Soda
Coffee’s tannins set within minutes, turning light tan spots into permanent brown rings. Club soda works because its potassium bicarbonate neutralizes acids while carbonation lifts stains to the surface. Keep a travel-sized spray bottle in your glove compartment for instant response.
How to Remove Fresh Coffee Spills in 4 Steps
- Blot immediately with a clean microfiber towel (never rub—it spreads the stain)
- Spray club soda until the area is damp but not soaked
- Gently agitate with a soft-bristled toothbrush using circular motions
- Blot dry with a clean towel and crack windows for 15 minutes of airflow
Pro Tip: For dried coffee rings, re-wet the stain with club soda first. Let it sit 30 seconds before brushing—this reactivates the tannins for easier removal.
Remove Grease Stains Using Vinegar’s Power
Fast food grease or hand lotion stains repel water, making them stubborn. Vinegar’s acetic acid breaks down oil molecules while its mild acidity lifts organic matter without bleaching fabric. Never use full-strength vinegar—it can damage dyes. Always dilute properly.
Heavy-Duty Grease Removal Formula
- For light grease: Mix 1 cup white vinegar + 1 gallon hot water + 1 tsp dish soap
- For heavy oil stains: Use equal parts vinegar and water (no dilution)
Critical Application Steps for Grease
- Spray solution directly onto the stain—avoid soaking through to foam padding
- Wait exactly 2 minutes (longer risks vinegar odor retention)
- Scrub gently with a clean toothbrush using tight circles
- Rinse immediately with warm water-dampened cloth
- Dry thoroughly by pressing towels into the area (no rubbing)
Warning: Never use vinegar on leather—it strips natural oils and causes cracking. Switch to saddle soap for leather grease spots.
Erase Stubborn Stains With Baking Soda Paste

When club soda and vinegar fail, baking soda’s mild abrasiveness lifts set-in stains without scratching. Its alkaline pH also neutralizes acidic odors from food spills. This paste method works on chocolate, blood, and ink stains that have dried for days.
Perfect Paste Consistency for Maximum Effect
Mix 2 tablespoons baking soda with 1 tablespoon warm water until it resembles toothpaste. Apply directly to the stain and:
– Light stains: Wait 30 seconds before scrubbing
– Medium stains: Wait 5 minutes
– Heavy stains: Wait 25 minutes (but never exceed 30)
The Scrubbing Technique That Prevents Damage
Use an old toothbrush with ultra-light pressure in small circles. Heavy scrubbing frays fabric fibers, making stains reappear. After scrubbing, wipe with a damp cloth and immediately dry with a towel. For lingering odors, sprinkle dry baking soda overnight and vacuum thoroughly in the morning.
Fix Ink Stains Without Bleaching Your Seats
Permanent marker or pen ink requires acetone—but one wrong move bleaches fabric permanently. This method works only on non-porous leather seats. For fabric seats, skip to professional cleaning.
Safe Ink Removal Process for Leather
- Test acetone on seat seam (check for 5 minutes)
- Dip cotton swab in acetone—never pour directly
- Blot (never rub) the stain from edges inward
- Stop immediately if color transfers to swab
- Wipe residue with water-dampened cloth
- Condition leather within 1 hour to replace lost oils
Critical Note: Fabric seats lack a protective coating. Acetone will dissolve dyes—always choose professional cleaning for ink on cloth upholstery.
Remove Sticky Substances With Ice Therapy
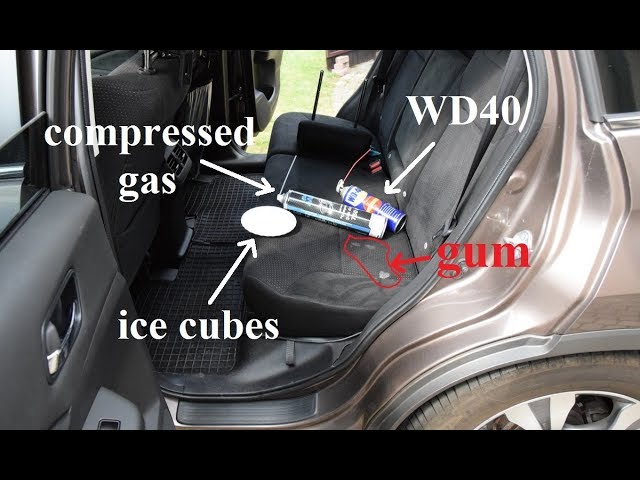
Gum, melted crayons, or hardened candy bond tightly to seats. Heat makes them spread; scraping alone leaves residue. Freezing makes these substances brittle enough to shatter cleanly.
Step-by-Step Sticky Substance Removal
- Place ice pack directly on stain for 3-5 minutes
- Scrape gently with a plastic butter knife (metal scratches)
- Apply baking soda paste to any residue
- Blot with vinegar solution for final cleanup
- Dry completely before reusing the seat
Pro Tip: For chocolate stains, freeze first—then vacuum the brittle pieces before applying vinegar solution. This prevents smearing.
Prevent Leather Seat Damage After Cleaning
Leather requires different care than fabric. Water saturation causes cracking, while harsh chemicals strip protective coatings. Always moisturize after any liquid contact.
Post-Cleaning Leather Seat Protocol
- Wipe with distilled water only—never tap water (minerals cause spots)
- Blot dry with microfiber cloth using light pressure
- Apply leather conditioner within 1 hour of cleaning
- Buff gently with clean cloth after 10 minutes
- Avoid direct sunlight during drying to prevent warping
Warning: Never use baking soda paste on leather—it abrades the surface. For leather stains, switch to pH-balanced leather cleaners only.
Post-Cleaning Success Checklist
✅ Dry completely before use (4+ hours for fabric, 2 for leather)
✅ Never speed-dry with heaters or hairdryers—causes mildew
✅ Apply fabric protector every 6 months to repel future stains
✅ Vacuum weekly to prevent dirt from grinding into fibers
Materials That Ruin Car Seats
❌ Bleach (weakens fabric fibers permanently)
❌ Ammonia-based cleaners (bleaches colors)
❌ Excessive water (soaks into foam padding causing mold)
When stains resist all methods, professional detailers use commercial steam cleaners that extract deep-set grime without oversaturation. For under $75, they restore seats safely—especially worth it for leather or child seat stains. But for most everyday messes, these proven techniques work faster than waiting for an appointment. Keep club soda and vinegar in your trunk, and you’ll never panic over spills again. Your clean seats start with the right response—not the most expensive one.


