
That morning coffee spill has already seeped into your driver’s seat, or your new jeans just left a stubborn blue dye transfer on the passenger side. Before you grab the nearest household cleaner, take a deep breath—your leather car seats can be saved with the right technique. Leather requires specialized care that differs dramatically from fabric upholstery, and improper methods can cause permanent damage like cracking or discoloration. This guide delivers proven, step-by-step solutions for how to get stain out of leather car seat surfaces, whether you’re facing a fresh coffee spill or months-old grease marks. You’ll learn to identify stain types, select safe cleaning methods, and restore your seats without risking costly professional repairs.
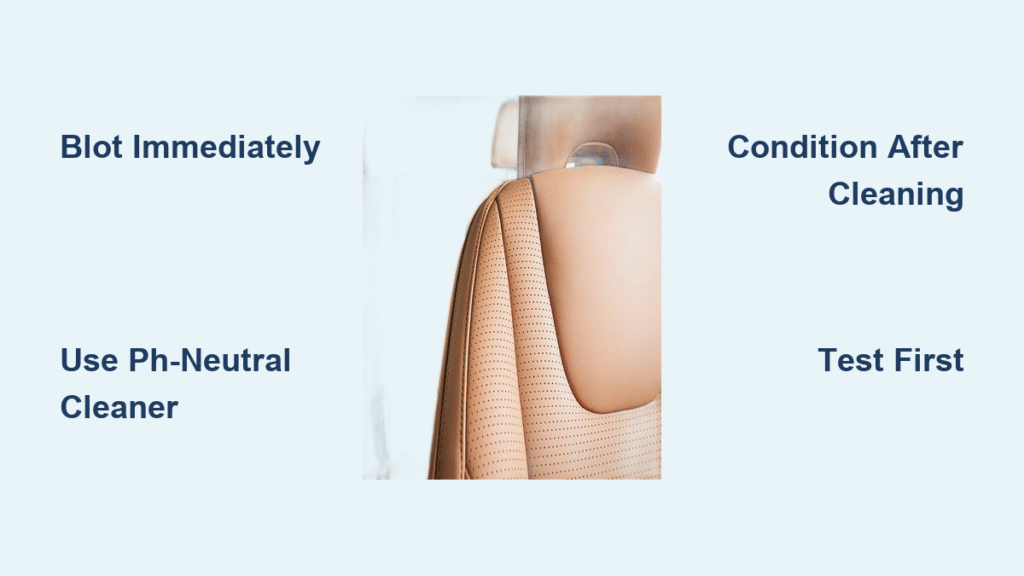
Identify Your Leather Type and Damage First

Spot Hidden Damage Before Cleaning
Examine seats in natural light to reveal overlooked issues—run your fingers along seams and creases where cracks often hide. Perforated leather (common in climate-controlled seats) demands extra moisture control since liquid can seep into underlying layers. Check for dry, brittle patches that feel chalky; these areas need conditioning before stain removal. If you spot surface scratches that lift color when touched, skip DIY cleaning entirely—this indicates severe wear requiring professional restoration. Ignoring these signs before treatment risks spreading stains or creating permanent watermarks.
Gather These Critical Supplies Only
Do not start without these essentials:
– pH-neutral leather cleaner (Lexol or Chemical Guys brand)
– Distilled water (tap water leaves mineral deposits)
– 5+ microfiber cloths (cheap terry cloth scratches leather)
– Soft-bristled detailing brush (never use stiff nylon brushes)
– Leather conditioner (must be applied after every cleaning)
– White vinegar and baking soda for emergency stains
Pro tip: Test every solution on the seat’s underside for 15 minutes. If color bleeds or texture changes, abandon that method immediately. Never substitute ammonia-based cleaners—they strip leather’s protective oils within minutes.
Eliminate Surface Contaminants Before Stain Treatment
Vacuum Seat Seams Like a Professional
Attach your vacuum’s narrow crevice tool and work diagonally across stitching lines—dirt hides where threads meet foam padding. For perforated seats, hold the nozzle 2 inches away while using short bursts; direct suction can stretch delicate holes. Spend 90 seconds per seat section, focusing on thigh bolsters where body oils accumulate. If you own an air compressor, use low pressure (20 PSI max) to blast debris from perforations without moisture risk.
Dry Dusting Prevents Scratches During Cleaning
Wipe the entire seat surface with a dry microfiber cloth using light pressure. Fold the cloth frequently to expose clean surfaces—reusing dirty sections grinds grit into leather. Pay special attention to horizontal seams where pocket change and crumbs nest. This step takes just 3 minutes but prevents micro-scratches that magnify stains later. For stubborn embedded particles, gently tap seams with a soft toothbrush before vacuuming.
Execute the Standard Cleaner Method Correctly
Apply Cleaner to Cloth—Never Directly on Seats
Spray leather cleaner onto your microfiber cloth until damp (about 10 sprays per cloth). Starting at the stain’s outer edge, use nickel-sized circular motions moving inward—this contains the stain instead of spreading it. For perforated leather, apply solution only to cloth edges, avoiding direct contact with holes. Work in 6×6 inch sections, rewetting the cloth as it dries. If leather darkens significantly, you’re using too much solution; switch to a drier cloth immediately.
Brush Technique That Won’t Damage Leather
Use a detailing brush with natural bristles (boar hair preferred) for set-in stains. Apply zero downward pressure—let the bristles’ weight do the work. Brush in single-direction strokes following the leather grain (usually top-to-bottom), not circular motions. Limit brushing to 20 seconds per spot; overworking causes fiber separation. After brushing, wipe residue with a clean damp cloth within 60 seconds to prevent cleaner buildup.
Use DIY Soap Solutions Only for Fresh Stains
Mix the Perfect Gentle Cleaning Formula
Combine 1 tablespoon Dawn dish soap with 1 quart distilled water in a spray bottle—hot water shrinks leather fibers. Swirl gently (no shaking) to minimize bubbles. The solution should feel lukewarm on your wrist; if it cools your skin, it’s too cold for leather. Never use vinegar in this mix—it creates harsh acetic acid when combined with soap.
Avoid Water Stains with Two-Cloth Technique
Dip one microfiber cloth into the solution and wring until barely damp. Blot stains using light pressure for 10 seconds max. Immediately follow with a second cloth dampened only with distilled water to rinse soap residue. Finish with a dry cloth using patting motions—never rubbing. If the leather looks cloudy after drying, you left soap residue; repeat the water-rinse step.
Deploy Vinegar for Set-In Stains Without Damage
Create Targeted Vinegar Solutions
For ink or dye stains: Mix equal parts white vinegar and distilled water in a small bowl. For conditioning after cleaning: Blend 1 part vinegar with 2 parts linseed oil (olive oil attracts dust). Never apply full-strength vinegar—it permanently lightens leather dyes within 3 minutes of contact.
Blot—Don’t Rub—To Lift Deep Stains
Dip a cotton swab into the vinegar solution and dab only the stained area. Wait 90 seconds for the solution to break down residue, then wipe with a clean microfiber cloth using inward strokes. For large stains, work in 2-inch sections with fresh cloth areas. If color transfers to your cloth, stop immediately—you’re removing leather dye, not the stain. Always condition within 1 hour after vinegar use.
Treat Specific Stains with Precision Methods

Eliminate Dye Transfer from Clothing
Jeans and belts cause the toughest stains because they re-dye the leather itself. Dampen a Mr. Clean Magic Eraser corner and lightly tap the stain (no scrubbing). Wipe residue with distilled water after 30 seconds. Expect only partial lightening—complete removal requires $150+ professional re-dyeing. Never use acetone; it dissolves leather finishes.
Neutralize Grease Stains in 30 Minutes
Cover fresh oil spots with baking soda for 25 minutes, then vacuum. For set-in grease: Spray SD-20 degreaser onto a cloth (not the seat), wait 45 seconds, then wipe. Test on hidden area first—this industrial product can dry leather. Critical: Always follow with leather conditioner within 10 minutes to prevent cracking.
Master the Full Deep Cleaning Sequence
Follow This 7-Step Process for Showroom Results
- Vacuum seams with crevice tool (3 minutes per seat)
- Dry-dust entire surface with microfiber cloth
- Apply cleaner to cloth only—never spray directly
- Work from stain edges inward using circular motions
- Rinse with separate cloth dampened with distilled water
- Dry immediately with clean, dry microfiber
- Apply conditioner and wait 12 minutes before buffing
Protect Perforated Leather from Water Damage
Skip spray bottles entirely for ventilated seats. Dampen cloth edges only, then wipe across perforation rows (not vertically). Use 30% less solution than on solid leather. After cleaning, place a dry microfiber cloth over perforations for 10 minutes to absorb hidden moisture. Never use heat guns—they melt seat foam.
Condition Immediately After Stain Removal
Apply Conditioner to Prevent Future Damage
Work conditioner into cleaned areas using fingertip-sized circular motions—this mimics natural oil distribution. Let it absorb for exactly 11 minutes (set a timer), then buff with a clean microfiber cloth using light pressure. Reapply to high-wear zones like seat edges. Skipping this step after stain removal causes cracks within 2 weeks.
Build a Spill Response Kit for Your Glove Compartment
Store these in a ziplock bag:
– 3 pre-dampened microfiber cloths (with distilled water)
– Travel-size pH-neutral cleaner
– Leather conditioner sample packets
– Small detailing brush
Address spills within 4 minutes for 90%+ removal success. Blot—not wipe—immediately to contain the stain.
Know When to Call Professionals
Identify Permanent Damage Signs
If dye-transfer stains only lighten after 3 treatments, or if leather shows white patches when bent, the damage is irreversible. Cracks wider than a credit card edge won’t heal with DIY methods. These require $300+ professional reconditioning—delaying worsens the damage.
DIY vs. Pro Decision Cheat Sheet
Handle yourself: Fresh food/drink spills, light soil, maintenance cleaning.
Call experts: Dye transfer beyond lightening, cracks over 1/16″, luxury vehicle seats, or if leather feels stiff after cleaning. One professional treatment costs less than replacing a seat section.
Avoid These Costly Cleaning Mistakes
Products That Destroy Leather Permanently
Never use: Armor All (dries out leather), bleach (causes white streaks), or steam cleaners (warps backing foam). Household cleaners like Windex strip protective coatings in one use. Even “leather-safe” wipes often contain alcohol that fades color.
Prevent Future Stains with Smart Habits
Condition seats every 4 months using the fingertip method. Park in covered spaces to block UV rays that accelerate staining. Place cotton seat covers on driver/passenger seats—synthetic fabrics transfer dye 3x faster. Always condition within 1 hour after any cleaning to maintain the leather’s protective barrier.
Fresh stains respond best to immediate blotting with distilled water, while older marks require targeted vinegar or degreaser treatments. Remember: patience beats aggression with leather—aggressive scrubbing spreads stains and damages fibers. By following these precise methods, you’ll master how to get stain out of leather car seat surfaces safely, keeping your interior looking new for years. When in doubt, start with the gentlest solution and work up—your investment in proper care pays off in preserved value and comfort.


