You slide into your car and immediately notice it—the jagged tear in your leather seat that wasn’t there last week. Maybe it started small, but now it’s spreading like a crack in thin ice, catching on your clothes and making every drive uncomfortable. Ignoring it won’t work; leather tears only worsen with use, exposing foam and accelerating damage. The good news? You can permanently repair most rips yourself for under $60 using professional-grade techniques. This guide reveals the exact step-by-step process mechanics use, transforming that eyesore into an invisible fix that lasts years. No more expensive upholstery bills or embarrassing slipcovers—just smooth, factory-fresh seats that look like the tear never happened.
Diagnose Your Leather Tear Type Before Repairing

Jumping straight into repairs without analyzing the damage guarantees failure. Leather tears behave differently based on their structure, location, and material composition—misidentifying these leads to cracked filler or mismatched color.
Spot Straight Tears vs. Complex Damage Patterns
Straight tears without shrinkage are your easiest fix—these clean splits respond perfectly to adhesive patches and minimal filler. Grab a magnifying glass to inspect: if the edges align neatly when gently pulled together, you’re in luck. Jagged tears or shrunken areas require advanced techniques; these indicate the leather fibers have contracted, making seamless blending difficult. Check if cracks penetrate completely through the leather by shining a flashlight behind the tear—surface-level scuffs need only color restoration, while full-thickness damage demands structural reinforcement.
Pinpoint High-Stress Zones That Affect Repair Longevity
Tears along the seat back edge experience minimal pressure compared to center seating areas that bear your full weight during drives. Run your fingers along natural crease lines—if the tear follows these wear patterns, inspect surrounding areas for hairline cracks signaling imminent failure elsewhere. Pay special attention to seam intersections where stitching meets leather; these spots fail fastest due to constant flexing and require extra subpatch reinforcement.
Confirm Genuine Leather vs. Vinyl Side Panels
Many “leather” seats use vinyl on side bolsters and door panels. Press your fingernail firmly against an inconspicuous area: real leather wrinkles slightly under pressure while vinyl stays rigid. Test with a cotton swab dipped in acetone—vinyl will dissolve slightly (check manufacturer guidelines first), while genuine leather remains unaffected. Using leather-specific products on vinyl causes irreversible damage, so verify material before proceeding.
Select the Right Repair Approach for Your Tear Size
Choosing between professional help and DIY depends entirely on tear characteristics—not your budget. Making the wrong call wastes money and creates permanent damage.
Compare Repair Solutions Using This Decision Matrix
Reupholstering ($500-$1,500 per seat) delivers permanent results for catastrophic damage but requires removing seats and matching factory stitching. Universal slipcovers offer quick visual fixes but slide during drives and highlight uneven padding. DIY repair kits like Leather Magic ($59) provide professional-grade results for tears under 6 inches when applied correctly—this is the sweet spot for most drivers facing accidental rips from keys or cargo.
Know When DIY Will Fail Before You Start
Attempt repairs only if your tear meets all three criteria: under 6 inches long, not on a high-stress seam intersection, and showing no foam exposure. Tears wider than your thumb, located where thighs bend the seat, or revealing foam require professional subpatching beneath the leather layer. If moisture has seeped into the foam, skip repairs entirely—damp padding causes recurring mildew and weakens adhesion.
Assemble These Exact Repair Materials for Flawless Results
Generic auto store kits create patchy repairs. You need specialized components that bond with leather’s porous structure while matching factory texture.
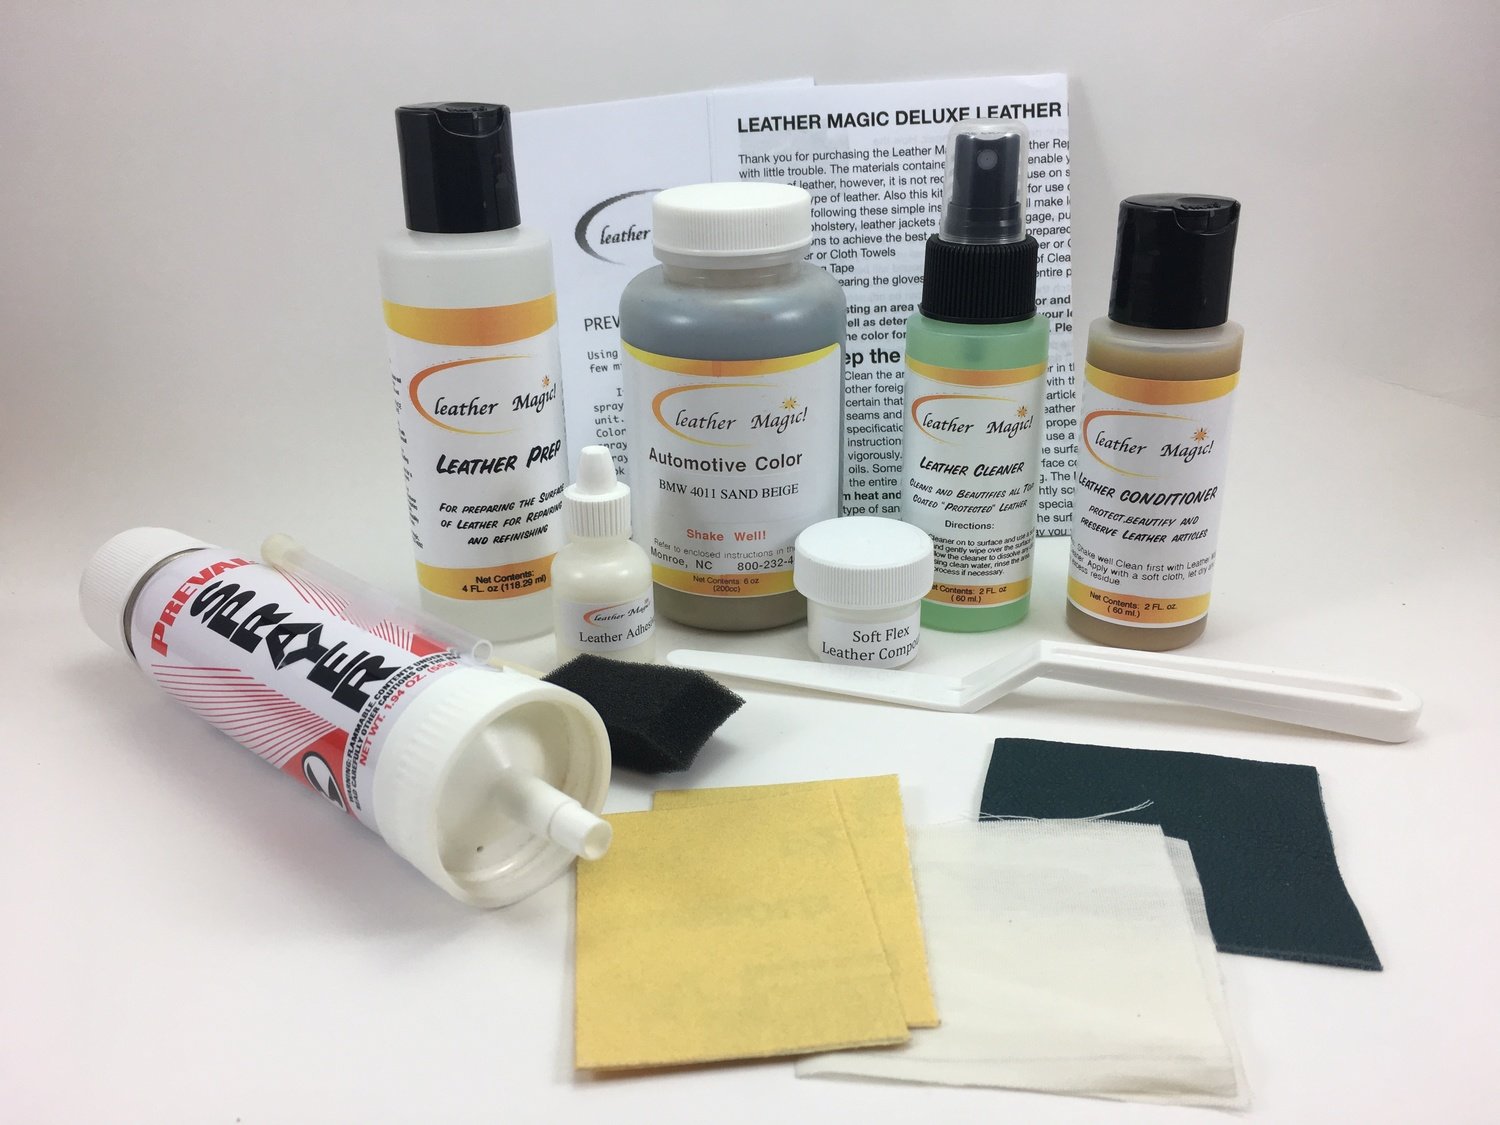
Essential Kit Components for Vehicle-Specific Results
The Leather Magic Deluxe Kit ($59) includes vehicle-specific colorants calibrated for your make/model—critical since BMW black differs from Toyota black. It contains linen subpatch material, leather-specific adhesive, heavy filler paste, and abrasive pads designed for automotive leather thickness. Never substitute with shoe repair kits; their rigid fillers crack under seat flexing.
Critical Individual Supplies Professionals Never Skip
- 220-grit sandpaper: Creates microscopic scratches for filler adhesion
- Alcohol cleaner: Removes invisible oils that prevent bonding
- Linen subpatch sheets ($2): Cut 1cm larger than tear for hidden foundation
- Polyester thread: Color-matched for sewing straight tears
- Ultra-thin needle: Minimizes visible stitching holes
Master Color Matching With These Techniques
Use the kit’s color chart matching your VIN—not visual guessing. Test on a hidden seat area first; apply 3-5 thin coats to mimic factory depth. For sun-faded seats, mix base color with 10% lighter shade to counteract UV bleaching. Always work in natural light; indoor lighting distorts color perception.
Prepare the Damaged Area Like a Master Technician
Skipping prep causes 90% of DIY repair failures. This stage determines whether your fix lasts months or years.
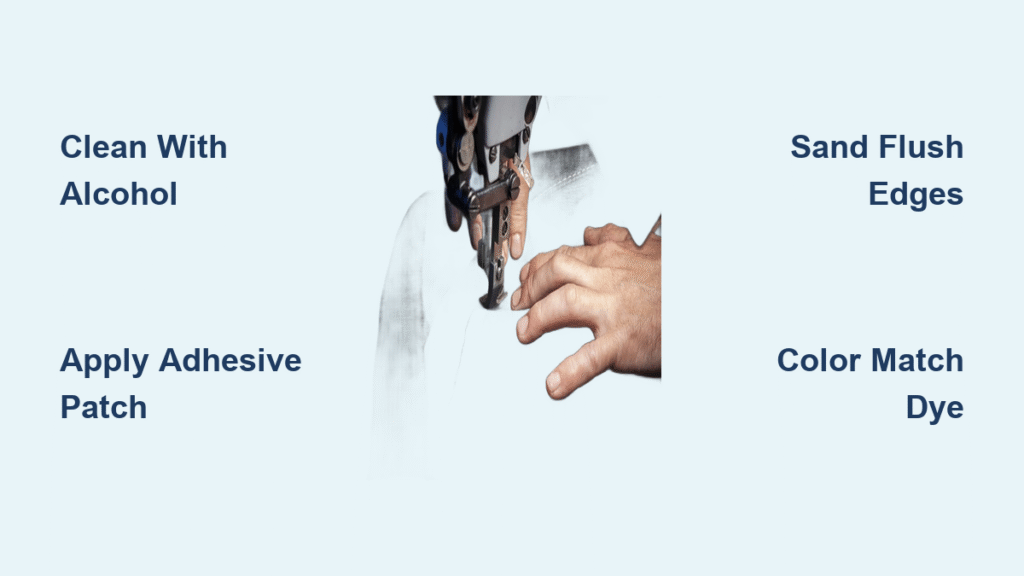
Deep Clean Using the Two-Step Degreasing Process
First, scrub with nylon brush and car wash soap to dislodge embedded dirt—grit trapped under filler creates lumps. Then apply alcohol cleaner with lint-free cloth, working in circular motions until no grime transfers. This step is non-negotiable; oils from your body prevent adhesion, causing filler to peel within weeks.
Remove Factory Finish With Precision Abrasion
Scuff the area 2cm beyond the tear using Leather Prep abrasive pad—this strips the protective topcoat without damaging fibers. You’ll see a slight color change as the pad exposes raw leather. Wipe residue with alcohol cleaner; any remaining dust creates a barrier between leather and adhesive.
Trim Protruding Edges for Seamless Blending
Use a fresh scalpel blade to slice away raised leather flaps around the tear. Hold the blade at 45 degrees, cutting parallel to the tear—not into it. This creates flat edges that filler can bond to, eliminating visible “steps” after repair. Never pull torn fibers; they’ll shrink and create gaps.
Execute Structural Repairs Based on Tear Configuration
The foundation determines durability. Rushing this phase causes filler to crack under daily use.
Install Subpatch Foundation for Holes and Large Tears
Cut linen subpatch extending 1cm beyond the tear on all sides. Use tweezers to slide it beneath leather edges without stretching. Apply leather glue to the subpatch’s underside with a spatula, then press firmly for 60 seconds. This creates a hidden anchor—like rebar in concrete—that prevents tear re-opening.
Apply Heavy Filler in Micro-Layers for Invisible Builds
Load filler onto spatula and apply 5-6 paper-thin layers, waiting 20 minutes between coats (use hair dryer on cool setting to accelerate). Build to 90% depth initially, then apply final layer perfectly flush. Overfilling creates visible mounds; underfilling leaves depressions. Sand only if absolutely necessary with 400-grit paper.
Customize Repairs for Specific Damage Types
- Straight tears: Sew with polyester thread using whipstitch pattern, pulling tight enough to close gap but not distort leather
- Cracks: Fill with leather paste using toothpick, sanding lightly between applications
- Holes: Cut leather insert 10% oversized, then trim to exact fit after glue sets
Match Color and Texture to Eliminate “Repaired” Appearance
Most DIYers fail here by applying color too thickly. Professional results require optical blending tricks.
Select Exact Color Using Vehicle-Specific Formulas
Match your VIN-specific color chart—factory leather varies by model year and trim level. Test on seat back interior first; apply colorant with sponge, working into grain valleys. For best results, mix base color with 5% clear coat to enhance depth without opacity.
Build Color Through Gradual Layering
Apply 10-15 ultra-thin airbrush coats, each barely tinting the surface. Hold sprayer 12 inches away in sweeping motions. After every 3 coats, feather edges with clean sponge by dabbing outward into undamaged leather. This creates optical blending—like watercolor painting—where the repair disappears at viewing distance.
Seal With Protective Finish for Longevity
Apply 4-5 thin coats of protective finish, allowing 15 minutes drying between layers. This UV-resistant topcoat prevents fading and adds scuff resistance. Never skip this step; unsealed repairs dry out and crack within months.
Follow Mandatory Curing Protocols for Permanent Results
Rushing curing destroys even perfect repairs. Leather needs time to bond at molecular level.
Respect Non-Negotiable Waiting Periods
- 48 hours minimum before sitting on Leather Magic repairs
- 24 hours for general repairs before light use
- 20 minutes between filler layers (use hair dryer on cool)
Implement Critical Safety Measures
Work in 70°F temperatures with cross-ventilation—cold slows curing, humidity traps moisture. Wear nitrile gloves; solvents in colorants degrade skin oils. Always test products in seat crevices first; some leathers react unpredictably to chemicals.
Verify Repair Quality With Professional Inspection Techniques
Don’t assume success until passing these durability tests.
Conduct Flexibility Stress Testing
After full cure, gently flex the repair 10 times while inspecting edges. Proper adhesion shows zero cracking or lifting. If filler separates, sand lightly and reapply—never force flexibility.
Perform Multi-Angle Visual Assessment
Examine under direct sunlight and indoor lighting from multiple angles. Run fingers over the repair—it should feel perfectly smooth with no texture changes. Color must match within 5% when viewed from 3 feet away.
Establish Long-Term Maintenance Protocol
Apply leather conditioner monthly using circular motions to maintain suppleness. Inspect high-stress areas quarterly with flashlight; address new cracks immediately before they spread. Keep seats out of direct sunlight when parked.
Prevent Future Tears With Proactive Protection Strategies
The repaired spot remains vulnerable without reinforcement.
Implement Daily Damage Prevention Tactics
- Use seat covers when transporting heavy objects or pets
- Store keys in center console—never dangling from ignition
- Condition leather every 3 months to prevent fiber brittleness
Reinforce Stress Points During Initial Repair
Add extra subpatch layers beneath thigh contact zones while repairing. Extend patches 2cm beyond visible damage into high-flex areas—this creates an invisible reinforcement zone.
Follow Climate-Specific Maintenance Schedule
In dry climates, condition monthly; humid areas need quarterly care. After spills, blot immediately with microfiber cloth—never rub. Use UV-blocking window film to prevent sun damage, the #1 cause of leather cracking.
A properly executed leather seat repair becomes invisible within weeks as colorants fully integrate with the leather’s natural oils. The critical factor isn’t expensive tools—it’s patience during curing and precision in layering. Rush the 48-hour dry time, and you’ll undo hours of work when sitting too soon. But get it right, and that tear vanishes completely, saving you $1,000+ in professional reupholstering. Your seat won’t just look factory-fresh—it will feel like the damage never existed. Start with a small test area to perfect your technique, then tackle that eyesore with confidence. In less than a weekend, you’ll slide into a car that looks—and feels—like new.