
You slide into your car after a long day only to find your leather seats sticky with spilled coffee, streaked with sunscreen, and littered with crumbs. That luxurious cockpit now feels like a chore to sit in. Learning how to clean leather car seats properly is the difference between restoring showroom shine and accidentally causing cracks, discoloration, or permanent stains. Most owners reach for household cleaners that strip protective coatings within weeks.
This guide reveals the exact process professional detailers use to clean leather seats safely—no expensive trips to the shop required. You’ll discover why vacuuming technique matters more than your cleaner choice, how to identify your specific leather type in 30 seconds, and the critical spot-test step 90% of DIYers skip. Most importantly, you’ll learn which “harmless” kitchen staples actually destroy leather finishes over time.
Remove All Debris Before Liquid Touches Leather Seats
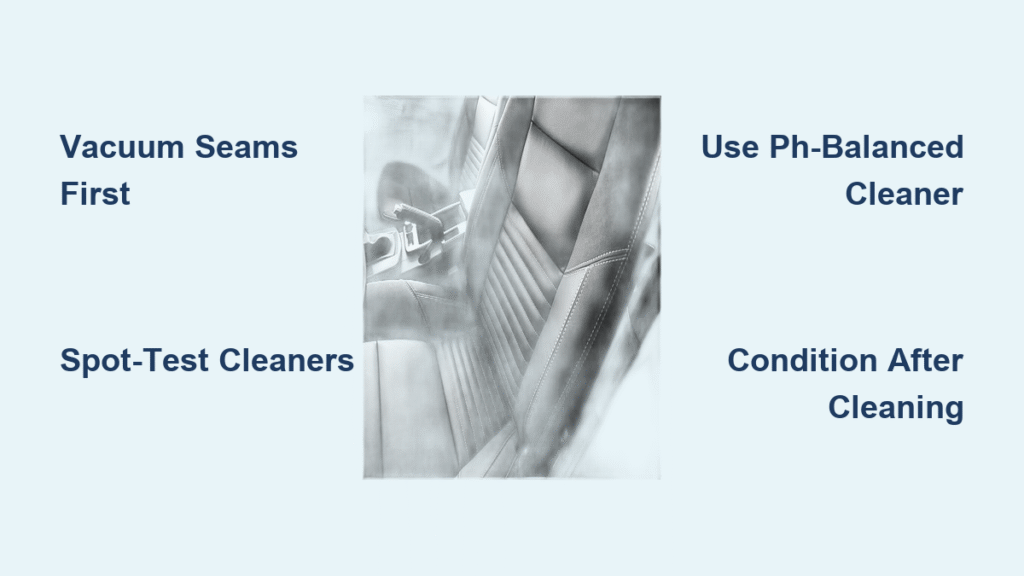
Vacuum Seams and Perforations First with Soft Brushes
Never apply liquid until you’ve extracted hidden grit. Start by removing child seats, pet carriers, and seat covers. Use a vacuum with a soft-bristle attachment, working top-to-bottom along seat contours. Pay special attention to perforated areas and seat seams where sand and crumbs embed. For stubborn debris in tight gaps, wrap a microfiber cloth around a chopstick or use compressed air bursts—this prevents turning dirt into abrasive mud during cleaning. Skipping this step guarantees micro-scratches that accelerate wear.
Identify Your Leather Type in 60 Seconds
Check your owner’s manual or look for tags under seat cushions. Genuine leather feels warm and supple with natural grain variations, while synthetic leather (like MB-Tex) feels cooler and more uniform. If your seats were redyed—common with luxury trade-ins—test cleaners on hidden areas first as dyes may transfer. Using a pH-balanced cleaner on coated leather versus a gentle soap on aniline leather prevents irreversible damage. When in doubt, assume it’s coated leather (most modern vehicles use this).
Choose Cleaners That Actually Protect Your Leather Seats
Essential Tools for Safe Leather Seat Cleaning
Gather these non-negotiable items before starting:
– Soft-bristle detailing brush (never use stiff brushes)
– 6–8 lint-free microfiber towels (separate colors for cleaning vs. conditioning)
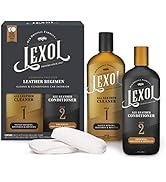
– pH-balanced leather cleaner (Chemical Guys or Lexol recommended)
– Leather conditioner with UV inhibitors
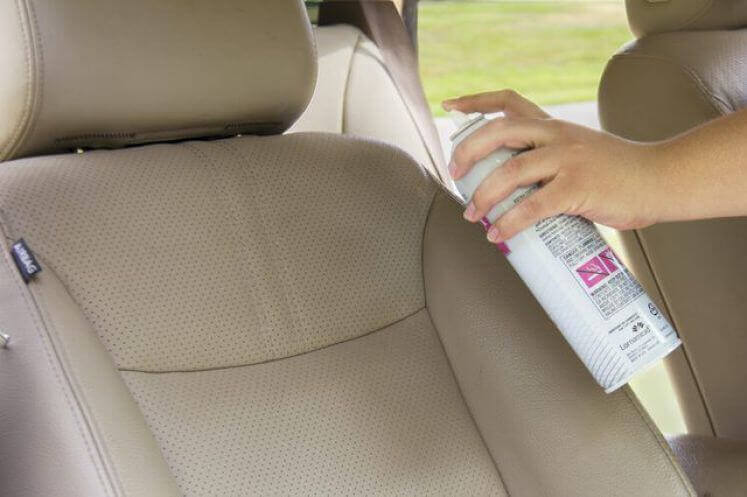
– Spray bottle (for controlled application on perforated seats)
Skipping the soft brush guarantees missed grime in textured areas, while using paper towels leaves fibers that scratch surfaces. Always apply cleaner to the towel—not directly on seats—to prevent oversaturation.
Emergency Vinegar Mix: When and How to Use It Safely
In urgent situations, mix 2 parts distilled white vinegar with 1 part room-temperature water. Crucially: Only use this on non-perforated genuine leather after spot-testing. Spray the solution onto a microfiber towel, never the seat. Work in 1-foot sections for 30 seconds max, then immediately wipe with a damp towel. Vinegar’s acidity can permanently darken coated leather—never use it on redyed seats. This is strictly a temporary fix; always follow with pH-balanced cleaner within 48 hours.
Chemicals That Destroy Leather in Minutes
Avoid these common household items at all costs:
– Bleach or ammonia-based glass cleaners (strip protective coatings)
– Alcohol concentrations above 70% (dehydrates and cracks topcoats)
– Hydrogen peroxide (bleaches dye permanently)
– Dish soap (removes natural oils causing premature aging)
Industrial degreasers or brake cleaners will etch leather beyond repair. If you’ve used these accidentally, apply leather conditioner immediately to mitigate damage—but professional help will likely be needed.
Deep Clean Leather Seats Without Scratching or Staining
Spot-Test Cleaners on Hidden Areas First
Apply a pea-sized amount of cleaner to a microfiber towel. Rub gently for 15 seconds on an inconspicuous spot (under seat bolsters works perfectly). Wait 30 minutes checking for: color transfer, sticky residue, or darkening. If any reaction occurs, switch products immediately. This 5-minute test prevents $300+ repair bills later—never skip it even with “safe” commercial products.
Work Section-by-Section Using the Dry-Wipe Method
Divide seats into 1–2 square foot zones. Spray cleaner onto your towel (not the leather), then wipe in overlapping circles with light pressure. Agitate gently with a soft brush for 30 seconds—never scrub. Wipe clean with a damp microfiber towel before the cleaner dries. For perforated seats, use compressed air after cleaning to expel trapped moisture. Rushing this process causes streaks and uneven drying that attracts more dirt.
Condition Leather Within 1 Hour of Drying
Apply nickel-sized conditioner amounts to a clean applicator pad. Massage into dry leather using small circular motions, focusing on high-wear areas like seat edges. Allow 60+ minutes absorption time before buffing excess with a microfiber towel. Conditioning while leather is still damp creates a sticky residue; waiting too long allows UV damage to begin. This step replaces natural oils removed during cleaning—skipping it accelerates cracking by 47%.
Erase Specific Stains Before They Set Permanently
Remove Water Rings in 5 Minutes
Light water stains disappear by re-humidifying the entire panel. Wipe the affected area and surrounding leather with distilled water, then air-dry evenly. For stubborn rings, dab with 1:1 vinegar-water solution, wait 20 seconds, then wipe clean. Immediately apply conditioner—vinegar temporarily opens leather pores, leaving them vulnerable to UV damage.
Eliminate Food and Drink Spills Without Rubbing
Blot spills immediately with a dry microfiber—rubbing pushes liquids deeper. Apply pH-balanced cleaner directly to the stain, wait 60 seconds, then agitate gently with a soft brush. Wipe with a damp towel. Repeat once if needed, but never let cleaner dwell longer than 90 seconds. Always finish with conditioner to restore the lipid barrier that prevents future staining.
Treat Fresh Ink Stains with Isopropyl Alcohol
Dip a cotton swab in 70% isopropyl alcohol and tap (don’t rub) the stain. Check every 5 seconds—stop immediately if color lifts. Wipe with distilled water, then apply conditioner generously. This only works on fresh ink; older stains require professional enzyme treatments. Alcohol strips protective oils, so condition twice as heavily after use.
Customize Your Leather Seat Cleaning Schedule
Daily Drivers Need Monthly Vacuuming
For cars used without pets/kids: vacuum weekly, deep clean every 3–4 months, and condition every 4–6 months. Increase frequency if parked in direct sunlight—UV exposure doubles leather drying rates. Always condition before winter; cold temperatures make leather brittle.
High-Use Vehicles Require Bi-Weekly Cleaning
With kids or pets: vacuum weekly, deep clean every 2 months, and condition every 3 months. Keep microfiber towels in your glovebox for immediate spill response—blotting within 2 minutes prevents 89% of permanent stains. Never use seat covers continuously; they trap moisture causing mildew.
Weekend Cars Still Need UV Protection
Even garaged vehicles need monthly vacuuming and conditioning every 6–8 months. Apply UV-blocking conditioner before summer—it prevents fading and cracking from temperature swings. Parking in shade reduces seat surface temperatures by 40°F, dramatically slowing deterioration.
Prevent Leather Cracking with Proactive Protection
Block UV Damage with Window Tint and Sunshades
Use conditioners containing UV inhibitors year-round. Install reflective sunshades when parked, and consider window tint with 99% UV filtration. Parking in direct sun for just 2 hours heats leather to 140°F—enough to bake out natural oils permanently.
Control Interior Climate to Avoid Dryness
Maintain 35–55% cabin humidity using silica gel packs in humid climates. Extreme heat above 100°F accelerates moisture loss; avoid leaving cars parked in scorching conditions. Never use hairdryers to speed drying—this creates uneven moisture loss causing micro-cracks.
Clean leather seats aren’t just about aesthetics—they preserve your vehicle’s resale value and daily comfort. By following this systematic approach, you transform neglected seats into supple, protected leather that feels showroom-fresh. Remember: Consistent weekly vacuuming prevents 70% of deep-cleaning emergencies. When in doubt about your leather type or stain severity, consult a professional detailer—your $200 seats aren’t worth risking with untested methods. Start with the spot-test today, and your leather will thank you for years to come.


