
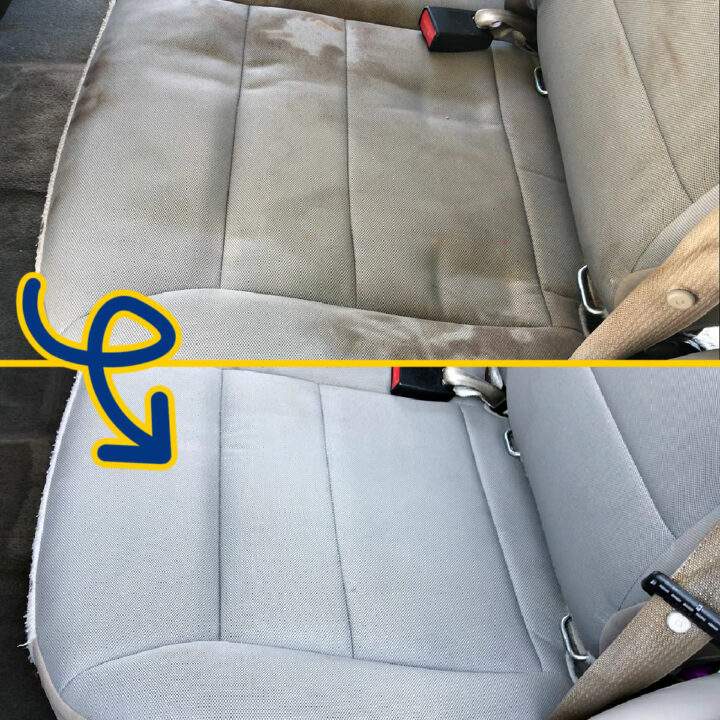
That sinking feeling when melted chocolate oozes across your car seat mid-road trip is universal. Whether it’s a forgotten candy bar or a child’s snack disaster, chocolate stains threaten to permanently damage your upholstery—but they don’t have to. The critical difference between a spotless seat and a ruined interior hinges on your immediate response and precise cleaning technique. This guide delivers battle-tested methods to remove chocolate from car seats of any material, using tools you likely own. Follow these steps to eliminate even stubborn stains without costly detailing or upholstery replacement.
Skip Rubbing: Why Your First Move Determines Success
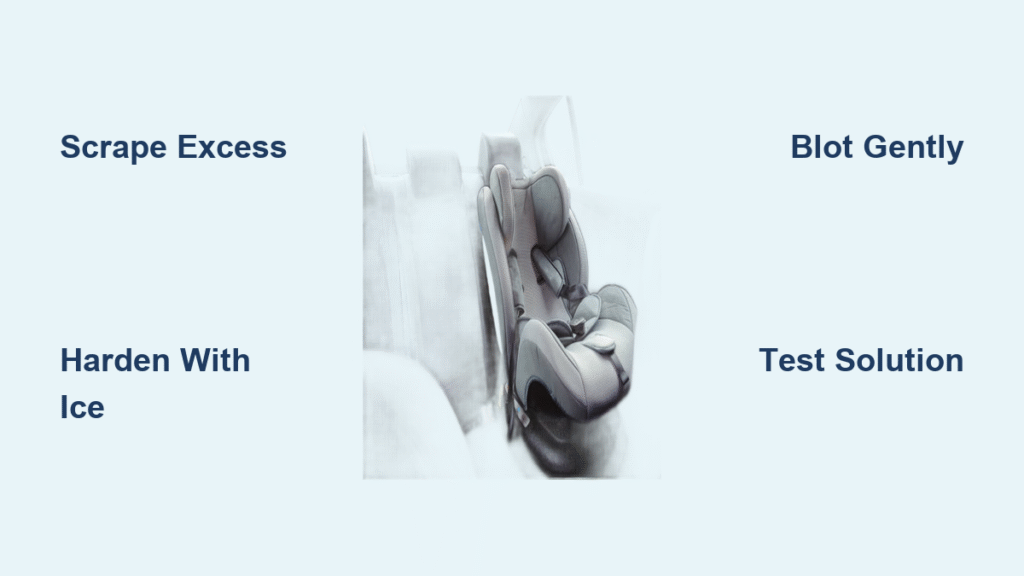
Rubbing grinds chocolate deeper into fibers—this single mistake turns manageable stains into permanent disasters. When chocolate hits your seat, act within 5 minutes while it’s still fresh. Begin by scraping excess with a plastic spoon or credit card edge, working from the stain’s outer edges inward to prevent spreading. If chocolate remains melted (it liquefies above 103°F for white chocolate or 133°F for dark), press ice cubes directly onto the area for 2 minutes. This hardens residues, allowing you to lift chunks cleanly.
What Not to Do With Chocolate Stains
Avoid these irreversible errors:
– Applying hot water (sets protein-based stains permanently)
– Using kitchen cleaners (dish soap is acceptable; bleach or ammonia damages automotive fabrics)
– Blotting with paper towels (they disintegrate and leave lint)
– Skipping the test patch (always check solutions on hidden seams first)
Fresh Chocolate Emergency Protocol
:max_bytes(150000):strip_icc()/chocolate-stains-on-furniture-7152850_V1-7e642858482d476881f8f2f956ce652d.png)
3-Step Removal for Wet Chocolate Spills
- Hardening phase: Seal ice cubes in a plastic bag, press firmly for 90 seconds until chocolate solidifies
- Debris removal: Gently lift chunks with a plastic scraper—never metal (it snags fibers)
- Targeted cleaning: Mix 2 cups cold water with 1 tbsp grease-fighting dish soap. Dip a microfiber cloth, blot from edges toward center, then rinse with plain water cloth
Critical timing: Complete all steps within 10 minutes. Fresh chocolate contains 30% fat that binds to fabric within 15 minutes—delaying guarantees a set stain.
Spot Test Fail-Safe Method
Before applying any solution:
1. Dampen a hidden seat area (e.g., under headrest) with your cleaning mix
2. Wait 60 seconds, then blot dry
3. Check for color bleeding or texture changes
If discoloration occurs, switch to undiluted white vinegar
Dried Chocolate Deep Clean System
When Chocolate Has Set Overnight
For hardened stains, vacuum first with an upholstery attachment to lift loose particles. Then:
1. Re-soften stubborn patches: Hold a hair dryer on cool setting 6 inches away for 20 seconds
2. Scrape at 45° angle: Use a plastic scraper to lift flakes without damaging fabric weave
3. Apply enzyme cleaner: Spray SHOUT non-gel formula, wait 8 minutes for enzymes to break down cocoa solids
4. Blot with warm water: Use circular motions until transfer stops (brown water = progress)
Pro tip: Dark chocolate stains require 2-3 treatments due to higher cocoa content—never saturate the seat. Over-wetting causes water rings that outlast the original stain.
Fabric-Specific Rescue Tactics
Cloth Seats: Blot Don’t Scrub
Standard fabric seats absorb chocolate rapidly. Use Resolve Carpet Spray as your primary weapon:
– Spray until surface is damp (not soaked)
– Wait 5 minutes for the foaming action to lift residue
– Blot with dry microfiber using downward pressure
– Dry completely with AC on high for 3 hours before use
Warning: Baking soda pastes can lighten dark fabrics—test first.
Leather Seats: Condition After Every Clean
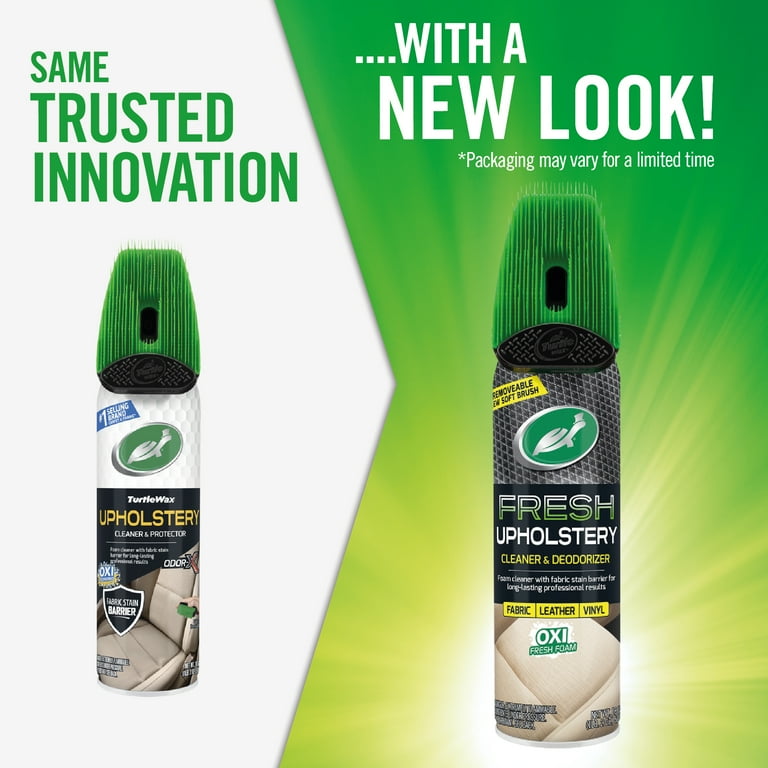
Leather’s porous surface traps chocolate oils, causing cracks if mishandled. Only use Turtle Wax PowerOut:
1. Spray 6 inches from seat, let foam activate for 3 minutes
2. Wipe with damp (not wet) microfiber using straight strokes
3. Immediately apply leather conditioner to prevent drying
Never use vinegar or hydrogen peroxide—they strip protective coatings
Synthetic Blends: Aggressive Cleaning Permitted
Modern vinyl/polyester seats withstand tougher methods:
– Apply Nonsense All Purpose Cleaner undiluted
– Scrub gently with soft-bristled brush
– Rinse with warm water mist
– Dry in sunlight for 90 minutes (synthetics resist UV damage)
Professional-Grade Products That Beat DIY
Top 3 Stain Eliminators
| Product | Best For | Application Time | Cost Per Use |
|---|---|---|---|
| Turtle Wax PowerOut | Leather seats | 7 minutes | $0.85 |
| SHOUT Non-Gel | Fabric seats | 10 minutes | $0.40 |
| Lightning Fast Extractor | Set-in stains | 15 minutes | $1.20 |
Why commercial beats home remedies: Automotive-specific cleaners contain pH balancers that prevent color fading—unlike vinegar which strips dyes. For month-old stains, SHOUT’s enzyme formula breaks down cocoa solids where dish soap fails.
Emergency Home Hacks When Products Aren’t Available
- Shaving cream method: Apply non-gel cream to stain, wait 4 minutes, wipe with damp cloth (works on fabric only)
- Ice-vacuum combo: Freeze residue, then vacuum chunks before blotting
- Magic Eraser trick: Dampen melamine sponge slightly—never use dry—for synthetic seats only
Avoid hydrogen peroxide on dark seats—it causes permanent bleaching.
Steam Cleaning for Extreme Cases
When to Break Out the DetailVac
Use automotive steam cleaners only after pre-treating with ice:
1. Fill reservoir with distilled water (prevents mineral deposits)
2. Hold nozzle 3 inches from seat, moving slowly in 6-inch sections
3. Simultaneously brush with horsehair brush to lift fibers
4. Wipe immediately with dry microfiber to capture loosened particles
Critical safety step: Never exceed 220°F steam temperature—higher settings melt synthetic seat fibers. Work in 10-minute intervals with 5-minute cooling breaks.
When to Call a Professional
5 Red Flags You Need Detailing Help
Seek experts immediately if:
– Stain remains after 3 full treatment cycles
– Affected area exceeds 6 inches in diameter
– Seat shows texture changes (matting or pilling)
– Brown tint persists after drying
– You own leather perforated seats (DIY risks irreparable damage)
Pro insight: Heat-set stains (from parked cars in summer) require industrial solvents—attempting removal yourself often spreads discoloration.
Future-Proof Your Car Seats
Build a 2-Minute Emergency Kit
Store these in your glove compartment:
– Baby wipes (perfect for fresh stains—no rinsing needed)
– Microfiber cloths (2-pack, folded compactly)
– Plastic scraper (old credit card works)
– Pre-mixed soap spray (2 cups water + 1 tbsp Dawn in small bottle)
Post-cleaning protocol:
– Run AC on max for 2 hours after treatment
– Apply fabric protector every 6 months (3M Scotchgard Auto)
– Document successful methods in your phone notes
Value Preservation Checklist
Chocolate stains reduce resale value by up to $300 if visible. Protect your investment by:
– Never skipping immediate cleanup (even tiny spots attract dirt)
– Conditioning leather quarterly (prevents cracking from cleaning)
– Using seat covers after major stains (hides residual discoloration)
– Taking before/after photos for trade-in negotiations
Final verification: Your seat passes the chocolate stain test when fabric feels uniformly smooth, shows zero brown transfer on white cloth, and matches surrounding color under sunlight. For dark chocolate on light seats, expect 1-2 subtle shadows—these rarely impact resale value if properly documented. By acting fast with these precise techniques, you’ll transform panic into confidence the next time chocolate threatens your car’s interior. Keep this guide bookmarked, and your seats will stay pristine through countless snack emergencies.


