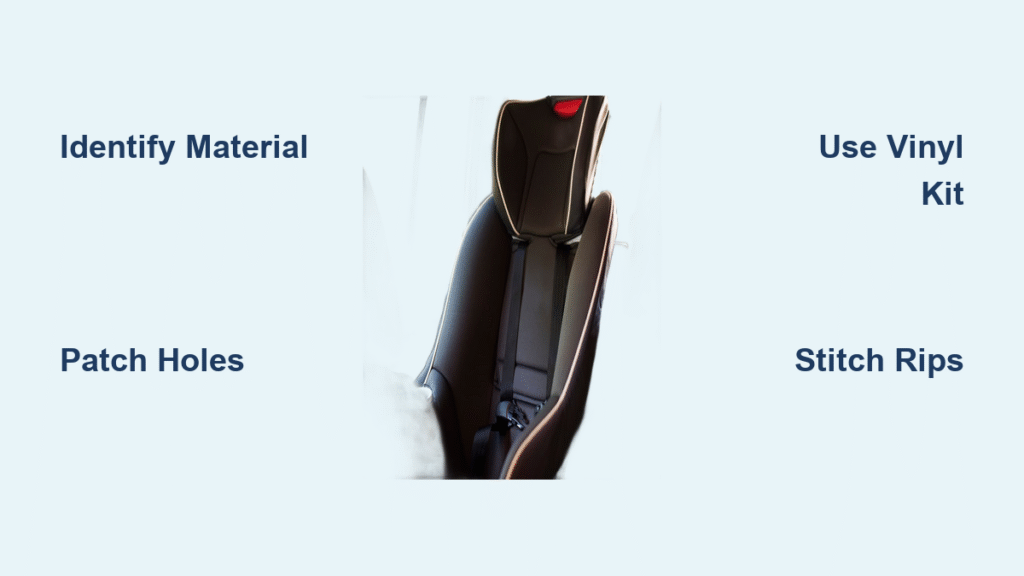
That jagged tear on your driver’s seat isn’t just an eyesore—it’s actively getting worse every time you slide into your car. Whether it’s a small rip from your keys or a gaping hole from years of sun exposure and friction, you don’t need to replace the entire seat. Knowing how to fix torn car seat damage properly can save you hundreds while extending your vehicle’s life. This guide delivers battle-tested solutions for cloth, vinyl, and leather seats—from quick $5 fixes to professional-grade repairs that last years. Stop ignoring that tear; by the end of this article, you’ll know exactly which method matches your damage type and budget.
Diagnose Your Car Seat Tear Type
Identify Material Before Grabbing Tools
Your repair approach hinges entirely on whether you’re dealing with real leather, vinyl, or cloth. Many drivers waste money using vinyl kits on leather because they misidentify the material. Run your fingers over the damaged area: genuine leather feels soft and warm with natural grain variations, while vinyl is cooler, stiffer, and often has a uniform perforated pattern. Check the seat sides—most “leather” seats actually use vinyl bolsters (side panels) to reduce costs. Critical mistake: Using fabric glue on vinyl creates a sticky mess that attracts dirt. Always test repair products on hidden areas first.
Pinpoint Damage Location and Severity
Tears on driver-side bolsters account for 80% of repairs due to entry/exit friction. Measure precisely:
– Surface scratches (only top layer damaged): Fix with color compound
– Small rips (1-2 inches where edges meet): Stitch or glue
– Holes (edges won’t connect): Require backing patches
– Cracks (spiderweb patterns): Indicate material hardening—needs professional help
Pro tip: Tears on seating surfaces endure 3x more stress than side panels. A repair that lasts years on a door panel will fail quickly where your thigh rubs daily. Always reinforce high-stress areas with backing patches.
Repair Small Cloth Seat Tears in 45 Minutes
Hand-Stitch Rips Under 2 Inches
For tears where fabric edges can touch, skip expensive kits. You’ll need a curved upholstery needle (bends around seat curves), color-matched polyester thread, and fabric glue:
1. Thread needle and knot the end
2. Use a whipstitch pattern—loop thread over both edges like wrapping a present
3. Pull taut enough to close the gap without puckering the fabric
4. Knot securely underneath the seat and trim excess
5. Dab fabric glue along stitches to prevent fraying
Time-saver: Match thread by holding scraps against auto upholstery swatches at craft stores—ignore clothing threads, which lack durability. This method costs under $10 and takes 30-45 minutes. Avoid regular sewing thread—it snaps under seat stress within weeks.
Patch Unsalvageable Holes
When fabric won’t meet, create an invisible fix:
– Source matching material from junkyard seats or upholstery remnants
– Trim frayed edges with sharp scissors
– Apply spray adhesive to the seat underside around the hole
– Position patch with ¼-inch overlap, smoothing from center outward
– Cover with pressing cloth and iron on high heat for 30 seconds to activate bonding
Warning: Never pull fabric tight when patching—it creates unsightly tension lines. Test iron heat on scrap material first; synthetic blends melt at 300°F.
Fix Vinyl Seat Tears Like a Pro
Master the 8-Step Vinyl Repair Kit Process

Quality vinyl kits ($15-$35) deliver professional results when done correctly. Skip any step and your repair fails in weeks:
1. Clean area with mild soap and water, dry 24 hours
2. Snip loose vinyl strands with micro-scissors
3. Sand lightly with 320-grit paper for adhesion
4. Cut backing cloth ½ inch larger than hole on all sides
5. Slide backing under tear using tweezers; glue in place
6. Apply filler paste in 3 thin coats (drying 1 hour between)
7. Sand flush with 600-grit paper when dry
8. Mix color compound, apply, and press texture paper for 60 seconds
Critical nuance: Over-applying filler causes lumps that crack. Apply coats thinner than a credit card. Heat-set with a hair dryer on high for 2 minutes to cure—this doubles repair longevity.
Emergency Vinyl Fixes That Last
When you need immediate coverage:
– Gorilla Tape: Black tape blends surprisingly well on dark seats. Lasts 12+ months if applied to clean, dry vinyl.
– Stick-on patches: Peel-and-stick vinyl sheets work for holes under 1 inch. Trim edges with a razor blade for invisibility.
– Fabric glue: Only use on stress-free areas like headrests. Blot excess with alcohol-soaked cotton swab.
Avoid: Clear packing tape—it yellows and peels within weeks.
Repair Leather Seat Cuts Without Dye Blotches
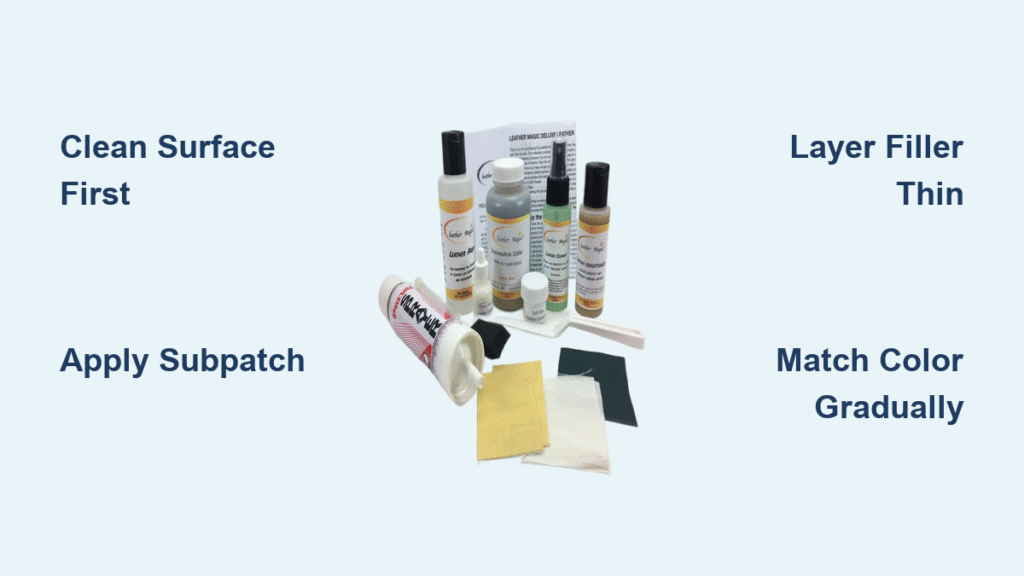
The Sub-Patch Technique for Seamless Fixes
Leather demands different handling than vinyl—using vinyl filler creates a stiff, unnatural patch. For cuts under 3 inches:
1. Clean with pH-neutral leather cleaner
2. Insert leather sub-patch under tear using curved tweezers
3. Apply contact cement sparingly along edges (not liquid glue)
4. Press edges together for 30 seconds
5. Once dry, apply leather dye with cotton swab in circular motions
6. Seal with acrylic finisher to prevent color transfer
Color matching secret: Blend 2-3 dye shades—most “black” seats are actually dark brown. Test on seat back first. Never apply dye to uncured glue; it creates permanent streaks.
When to Call Pros vs. DIY
4 Signs Your Tear Needs Professional Help
Stop wasting time if you see:
– Multiple cracks radiating from the tear (material is failing)
– Holes larger than 4 inches (DIY patches become visible)
– Color mismatch after 2 attempts (requires professional dyes)
– Recurring damage in the same spot (structural weakness)
Cost-cutting hack: Ask your dealership’s used-car manager for mobile repair referrals. Many outsource work to technicians who charge 40% less than dealerships. For Subarus, inquire about SOA goodwill coupons—they sometimes cover $500 toward repairs.
Repair Cost vs. Longevity Breakdown

| Method | Cost | Time | Lifespan | Best For |
|---|---|---|---|---|
| Stitching | $5-10 | 45 min | 6-12 months | Small cloth tears |
| Vinyl kit | $25 | 3 hours | 1-2 years | Bolster holes |
| Leather repair | $30 | 2 hours | 2+ years | Steering wheel cuts |
| Mobile pro | $150 | 1 hour | 5 years | Driver seat tears |
| Seat covers | $75 | 20 min | 5+ years | Preventative fix |
Money truth: A $100 professional repair often costs less long-term than 3 failed DIY attempts. If your seat is over 8 years old, skip repairs and buy seat covers—they hide damage while preventing new tears.
Prevent Future Tears With 3-Minute Habits
Install Seat Covers That Hide Existing Damage

Custom-fit neoprene covers (like Wet Okole) are the ultimate tear prevention:
– Stretch over existing seats in 20 minutes—no tools needed
– Distribute weight to reduce stress on weak spots
– Hide tears while adding UV protection
– Cost $50-$150 (vs. $800 for OEM replacement)
Pro tip: Choose black for easiest color matching. Tan/coffee seats have limited cover options—check Amazon for “universal fit” covers.
Daily Maintenance That Stops Tears Before They Start
- UV defense: Park in shade or use a windshield sunshade—UV rays harden vinyl in 2 years
- Weekly care: Vacuum seat crevices; wipe vinyl with damp microfiber cloth
- Leather TLC: Apply conditioner every 3 months (dry leather cracks)
- Entry technique: Slide across seat less; place a towel on bolsters when entering
Emergency hack: Spray vinyl bolsters monthly with 303 Aerospace Protectant—this $10 spray prevents cracking for 6 months.
Fix Failed Repairs in 10 Minutes
Solve Common DIY Disasters
Crack keeps growing:
– Cause: Underlying vinyl hardening
– Fix: Apply heat gun for 10 seconds to soften material, then reapply filler
Color mismatch:
– Cause: Dye applied too thickly
– Fix: Wipe excess with acetone-dipped swab; layer thin coats
Adhesive won’t stick:
– Cause: Oils from hands on surface
– Fix: Clean with rubbing alcohol; lightly sand with 400-grit paper
Stitches pulling out:
– Cause: Using regular thread
– Fix: Reinforce with fabric glue underneath; replace with upholstery thread
Your Tear Repair Cheat Sheet
Grab this quick-reference guide before starting:
– Tiny vinyl scratch: Paint with color-matched compound
– 2-inch cloth tear: Whipstitch with upholstery thread
– Quarter-sized vinyl hole: Backing patch + 3 filler coats
– Leather cut on steering wheel: Sub-patch + contact cement
– Tear wider than your thumb: Get pro quote or install seat covers
Final warning: That small tear won’t stay small. Every time you sit down, it widens by microscopic fibers. A 30-minute $10 repair today prevents $300 damage tomorrow. Grab your repair kit this weekend—your driver’s seat will thank you for years.


