
Your child’s car seat wobbles more than you’d like when you give it a firm shake. That unsettling movement could mean the difference between safety and serious injury in a collision. Knowing how to install car seat belt systems correctly isn’t just about following directions—it’s about creating a protective cocoon that stays put when it matters most. This guide delivers the exact steps you need to properly secure your child’s safety seat using your vehicle’s seat belt system.
Every year, emergency rooms treat thousands of children injured in car accidents where improper car seat installation played a role. The good news? You can prevent this with proper technique. Whether you’re a new parent or refreshing your knowledge, this step-by-step guide ensures your child rides safely on every journey. By the end, you’ll know exactly how to install car seat belt systems that hold firm in any driving condition.
Choose the Right Installation Method for Your Vehicle
Car seats secure through either the vehicle’s seat belt system or the LATCH system—both offer equal protection when properly executed. Never use both simultaneously unless your car seat and vehicle manuals specifically permit dual installation. The critical factor is achieving the tightest possible fit in your specific vehicle.
Test both systems in your car before deciding. Some vehicles have awkward LATCH anchor placements that make seat belt installation the superior choice. If your LATCH anchors require you to contort your body or can’t achieve a tight fit, switch to the seat belt method. Your installation should feel solid, not like it’s fighting against your vehicle’s design.
How to Determine Which System Works Best
Grab your car seat manual and vehicle owner’s manual before starting. Check for specific instructions about compatible installation methods. Some car seats perform better with seat belts in certain vehicles due to belt path design. The decisive test? Whichever method allows you to achieve less than one inch of movement at the belt path wins.
Lock Your Vehicle Seat Belt Properly
Engage Automatic Locking Retractors
Most modern vehicles feature automatic locking retractors that engage when you pull the seat belt all the way out. Here’s the precise sequence for proper engagement:
- Pull the seat belt completely out until it stops moving
- Allow it to retract slowly while maintaining gentle tension
- Listen for clicking sounds indicating the lock has engaged
- Test the lock by pulling gently on the belt—if it extends, repeat the process
This method creates a ratcheting effect that prevents the belt from loosening during use. Many parents skip the slow retraction step, causing the lock to fail during installation.
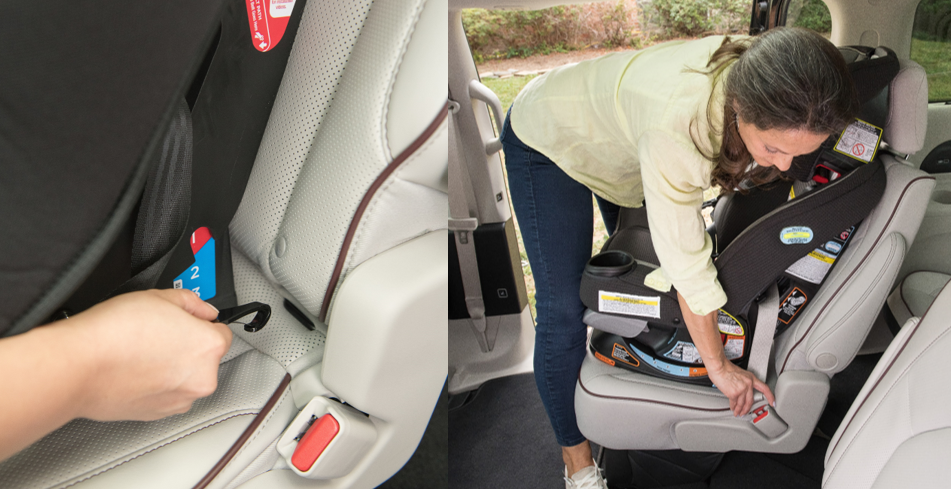
Use Built-in Lock-offs Correctly
Newer car seats often include integrated lock-offs that eliminate seat belt locking guesswork:
- Open the lock-off clip before threading the seat belt
- Route the belt through the correct path, then secure the lock-off
- This mechanical tension creates a more reliable hold than relying on vehicle retractors alone
Critical Tip: Always check your vehicle manual for specific seat belt locking instructions. Older vehicles may require manual locking clips available at baby stores or from your vehicle manufacturer.
Position Your Car Seat for Maximum Safety
Back Seat Installation Only
Children under 13 belong exclusively in the back seat—this simple rule reduces injury risk by 40% compared to front seat positioning. The airbag deployment force can seriously injure or kill children seated in the front.
Center vs. Side Seat Decision Guide
The center back seat offers optimal crash protection—if you can achieve proper installation. Test both positions before finalizing:
Choose center position when:
– You can achieve less than 1 inch of movement
– Vehicle seat contours allow level positioning
– You can easily access the installation points
Choose side position when:
– Center installation results in excessive movement
– LATCH anchors don’t exist for center position
– Vehicle hump prevents proper leveling
Install Rear-Facing Car Seats with Precision
Achieve Proper Recline Angle
Rear-facing seats require specific recline angles for infant safety:
- Use built-in level indicators (bubble or color-coded)
- Adjust recline foot or place pool noodles under base for proper angle
- Newborns need 30-45 degrees; older infants require 30-35 degrees
Warning: An improperly angled seat can cause your baby’s head to flop forward, restricting breathing during sleep.
Seat Belt Installation Steps for Rear-Facing Seats
- Identify the correct belt path (usually marked in blue for rear-facing)
- Thread the seat belt through the path without twists
- Buckle and lock the belt using the pull-retract method
- Compress the seat downward while tightening the belt
- Check movement – should not exceed 1 inch in any direction
Pro Tip: Place your knee on the car seat base while tightening the belt—this applies downward pressure for a tighter fit than hand pressure alone.
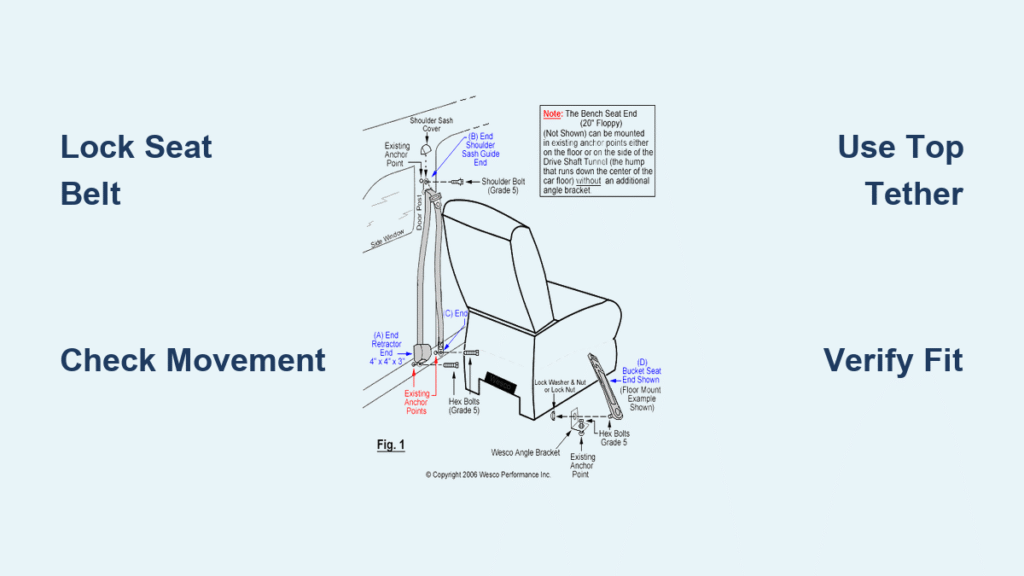
Install Forward-Facing Seats with Top Tether
Top Tether: The Non-Negotiable Safety Feature
Forward-facing installations must use the top tether strap. This simple addition reduces head movement by 4-6 inches during crashes—potentially preventing head injuries.
Locate Your Tether Anchor:
– Sedans: Behind seat on rear deck
– SUVs/minivans: Ceiling, floor, or seat back
– Trucks: Consult your vehicle manual—placement varies significantly
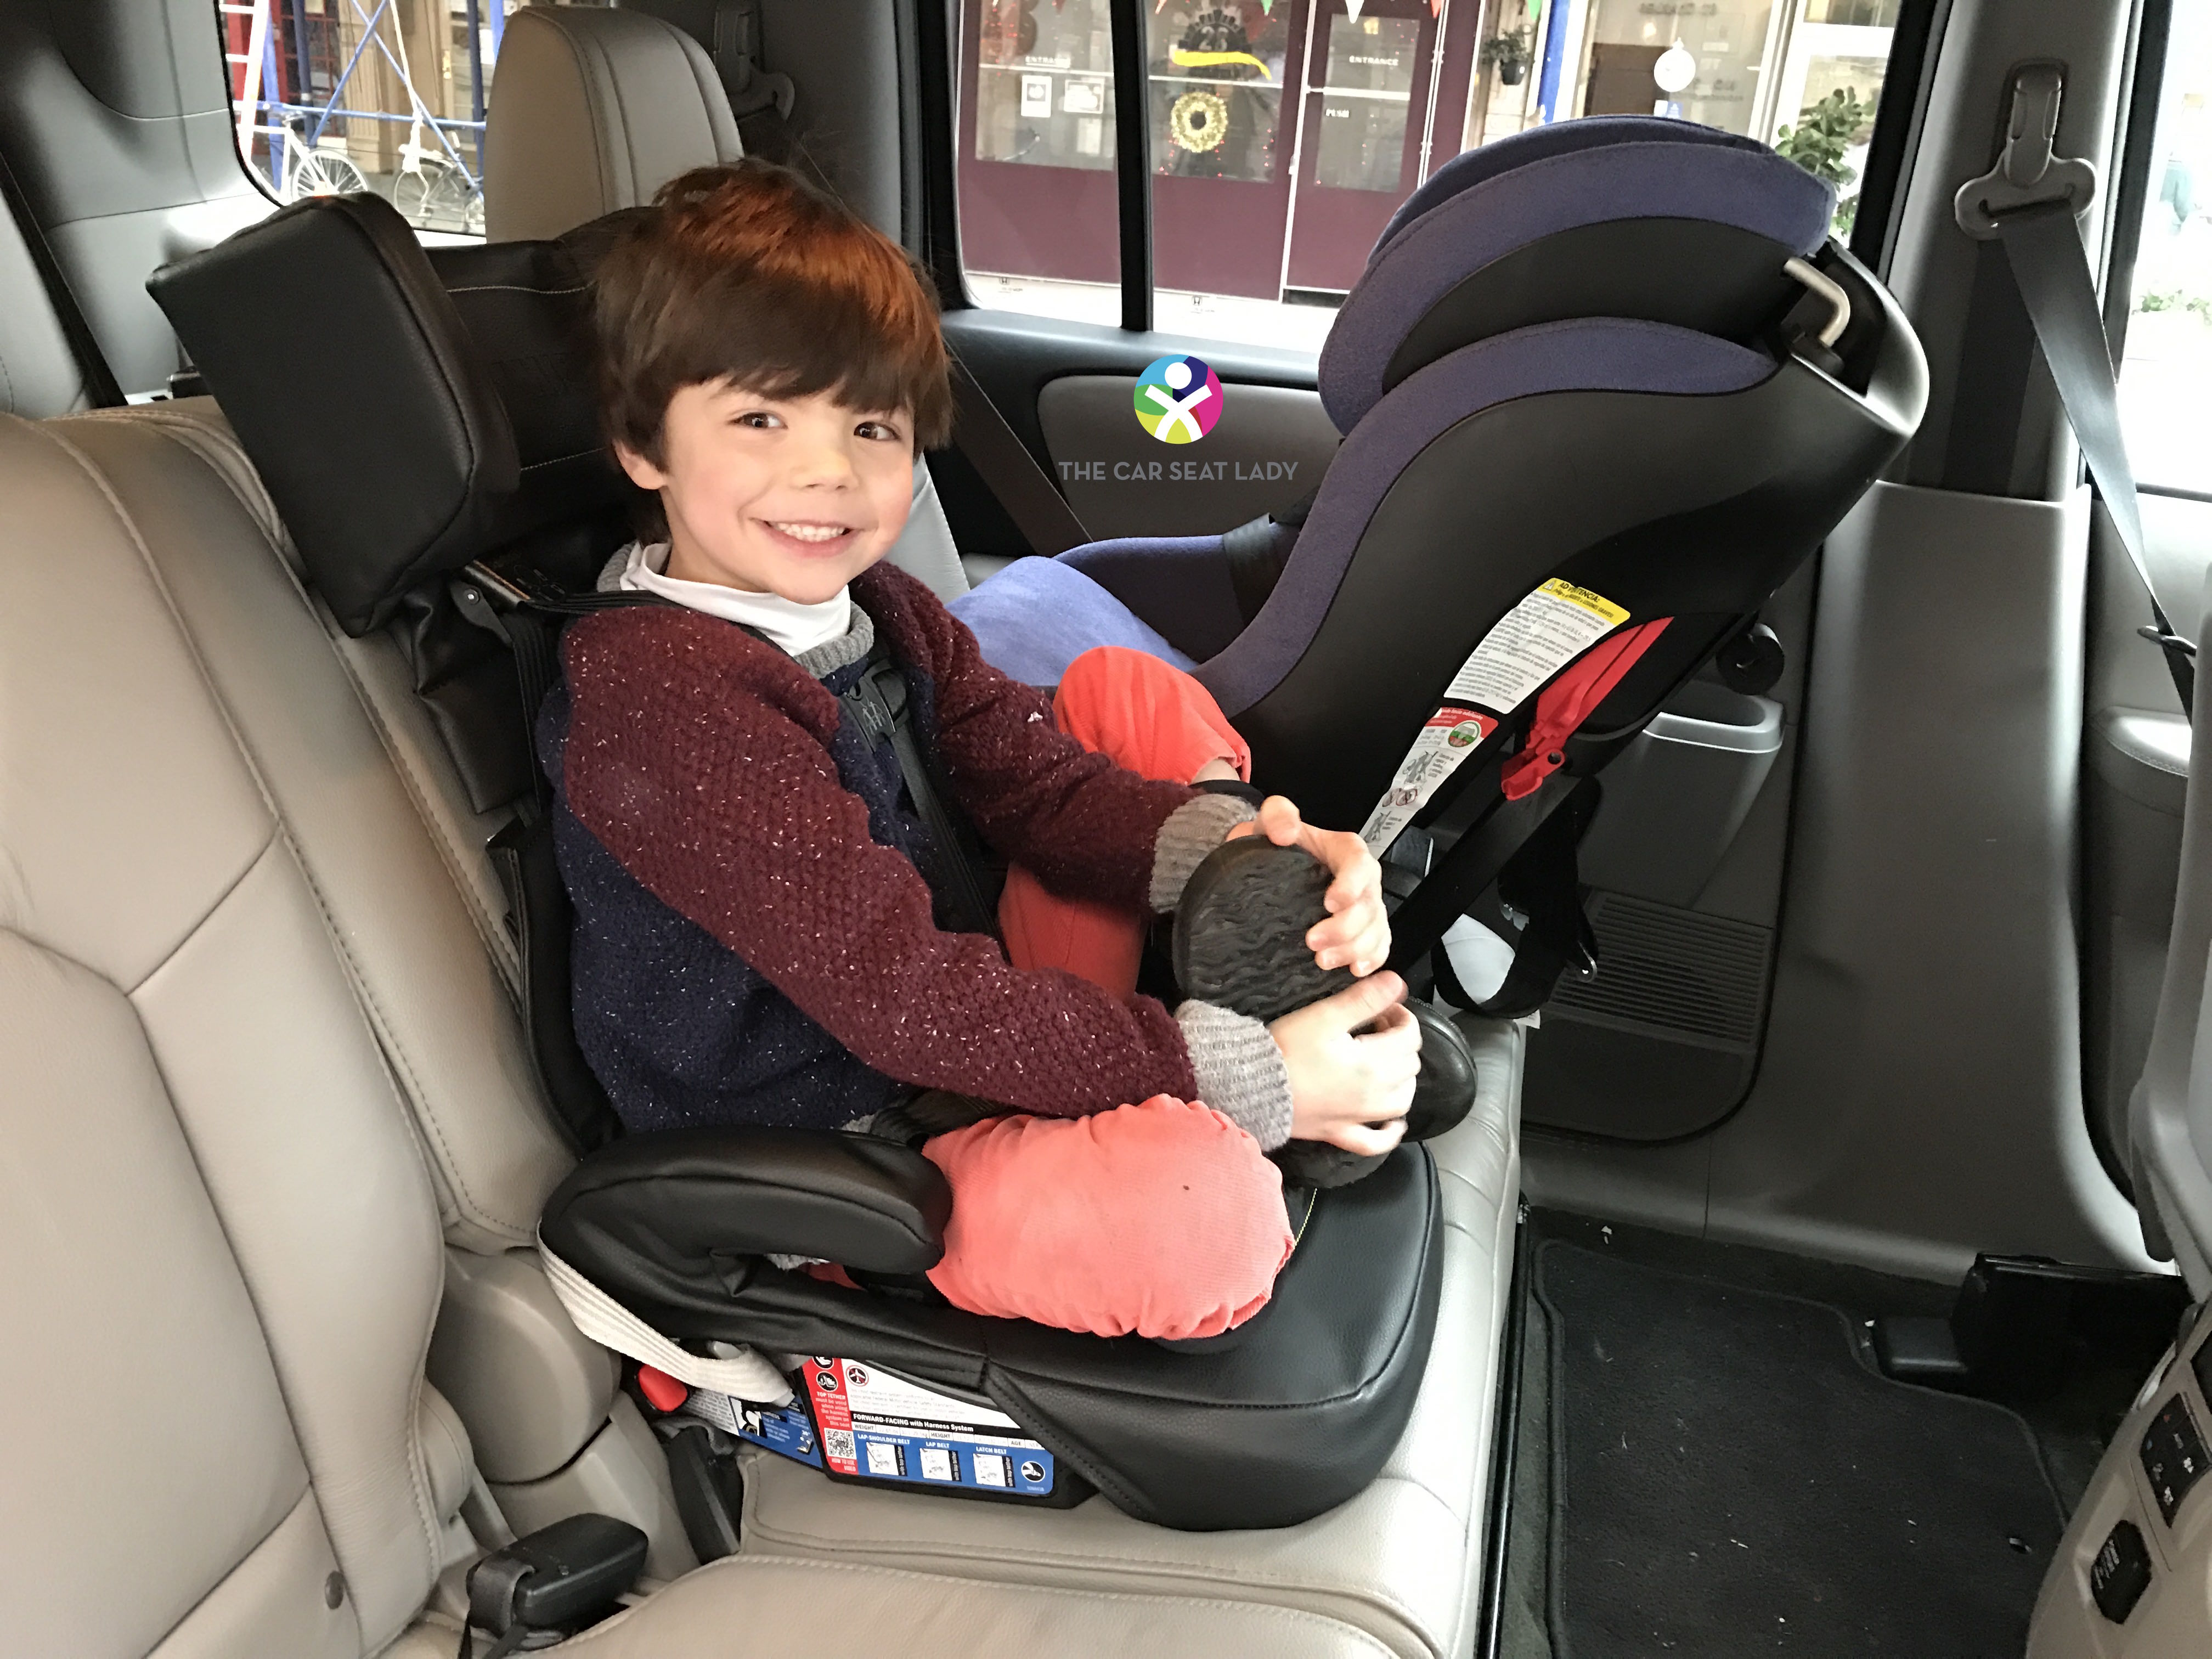
Forward-Facing Installation Process
- Position seat forward-facing on vehicle seat
- Route seat belt through forward-facing path (typically marked in red)
- Lock and tighten belt using established methods
- Attach top tether to designated anchor point
- Tighten tether until no slack remains
Critical Check: Test the top tether by trying to lift it—any movement means it’s not tight enough. The tether should feel like part of the vehicle structure.
Troubleshoot Common Installation Problems
Excessive Seat Movement Solutions
When your seat moves more than 1 inch:
- Re-lock the seat belt using the pull-retract method
- Compress downward while tightening—many parents only pull side-to-side
- Verify correct belt path usage—using the wrong path creates slack
- Switch to LATCH system if available and more effective
Seat Belt Won’t Lock Fixes
If your seat belt refuses to lock:
- Pull belt completely out and let retract fully—many stop too soon
- Use a locking clip for older vehicles (available at baby stores)
- Try a different seating position—some vehicle seats lock more reliably
- Consult your vehicle manual for specific locking mechanism type
Verify Proper Installation Before Every Ride
Before starting your engine, conduct this quick safety check:
- Grab test: At the belt path, seat moves less than 1 inch in any direction
- Harness test: Snug fit where you can’t pinch horizontal strap slack at shoulders
- Chest clip test: Positioned at armpit level (not belly button)
- Top tether test: No slack in tether strap (forward-facing seats)
Remember: A properly installed car seat should feel like an extension of your vehicle—not a separate, wobbly component. If you can move it significantly with one hand, start over. Your child’s safety depends on every strap, every click, and every inch of installation precision.
When to Seek Professional Installation Help
Certified Child Passenger Safety Technicians offer free installation checks at fire stations, police departments, hospitals, and AAA offices. Visit seatcheck.org to find a technician near you. These 30-minute sessions provide vehicle-specific guidance and multiple positioning options to ensure your installation meets safety standards.
Final Tip: Take the extra five minutes to double-check everything before every trip. These moments of careful attention transform your daily drives into safe journeys, protecting what matters most every time you hit the road. Properly learning how to install car seat belt systems today could save your child’s life tomorrow.


