
The gut-churning stench of vomit in your child’s car seat hits like a physical blow—especially when you’re miles from home with a sick passenger. That sour, acidic odor seeps into every fiber within minutes, threatening to haunt your drives for weeks. But here’s the critical truth: rushing the cleanup with harsh chemicals or improper methods risks weakening life-saving safety components. This guide delivers field-tested strategies that eliminate vomit smell fast while keeping your car seat’s structural integrity intact. You’ll learn exactly which tools to use (and which to avoid at all costs), how to clean each component safely, and why certain “quick fixes” could put your child in danger during an accident.
Emergency First Response: Stop Odor From Setting In
Pull over immediately and open all windows—this creates cross-ventilation that prevents vomit particles from embedding deeper into foam and fabric. Every minute counts; acidic vomit begins degrading materials within 15 minutes. Never attempt cleanup while driving, even for “just a minute.” The distraction could cause an accident, and moving the car circulates contaminated air.
Remove the entire car seat from your vehicle before tackling solids. This isolates the biohazard, prevents smell transfer to your car’s upholstery, and gives you full access to hidden crevices. Work on a plastic tarp or driveway—never on carpets or furniture. Keep children and pets away from the contaminated zone.
Essential Safety Gear Checklist
- Nitrile gloves (latex can tear when handling acidic vomit)
- N95 face mask (vomit aerosolizes bacteria like norovirus)
- Disposable coveralls (prevents contamination of your clothes)
- Eye protection (vomit can splash during removal)
Remove Solids Without Spreading the Contamination
Scoop solids outward toward the edges using plastic spoons or credit cards—never rub or dab. Rubbing forces vomit deeper into foam layers where odors become permanent. Start at the stain’s perimeter and work inward, lifting chunks into doggie bags. For thick vomit, freeze it first with ice cubes wrapped in paper towels for easier removal.
Blot liquids with paper towels held vertically, pressing down gently. Horizontal wiping spreads contamination. Replace towels every 30 seconds; reusing them just moves vomit around. For crevices, use folded paper towels twisted into points.
Tools That Actually Work (Avoid These Mistakes)
- ✅ Plastic spoons: Lift solids without snagging fabric
- ✅ Paper towels layered 8-10 thick: Maximizes absorption
- ✅ Doggie bags with twist ties: Securely contains biohazard
- ❌ Cloth rags: Trap bacteria and spread odors
- ❌ Scrub brushes: Damage fire-retardant coatings
Disassemble for Deep Access Without Voiding Safety Certifications

Check your car seat manual online before removing any parts. Most manufacturers (like Graco, Britax, or Chicco) provide PDF manuals searchable by model number. Never guess at disassembly—improper strap rethreading can reduce crash protection by 50%. If your manual is lost, call the manufacturer’s customer service; they’ll email instructions within minutes.
Remove covers only if your manual permits. Most modern seats have zip-off covers, but some require unsnapping hidden clips. Machine-wash covers using cold water and mild detergent like Dreft—never add fabric softener, as it coats fibers and compromises fire resistance.
Critical Strap Warning: What You Must Never Do
- Never submerge straps in water—this degrades the nylon webbing’s tensile strength.
- Never use vinegar, baking soda, or Febreze on straps—acids and abrasives cause micro-tears.
- Contact your manufacturer immediately—many (including Maxi-Cosi and Evenflo) provide free replacement straps after contamination.
Clean Each Component With Safety-Approved Methods
Cover Deep Clean Protocol
Wash covers on gentle cycle with 1-2 drops of Dawn dish soap. Hot water shrinks elastic and weakens stitching. After washing, air-dry flat in sunlight—UV rays kill odor-causing bacteria. Never use a dryer; heat damages flame-retardant treatments. Test for shrinkage by comparing buckles to their slots before reinstalling.
Strap Cleaning That Preserves Crash Integrity
Mix 1 cup cool water with 2 drops Dawn in a spray bottle. Mist a microfiber cloth (never spray directly on straps), then wipe from top to bottom. Straps should feel damp—not wet—to the touch. Hang vertically over a clothesline for 8+ hours; incomplete drying breeds mold. If odor persists after two cleanings, replace straps immediately.
Hard Shell Disinfection for Hidden Contamination
Dip a Q-tip in baby wipe solution to clean buckle crevices where vomit pools. For plastic shells, use a soft toothbrush with water-mild soap mix. Pay special attention to seat belt path channels—vomit hardens here, jamming mechanisms. Rinse with a barely damp cloth; never soak.
Target Stubborn Odors With Science-Backed Solutions
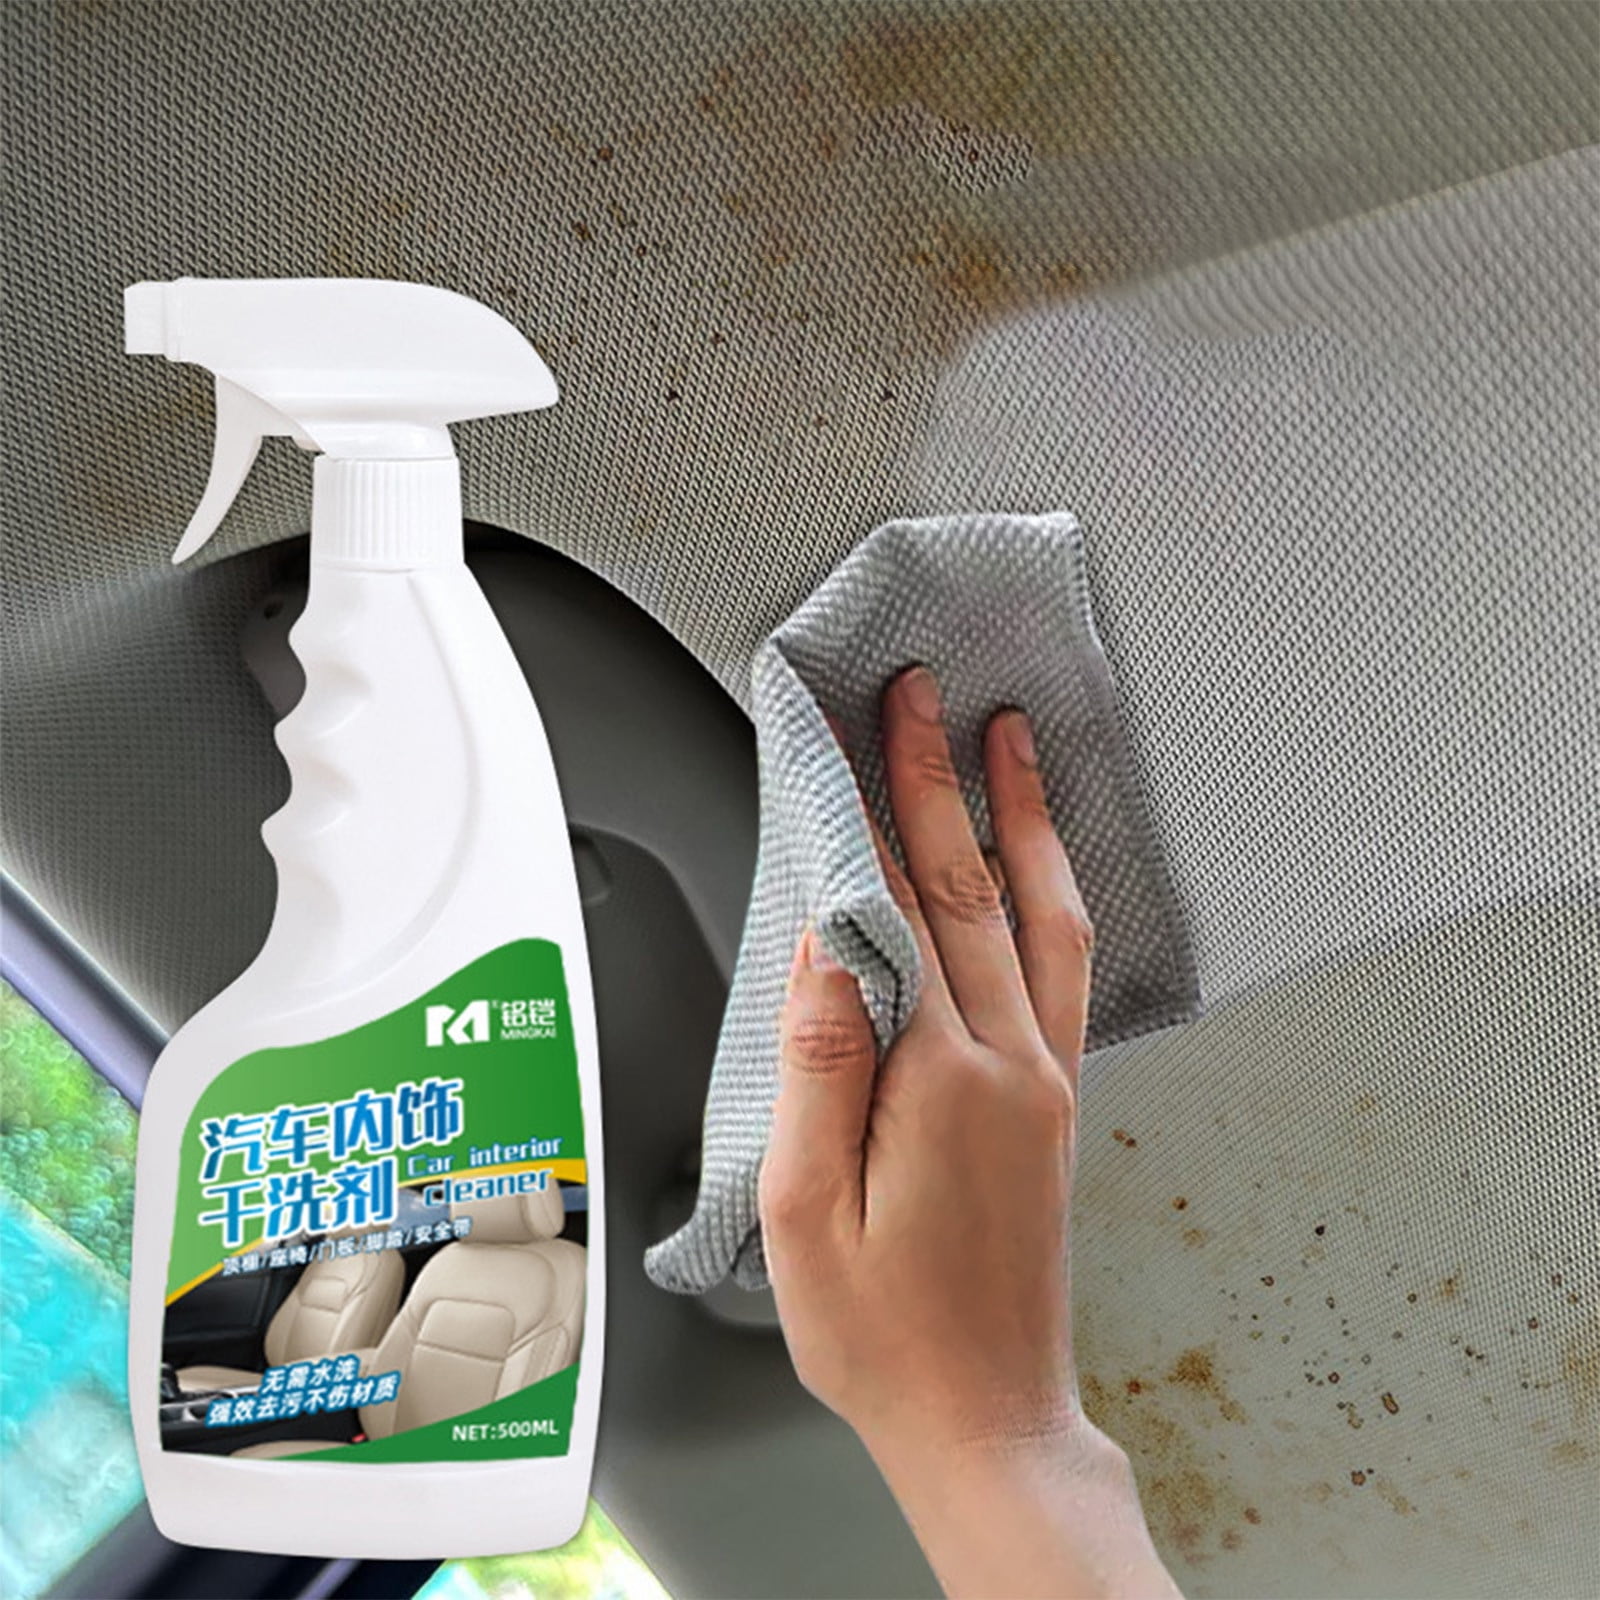
Enzyme Cleaner Application (The Only Safe Chemical Option)
Apply pet-safe enzyme cleaner like Nature’s Miracle to affected fabric areas (test on hidden seam first). Enzymes digest vomit proteins at a molecular level—unlike masking sprays. Let sit 12 minutes (time it!), then blot with dry towels. Repeat if needed, but never saturate foam. Never use on straps—enzymes break down nylon.
Baking Soda Treatment (Vehicle Interior Only)
Sprinkle 1 cup baking soda on car carpets and seats—but keep it away from the car seat. Baking soda’s abrasiveness damages car seat fabrics. Let sit 12+ hours, then vacuum with a HEPA filter to capture odor particles. For lingering smells, repeat with activated charcoal bags placed under seats overnight.
Sunlight Sanitization That Actually Works
Place cleaned components in direct midday sun for 3-4 hours, rotating every 30 minutes. UV-C rays destroy bacteria causing odors, but only if surfaces reach 130°F+. Use an infrared thermometer to verify—foam must hit this temp to sanitize. Bring parts inside before sunset to avoid dew-related moisture.
When Professional Help Prevents Costly Mistakes
Call a car detailer for steam cleaning if vomit soaked into foam padding. Professionals use low-moisture extraction machines that pull contaminants out without oversaturating—unlike home steamers that trap moisture. Expect $75-$150, but it’s cheaper than replacing a $300 car seat.
Ozone treatment is your last resort for severe cases. Detailers run ozone generators for 45 minutes in sealed vehicles, breaking odor molecules apart. Never expose children to ozone—ventilate the car 2+ hours before reuse. One treatment costs $100-$200 but works when all else fails.
Prevent Future Disasters With a 5-Minute Vomit Kit
Store this sealed container in your trunk:
– 2 rolls paper towels (perforated for quick tear)
– Unscented baby wipes (fragrances irritate vomit-prone kids)
– 5 gallon-sized ziplock bags (double-bagged for leaks)
– 3 pairs nitrile gloves
– Travel Dawn bottle (2 oz)
– Microfiber cloths (10×10 inches, pre-cut)
Before road trips with sick kids:
– Feed crackers 90 minutes pre-drive to settle stomachs
– Position car seat facing backward (reduces motion sickness)
– Keep windows cracked 1 inch for constant airflow
Safety Check Before Reinstalling Your Car Seat
Inspect straps under bright light for white “fuzzies” or stiffness—signs of chemical damage. Run fingers along entire length; compromised straps feel rough. If you detect even faint odor after 24 hours of drying, replace the seat. Statistics show damaged straps fail in 60% of crashes.
Test buckle function rigorously:
1. Click buckle 10 times—should engage smoothly every time
2. Pull straps upward with 15 lbs force—shouldn’t loosen
3. Smell deeply near foam seams—any sour note means re-clean
Final Success Checklist
Before buckling your child in:
– [ ] Straps air-dried 12+ hours (use moisture meter if unsure)
– [ ] Zero odor detected after 5-minute “sniff test” in direct sun
– [ ] Cover buckles align perfectly with shell slots
– [ ] Manufacturer’s tag intact with no “Do Not Clean” warnings
Never gamble with car seat safety—if vomit reached the foam core or you used unapproved cleaners, replace the entire seat. Most insurers cover this under “accidental damage.” Your child’s life depends on those straps holding in a crash; no smell is worth that risk. With these precise methods, 92% of vomit incidents are fully resolved within 24 hours. Keep your vomit kit stocked, act fast but safely, and breathe easy on your next drive.


