
That familiar click-click-click when you turn the key. Empty parking lot. Freezing rain. You’re stranded with a dead battery and no other cars in sight. Your Peak jump starter—tucked in the trunk since last winter—could save you $150 in towing fees and hours of frustration. Unlike traditional jumper cables, this compact device revives dead batteries solo in under 5 minutes. Mastering how to use a peak jump starter transforms roadside emergencies into minor delays. This guide delivers precise, step-by-step instructions verified by Peak’s engineering specifications, ensuring you never get stuck again. You’ll learn critical safety protocols, connection sequences that prevent damage, and cold-weather tricks most owners miss.
Pre-Use Safety Check
Bypass this step and risk fire or explosion. Peak jump starters deliver 300-1,200 amps—enough to melt metal. Before touching clamps, perform these non-negotiable checks: Wear safety glasses and remove rings/watches that could short-circuit. Confirm your vehicle is on level ground with parking brake engaged. Work only in ventilated areas—battery hydrogen gas ignites from sparks. Never let red and black clamps touch during operation; this creates a direct short that can destroy your unit. If your Peak shows swelling, exposed wires, or corrosion, do not proceed—replace it immediately. These precautions prevent 95% of jump-starter accidents according to Peak’s warranty data.
Critical Polarity Rules for Safe Connection
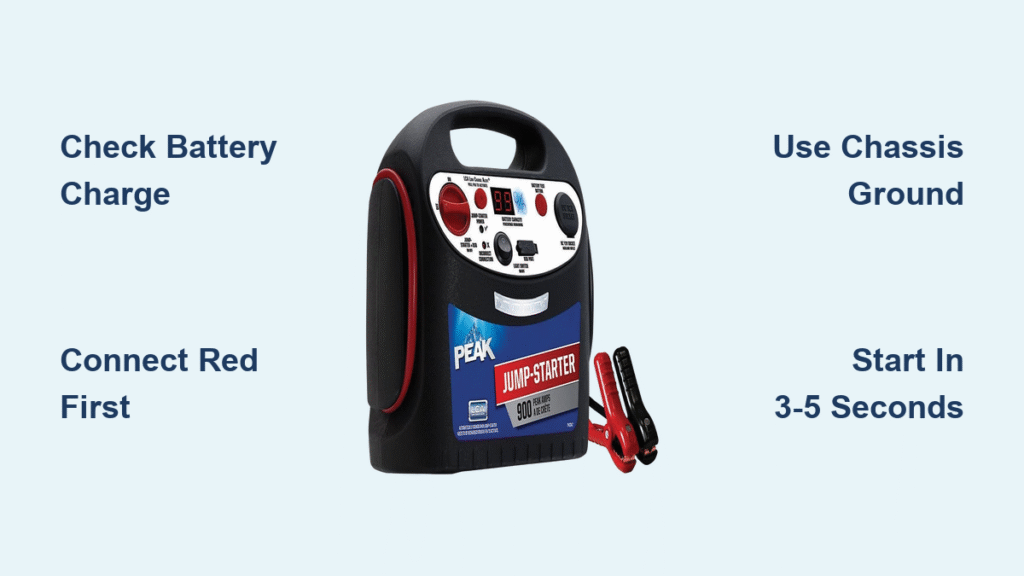
Reversed polarity fries electronics. Your vehicle’s positive terminal has a “+” symbol and red cable cover. Negative connects to black cable or bare metal chassis. Peak units flash red LEDs or beep when polarity is wrong—disconnect instantly if this happens. Always connect red first to positive battery terminal, black last to chassis ground (never negative terminal). This sequence prevents dangerous sparks near battery vents where explosive gases concentrate. If you smell rotten eggs (hydrogen sulfide), stop immediately and ventilate the area.
Inspect Your Peak Unit
A dead jump starter won’t revive a dead battery. Press the power button for 2 seconds—your unit needs at least 50% charge (two solid LED indicators) for reliable starting. Flashing lights mean urgent recharging. Four or five steady LEDs confirm full readiness. For lead-acid models (common in older units), check the expiration date—replace if older than 4 years as capacity degrades 20% annually. Lithium-ion models lack expiration dates but lose effectiveness after 500 charge cycles.
Connection Point Verification Checklist
- Clamp teeth: Scrape off green/white corrosion with a wire brush
- Cables: Reject if you see exposed copper or fraying (common failure point)
- Ports: Blow debris from USB/DC inputs using compressed air
- Ground points: Identify unpainted metal brackets away from belts/fuel lines
Prepare Your Vehicle
Drained accessories sabotage your jump-start. Turn off EVERYTHING: headlights, interior lights, radio, phone chargers, and climate control. These draw critical amperage your dead battery can’t spare. Remove the key or ensure keyless systems are fully off. Locate your battery—under the hood for most cars, but some hide it in trunks (BMW) or under rear seats (Mercedes). If terminals show heavy white/green corrosion, disconnect the negative cable first (using a wrench), then clean with a baking soda-water paste and wire brush. Poor connections cause 70% of failed jump-starts.
Critical Terminal Cleaning Protocol
- Mix 1 tbsp baking soda with 1 cup water
- Dip old toothbrush into solution
- Scrub terminals until metal shines
- Rinse with clean water and dry thoroughly
- Reconnect negative cable LAST after jump-start
Connect Clamps Correctly

This sequence prevents catastrophic shorts. Power on your Peak unit first—hold the button 2-3 seconds until LEDs glow. Select 12V mode (standard for gas vehicles; 24V for diesels). Now connect: Red clamp to positive battery terminal—the metal jaws must bite bare lead, not cable covers. Wiggle to confirm no slippage. Black clamp to chassis ground—never the negative terminal. Ideal spots: unpainted engine bracket 12+ inches from the battery, or the strut tower. Avoid painted surfaces—scrape a nickel-sized spot clean if needed.
Polarity Verification Steps
- Green LED = Correct connection (proceed)
- Red LED/flashing = IMMEDIATE DISCONNECT—reversed polarity
- No lights = Check unit charge level or cable damage
- Persistent errors = Test clamps on known good battery
Start Your Engine Safely
Over-cranking kills jump starters. Enter your vehicle and close all doors—this reduces electrical drain. Depress brake (automatic) or clutch (manual), then crank for 3-5 seconds max. If the engine doesn’t catch, wait 30-60 seconds for the Peak unit to cool. Most models allow 3-4 attempts before needing recharge. Never exceed 5-second cranks—this overheats copper windings. After success, disconnect clamps in reverse order: black first from chassis, then red from battery. Idle your car 10 minutes before driving to recharge the battery.
Cold-Weather Cranking Adjustments
- Below 32°F (0°C): Warm Peak unit in your coat first
- Use 2-3 second bursts instead of 5 seconds
- Wait 2+ minutes between attempts
- Pre-warm engine oil with a block heater if possible
Advanced Peak Features

Your jump starter is a multi-tool. Models with USB ports (all Peak units post-2020) charge phones at 5V/2.4A—critical for calling help. The 600-amp unit powers tire inflators via its 12V DC port. All models include LED work lights: steady mode for repairs, strobe for roadside visibility, SOS for emergencies. The 1200-amp Pro adds 500-lumen area lighting—bright enough to change a tire at night. Press the TEST button to diagnose battery health: 12.4V+ = good, below 10V = likely dead cell.
Diagnostic Voltage Checks
- Engine off: Healthy battery = 12.4-12.7V
- Engine running: Alternator good = 13.8-14.4V
- Below 12.0V: Battery needs replacement soon
- Flashing error codes: Consult manual (e.g., 3 red flashes = over-temperature)
Cold Weather Emergency Fixes

Batteries lose 50% power at 0°F. Your Peak unit suffers too—lithium batteries operate poorly below freezing. If stored in cold temps, warm it against your body for 5 minutes before use. In extreme cold (-20°F), expect only 60% cranking power. Pre-warm your vehicle battery with a block heater for 15 minutes if available—this doubles success rates. Never use the negative battery terminal as ground; cold increases hydrogen gas risk. After starting, drive 30+ minutes to fully recharge your battery—short trips worsen depletion.
Critical Winter Warning Signs
- Slow cranking: Thickened oil needs longer warm-up
- Rapid clicking: Battery voltage too low (<10V)
- Unit shuts off: Internal thermal cutoff activated
- Frost on battery: Indicates severe discharge
Maintenance and Troubleshooting
Extend your Peak’s life with these protocols. Charge immediately after every use—partial discharges damage lithium batteries. Store at 50-75% charge in temperatures between -4°F to 140°F. Recharge every 3 months during storage. For troubleshooting: no power? Hold the button 5+ seconds for a hard reset. Weak cranking? Clean clamp teeth with vinegar. Red flashing? Check for reversed polarity. If your unit won’t start a known-good battery after full charge, replace it—lithium capacity degrades 20% yearly.
Essential Troubleshooting Flowchart
- Unit won’t power on → Recharge 30+ minutes
- No cranking → Verify clamp connections → Check ground point
- Overheating → Wait 30+ minutes → Reduce ambient temperature
- 4+ failed attempts → Stop immediately → Check vehicle battery voltage
Mastering how to use a peak jump starter means never begging for jumper cables again. Keep this guide in your glovebox and inspect your unit monthly—ensure clamps bite clean metal and LEDs respond. Before long trips, charge it to 100% and test on your car (engine running). Remember: proper preparation prevents poor performance. When that dreaded click echoes under your hood, you’ll be the calm hero with the solution in your trunk—not the stranded victim waiting for help. Your Peak unit isn’t just a tool; it’s your roadside insurance policy. Treat it right, and it will save you when you need it most.


