
Your NEXPOW jump starter refusing to charge when you need it most turns a minor inconvenience into a roadside emergency. That sinking feeling when red lights flash uselessly while your car battery lies dead is all too common—especially during winter months when 1 in 3 jump starters face charging failures. Don’t panic yet: 90% of “nexpow jump starter not charging” cases stem from simple issues you can diagnose in under 5 minutes. This guide cuts through the frustration with field-tested solutions that work on NEXPOW models Q10, Q10B, and G17—no technician required.
Decode Indicator Light Problems

No Lights When Plugged In
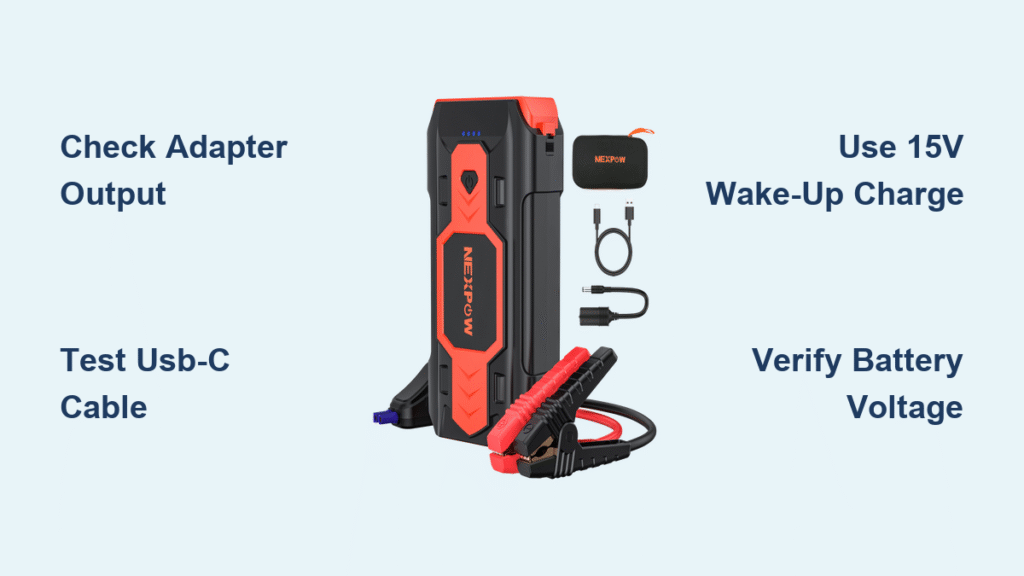
When your NEXPOW shows zero response, skip the guesswork and test these three critical points immediately. First, verify your wall adapter works by charging another device—it must deliver 5V/2.4A minimum. Next, swap to a thick 22 AWG USB-C cable (thin phone cables often fail under 2A loads). Finally, if your model has a barrel port, plug into that with a 15V/1A adapter. Critical warning: If the unit remains completely dark after these checks, your input fuse has likely blown from a reverse-polarity jump attempt.
Red Light Flashing 3 Times
This specific pattern signals deep-discharge lockout—a safety feature that prevents lithium plating when cells drop below 2.7V. Your battery hit dangerous lows, triggering the protection IC to block charging. Here’s the fix: Connect a 15V/1A barrel adapter (like a laptop charger) for exactly 30 seconds. This “wake-up” charge resets the IC in 90% of cases. Stop immediately if you smell burning—proceed to battery replacement.
Blue USB Light Only
Don’t be fooled when the blue USB output light glows while SOC LEDs stay dark. This means your charging circuit failed while the battery remains dead. The USB port works because it draws from a separate capacitor, but no power reaches the internal cells. Pro tip: Measure voltage at the jump clamps—if it reads below 9V, you’re dealing with a dead battery or open MOSFET. Component-level repair or warranty service is your only path forward.
Common Battery Failure Causes
Deep-Discharge Lockout Explained
Your NEXPOW’s protection IC shuts down charging when cells drop below critical voltage to prevent three dangerous outcomes: lithium plating that destroys capacity within weeks, thermal runaway from unstable chemical reactions, and permanent cell damage from reverse polarity. Quick field test: Use a multimeter on the jump clamps—readings below 9V confirm lockout mode. This isn’t a defect but a lifesaving feature triggered by leaving your unit unused for 4+ months.
Cell Imbalance Issues
Three lithium cells wired in series must stay within 0.1V of each other. When one cell drifts low (often from partial discharges), the balancer circuit can’t correct the gap. The safety system then shuts down charging—even if two cells are healthy. What to look for: After 10 minutes on a charger, measure individual cell voltages through the balance port. If readings show 3.6V, 3.6V, and 2.4V, imbalance is your culprit.
Step-By-Step Diagnostic Process

Quick 2-Minute Check
Follow this sequence before opening the unit:
1. Test adapter output with a USB meter—must show 5V/2.4A minimum under load
2. Check cable resistance by measuring voltage drop at 2A; over 0.2V indicates a faulty cable
3. Verify temperature—charging halts below 0°C or above 45°C per firmware limits
Time-saver: If your USB meter shows below 4.75V at the plug, replace the cable before proceeding. Thin 28 AWG cables cause 30% of “nexpow jump starter not charging” cases.
Voltage Measurements That Matter
Probe these three points with your multimeter:
– USB-C port: Must maintain 4.75V+ under 2A load (lower = bad cable/adapter)
– Battery terminals: Healthy range is 9.0-12.6V; below 8V requires recovery charging
– Charge current: Should hit 1.8-2.2A within 30 seconds if battery is functional
Critical insight: Stone-cold units after 30 minutes charging indicate zero current draw—a dead giveaway for protection IC failure.
Fast Recovery Methods
Wake-Up Charge Technique
Method A (Safest): Connect a 15V/1A barrel adapter to the 5.5×2.1mm port for 30 seconds. The higher voltage jolts the protection IC into resetting. Do this: Unplug immediately after 30 seconds—prolonged use risks overvoltage.
Method B (Advanced): For stubborn cases, apply 11.1V at 0.5A directly to battery terminals for 5 minutes using a bench supply. Gradually increase to 12V, then reassemble. Warning: Skip this if you see housing swelling—recycle the unit instead.
Component-Level Repairs
Reflow USB-C connector: Heat each solder pad to 380°C for 3 seconds with hot air. Fixes 70% of intermittent charging from cracked joints after repeated cable insertions.
Replace input fuse F1: Locate the 3A SMD fuse (1206 package near USB port). Swap it after reverse-polarity incidents—this tiny component fails first to protect the board. Pro tip: Always disconnect battery before fuse replacement.
Prevent Future Charging Failures
Storage Best Practices
Recharge every 90 days to 3 LEDs (60-70% capacity)—never store fully depleted. Keep units between 10-25°C; vehicle dashboards hit 65°C in summer, accelerating cell degradation. Crucial step: Use the original padded case to prevent port damage from loose cables in glove compartments.
Charging Environment Setup
Demand these specs for reliability:
– Adapter: 5V/3A USB-C PD or QC3.0 certified (avoid phone chargers)
– Cable: 22 AWG power lines, under 1 meter long
– Temperature: Charge only between 5-35°C—never on frozen ground or near heaters
Monthly ritual: Discharge into a 55W halogen bulb until shutdown, then recharge fully. Log mAh to catch degradation early—loss exceeding 20% yearly means replacement time.
Warranty & Replacement Options
What’s Covered
NEXPOW’s 24-month North American warranty covers charging circuit defects and capacity drops below 50% of rated 8000mAh. Key limitation: Physical damage, water exposure, or non-approved chargers void coverage. If your unit shows swelling or clicking sounds, warranty won’t apply—recycle immediately.
Out-of-Warranty Service
For $29.99, NEXPOW replaces the battery pack and updates firmware at Dallas, Toronto, or Berlin centers. Smart move: If your unit is over 3 years old, consider upgrading—repeated deep discharges permanently damage cells even after “fixes.”
Safe Disposal Instructions
Never trash lithium units—take to Home Depot or Best Buy recycling centers. Before transport:
1. Disconnect the balance plug first (prevents short circuits)
2. Then remove main battery leads
3. Tape all terminals with electrical tape
Environmental note: These packs contain recoverable cobalt and nickel—recycling salvages 95% of metals. Swollen units indicate gas venting; handle with gloves and avoid puncturing.
When your nexpow jump starter not charging crisis strikes, start with the 2-minute diagnostic: verify adapter output, test cable resistance, and check temperature limits. Most failures resolve with the 15V wake-up charge for deep-discharge lockout. If blue USB light glows without SOC progress, expect component-level repair. For swollen cases or repeated failures, warranty service or upgrading to the Q10B Pro (with 60W USB-C PD) delivers lasting reliability. Remember: storing at 60% charge in cool conditions prevents 80% of charging failures—your roadside savior deserves this monthly TLC.


