
Your car battery dies on a cold morning, and you reach for your portable jump starter—only to find it’s dead too. This frustrating scenario happens to thousands of drivers each year when their emergency device fails at the worst possible moment. Whether your jump starter won’t charge, clicks but won’t crank your engine, or shows no signs of life, most failures can be diagnosed and repaired at home with basic tools. This guide provides proven techniques to troubleshoot and fix your portable jump starter, saving you the $80-$200 cost of replacement and ensuring you’re never stranded without a working emergency power source.
Diagnose Power Failure Before Panicking
No Power Response: Critical First Checks
When your jump starter shows zero lights or sounds, don’t assume it’s dead yet. Start with these immediate diagnostic steps:
- Test battery voltage using a multimeter on the main terminals—less than 10V indicates severe discharge
- Inspect for physical damage including cracks, swelling, or corrosion around ports and terminals
- Verify your charger by measuring output voltage (should match specifications within 5%)
Many “dead” units simply need an extended charge cycle—try connecting to power for 24 hours before concluding battery failure. If you see no charging indicator after this period, proceed to component-level diagnosis.
Charging System Failure Points
If your jump starter won’t accept a charge, focus on these common failure areas:
DC Input Jack Inspection
Clean the charging port thoroughly with 90%+ isopropyl alcohol and cotton swabs. Check for bent pins or debris blocking connection. If charging works only when you wiggle the plug, you have a loose jack connection requiring solder repair or replacement.
Adapter Verification
Measure output voltage at the plug tip—12V adapters should read 11.4-12.6V. Try a compatible adapter with matching specifications from another device. If voltage drops significantly under load or shows erratic readings, replace the adapter immediately. Always match the exact connector size and polarity when substituting chargers.
Replace Failing Batteries Correctly
Determine Battery Replacement Necessity
Replace your jump starter battery immediately if you observe:
– Swelling or deformation of the battery housing
– Voltage dropping below 9V within 2 hours of full charge
– Visible corrosion around battery terminals
– Excessive heat during charging or use
For lithium models, check individual cell voltages—differences exceeding 0.1V between cells indicate imbalance requiring replacement.
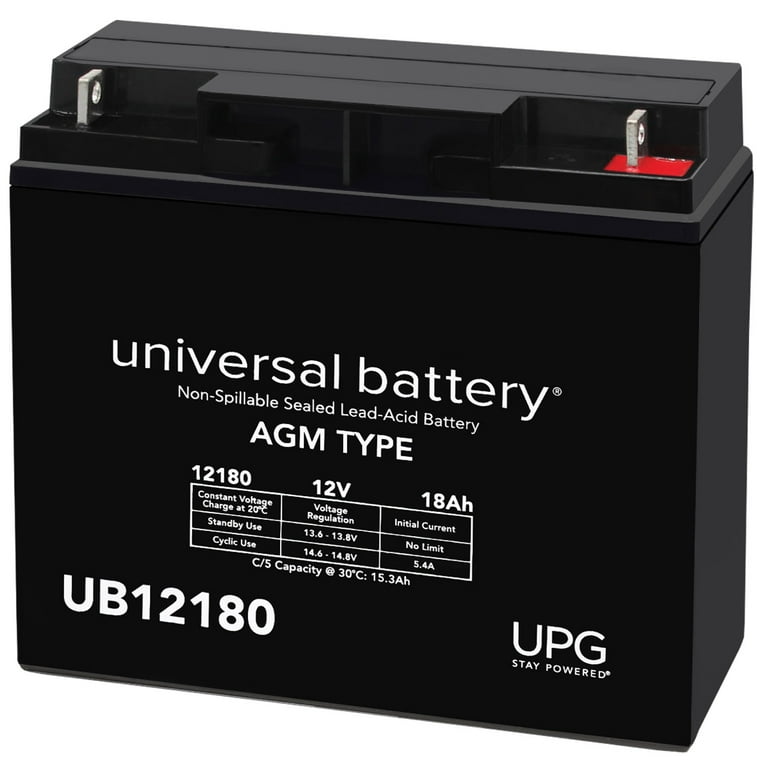
Lead-Acid Battery Replacement Process
Required tools: Phillips screwdriver, wire cutters, crimping tool, matching 12V SLA battery (same Ah rating), heat shrink tubing
Step-by-step replacement:
1. Remove all external screws and carefully separate housing halves
2. Photograph wire routing before disconnecting anything
3. Disconnect negative terminal first, then positive
4. Install new battery maintaining original orientation
5. Route wires to avoid pinching during reassembly
6. Test function before sealing the case
Critical safety note: Never solder directly to lead-acid battery terminals—use proper crimp connectors or replace the entire wiring harness if connections show damage.
Lithium Pack Replacement Guidelines
For modern lithium units, match these specifications exactly:
– Cell count: 3S (11.1V), 4S (14.8V), or 6S (22.2V)
– Capacity: Match mAh rating or increase by 20% maximum
– Discharge rate: C-rating must meet or exceed original
– Connector type: Usually XT60 or proprietary—don’t modify
Essential warning: Lithium batteries require spot welding—soldering directly to cells creates fire hazards and will damage the battery. If you lack spot welding equipment, seek professional assistance.
Repair Faulty Clamps and Cables
Restore Corroded Jump Start Clamps
Heavy-duty clamps frequently fail at connection points due to corrosion:
Effective cleaning process:
1. Disconnect cables from the main unit
2. Use a stiff wire brush on clamp contact surfaces
3. Apply electrical contact cleaner and scrub thoroughly
4. Test continuity from clamp to main unit cable end
Pro tip: Apply a thin coat of dielectric grease to cleaned surfaces to prevent future corrosion while maintaining conductivity.
Replace Damaged Power Cables
When cables show cuts, fraying, or internal breaks, use these specifications:
– Wire gauge: 4-8 AWG copper wire (thicker for higher capacity units)
– Insulation: Oil and heat-resistant material is essential
– Connections: Crimp using hydraulic crimper for reliability
– Protection: Shrink tube all connections for weatherproofing
Critical safety step: Always replace both clamps and cable sections simultaneously—mixing old and new components creates weak points that fail under high current.
Reset Safety Systems After Misuse
Reverse Polarity Protection Reset
If your clamps sparked during incorrect connection and now won’t work:
– Check for blown fuses (typically 30-40A automotive blade type)
– Test the safety relay with a multimeter for continuity
– Consult your manual for model-specific reset procedures
– Replace relay if contacts show burning or pitting
Many units have automatic reset features that engage after 5-10 minutes of cooling—wait this period before assuming component failure.
Test Repairs Before Trusting Your Safety
Critical Safety Validation Tests
Before relying on your repaired jump starter:
- Insulation test: Measure resistance between AC input and chassis (>1MΩ indicates safety)
- Ground bond: Verify continuity between ground pin and exposed metal
- Leakage test: Check for dangerous current leakage to user-accessible parts
Warning: Never skip these tests—improperly repaired units can deliver lethal shocks or cause fires during use.
Functional Verification Process
Battery performance testing:
– Charge to 100% and measure capacity using discharge test
– Verify run time meets original specifications
– Test maximum load for specified duration
Jump start capability check:
– Test on a known dead battery (10.5V or below)
– Confirm ability to crank engine for 30+ seconds
– Check all safety features still function properly
Prevent Future Failures With Proper Maintenance
Essential Maintenance Schedule
Monthly checks:
– Clean all external surfaces and inspect clamp connections
– Test charge level—recharge if below 80%
– Examine cables for cuts or damage
Quarterly maintenance:
– Complete one full charge/discharge cycle
– Tighten all terminal connections
– Test all output functions (USB, flashlight, compressor)
Annual service:
– Professionally load test battery capacity
– Replace desiccant packs in humid environments
– Perform comprehensive safety feature inspection
Optimal Storage Practices
Store your jump starter at 40-60% charge in a cool, dry place (15-25°C ideal). Check the charge level every 3 months during storage periods. Never store fully discharged—this accelerates battery degradation. For lithium models, avoid temperatures below freezing during storage as this permanently damages cells.
When to Replace Rather Than Repair
Replace immediately if:
– Battery shows swelling, leakage, or physical damage
– Internal circuitry has burn marks or melted components
– Unit has been submerged in liquid
– Repair costs exceed 60% of a new unit’s price
Seek professional service for:
– High-current relay replacement
– BMS (battery management system) repairs
– Any repair requiring specialized tools like spot welders
A properly maintained portable jump starter should deliver 3-5 years of reliable service. After completing repairs, implement the recommended maintenance schedule to maximize your unit’s lifespan. Store it at partial charge in a climate-controlled environment and check functionality monthly. By mastering these repair techniques, you’ll ensure your emergency power source works when you need it most—turning a stranded nightmare into a quick, confident recovery. Remember: the $20 fix today prevents the $150 replacement tomorrow and could be the difference between getting home safely or waiting for roadside assistance in dangerous conditions.


