
You’re stranded in a parking lot on a freezing morning, key in hand, but your car won’t start. You pull out your trusty Halo jump starter—only to discover it’s completely dead. No lights, no power, nothing. This frustrating scenario happens to thousands of drivers each year when their Halo jump starter stops working unexpectedly. Don’t panic. This guide delivers specific, actionable solutions to diagnose why your Halo jump starter not working and get you back on the road quickly—whether it’s a simple fix you can do in minutes or a sign you need replacement.
Your Halo jump starter not working could stem from multiple causes, but most failures follow predictable patterns. Understanding these patterns saves you time, money, and stress when you’re stranded. By the end of this guide, you’ll know exactly how to troubleshoot your specific failure mode, determine whether repair is possible, and implement preventive measures so this never happens again when you need emergency power most.
Complete Power Failure Diagnoses
When your Halo jump starter shows zero signs of life—no LED indicators, no charging lights, no response to button presses—you’re facing the most severe failure mode. This complete electrical shutdown requires systematic diagnosis to determine if recovery is possible or if replacement is necessary.
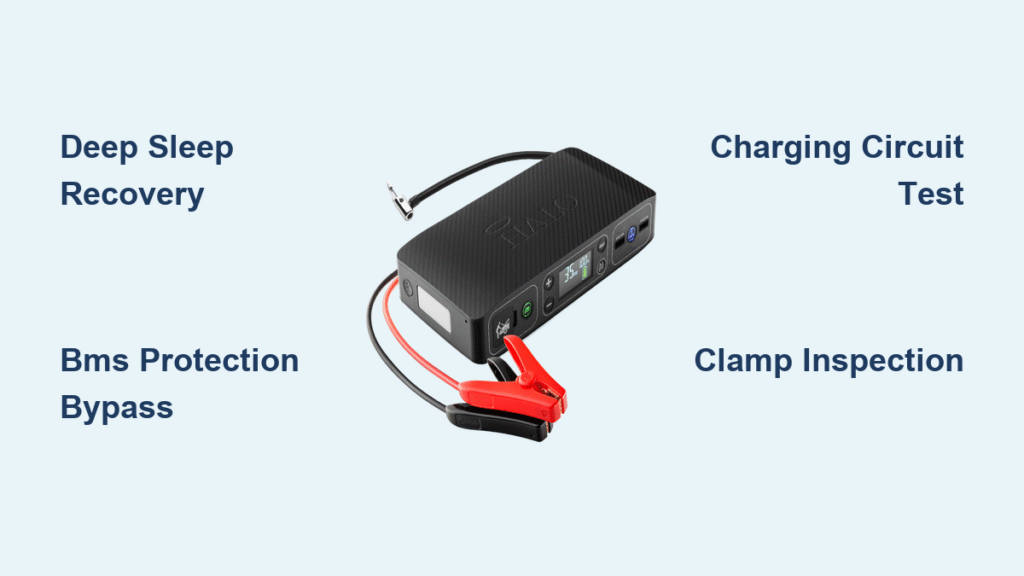
Deep Sleep Mode Recovery
Hold the power button for 10 full seconds without releasing. Many Halo units enter a protective deep sleep mode after extended storage in a discharged state. This safety feature prevents battery damage but leaves users thinking their unit is dead. If the LEDs still don’t illuminate after this extended press, your battery has likely suffered permanent damage from complete discharge, requiring professional evaluation.
Internal Circuit Failure Signs
Connect your original charger and watch for any charging indicators within 30 seconds. Complete electrical failure typically indicates either degraded lithium-ion cells or critical circuit board damage. If you see absolutely no response—no flickering lights, no indicator changes—your Halo has likely reached end-of-life. Units older than 2-3 years commonly experience this failure as battery cells degrade beyond recovery. The battery management system (BMS) may have triggered a permanent lockout due to undervoltage conditions during storage.
Intermittent Power Delivery Fixes
Your Halo powers on with full LED indicators but dies when connected to your vehicle battery. The engine turns over weakly or starts briefly before stalling—a frustrating pattern indicating specific underlying issues that require targeted solutions.
BMS Protection Mode Bypass
The Battery Management System may be incorrectly triggering protection circuits due to aged battery cells. Try this sequence: power off completely, wait 30 seconds, then connect jumper cables to your vehicle battery BEFORE powering on the Halo unit. This bypasses some false protection triggers by allowing the BMS to stabilize before current demand. If your vehicle starts using this method but fails with standard procedure, your Halo’s power delivery capacity has degraded significantly.
Current Delivery Verification
Connect a standard 12-volt automotive bulb (like a headlight bulb) across your jumper clamps. A functional Halo should power the bulb brightly for several minutes without dimming. If the bulb illuminates weakly or shuts off immediately, your unit can no longer provide the 400-600 amps needed for starting. This confirms insufficient current delivery capability—typically due to battery cell degradation or failed power conversion circuits.
Charging System Failure Solutions

Your Halo won’t accept charge or loses power rapidly after disconnecting from the charger. This charging failure affects multiple Halo series differently and requires specific diagnostic approaches.
USB Port Connection Troubleshooting
The HALO Bolt series frequently suffers micro-USB/USB-C port failures. Wiggle your charging cable gently while connected—if charging starts and stops at specific angles, you’ve identified a loose connection. This indicates solder joint failures or port mechanical damage requiring professional repair. Never force the cable into position, as this worsens internal damage. Try both the wall charger and a computer USB port to eliminate cable issues.
Charging Circuit Failure Confirmation
Charge your Halo for a full 4-6 hour cycle using only the manufacturer-recommended charger. If indicators flash erratically, never extinguish when fully charged, or show inconsistent patterns, your charging circuit has failed. This differs from simple battery degradation—failed charging circuits prevent proper voltage regulation, accelerating battery damage. Units exhibiting these symptoms typically require replacement rather than repair due to sealed construction.
Physical Connection Problems

Corrosion, cable damage, or connection failures between your Halo and vehicle battery terminals create starting failures despite internal functionality. These issues account for nearly 30% of “Halo jump starter not working” reports.
Clamp Inspection Protocol
Examine jumper clamps monthly for corrosion buildup or physical damage. Clean contact surfaces with electrical contact cleaner (never water) and a stiff brush. Check cable flexibility every 6 inches—stiff sections indicate internal wire breakage within insulation that creates intermittent connections. Replace cables immediately if you find any visible damage, as compromised wiring creates fire hazards during jump-start attempts.
Connection Port Testing Procedure
Inspect the cable-to-unit connection port for debris or bent pins using a flashlight. Use compressed air (not canned air) to clean debris—canned air propellants can damage electronics. Test cable security by gently flexing near connection points while the unit is powered on. Any flickering LEDs indicate a failing connection requiring immediate attention.
Temperature-Related Failures
Your Halo works at room temperature but fails in extreme weather—a common issue indicating battery chemistry degradation that requires specific assessment.
Cold Weather Failure Diagnosis
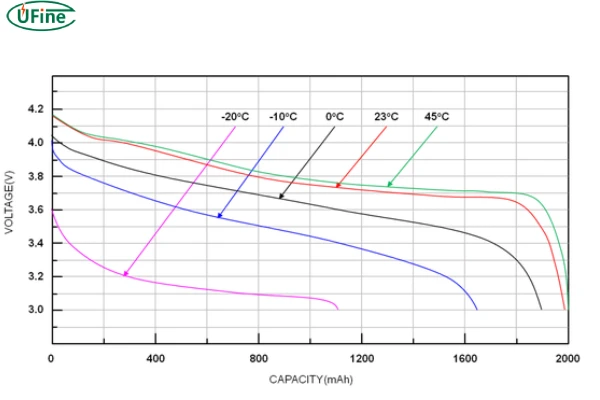
Store your Halo at room temperature (70°F) for 2 hours before testing. If it functions normally indoors but fails below 40°F, battery capacity has degraded beyond safe operation limits. Lithium-ion batteries lose significant capacity in cold temperatures, and aged units may drop below the threshold needed for starting. Units exhibiting this pattern need replacement—no temporary fixes restore cold-weather performance.
Heat Damage Warning Signs
Swollen cases or deformed buttons indicate heat damage that compromises safety. The HALO Compact series shows higher swelling rates in hot environments like vehicle trunks during summer. Discontinue use immediately if you observe case deformation—swollen lithium-ion batteries create serious fire and explosion risks. Never attempt to repair a swollen Halo unit.
Warranty Claim Success Guide
HALO provides 90-day to 1-year warranties, but claim success varies dramatically based on failure type and documentation quality.
Documentation That Wins Claims
Photograph your unit showing no physical damage from multiple angles. Document exact failure symptoms with timestamps and environmental conditions. Include original purchase receipt and all accessories in your claim package. Claims filed within 30 days of failure have the highest approval rates, especially when failure occurs during first-time use.
Why Most Claims Get Denied
Physical damage, corrosion evidence, or storage in discharged states typically void warranties. Water damage indicators trigger immediate denials regardless of actual failure cause. Many users unknowingly void coverage by storing units completely discharged—a common mistake that triggers battery protection circuits permanently.
Professional Repair vs Replace Decision
Most Halo units aren’t user-serviceable, making replacement often more economical than repair—especially for older models.
Cost-Benefit Analysis
Compare these typical costs:
– Professional cable replacement: $40-80
– Port repair: $50-90
– Complete unit replacement: $60-200
Factor in warranty status—units under warranty always favor manufacturer service over third-party repair. For out-of-warranty units older than 2 years, replacement usually makes more financial sense than repair due to inevitable further component degradation.
Upgrade Timing Indicators
Replace your Halo immediately if it requires recharging after single use, takes longer than 8 hours to charge, or shows temperature sensitivity. Newer models featuring LiFePO4 batteries offer significantly better cold-weather performance and longer lifespans—making upgrades worthwhile when your current unit shows multiple failure symptoms.
Prevent Future Failures
Avoid repeating these common storage and usage mistakes that kill Halo units prematurely.
Storage Best Practices
Maintain 40-60% charge during storage periods. Store between 40-80°F—never leave units in vehicles where temperature extremes accelerate degradation. Check charge levels every 3 months and top off as needed. Never store completely discharged, as this triggers permanent battery protection lockouts.
Usage Optimization Techniques
Recharge after every use regardless of remaining capacity indicators. Limit continuous output to 3-6 seconds with 30-second rest periods between attempts. Allow units to cool for 15 minutes between multiple jump-start attempts to prevent thermal stress. Clean clamp contacts monthly with electrical contact cleaner to prevent corrosion-related failures.
When your Halo jump starter not working leaves you stranded, systematic diagnosis separates temporary glitches from permanent failures. Follow this guide’s specific troubleshooting steps to determine whether you need simple recovery procedures, professional service, or complete replacement. Most importantly, implement the storage and usage best practices to extend your next Halo unit’s lifespan significantly. A well-maintained jump starter provides reliable emergency power for years—ensuring you’re never stranded when your vehicle battery fails. Document your failure symptoms thoroughly before seeking replacement, and consider upgrading to newer models with improved battery chemistry for better cold-weather reliability when it matters most.


