Installing a Chicco infant car seat base can feel overwhelming, especially if it’s your first time as a new parent. You want to ensure your little one’s safety on every drive, but fiddling with straps, clips, and anchors might leave you second-guessing if you’ve got it right. The good news? With the right steps, Chicco infant car seat base installation is straightforward and can be done in under 30 minutes using either the LATCH system or your vehicle’s seat belt. This guide will walk you through a quick, secure setup to get you on the road confidently.
Beyond the basics, this comprehensive tutorial covers everything from gathering tools to troubleshooting common hiccups, so you avoid costly mistakes or unsafe installations. By the end, you’ll have multiple methods at your fingertips, expert tips for long-term use, and peace of mind knowing your Chicco KeyFit or similar model is installed perfectly. Let’s dive in and make safety simple.
What You’ll Need for Chicco Infant Car Seat Base Installation
Before starting, gather these essentials to make the process smooth. Chicco bases like the KeyFit 30 are designed for tool-free installation, but a few items can help with adjustments and checks. Always refer to your specific model’s manual (available on Chicco’s website) for variations.
| Item | Quantity | Specifications |
|---|---|---|
| Chicco Infant Car Seat Base | 1 | Compatible with KeyFit 30, KeyFit 35, or similar models; includes LATCH connectors and belt guides |
| Vehicle Owner’s Manual | 1 | To confirm LATCH-equipped seats and weight limits (typically rear-facing only, up to 35-50 lbs depending on model) |
| LATCH Connectors | 2 | Built into the base; ensure they’re not damaged |
| Seat Belt (if not using LATCH) | 1 | Lap/shoulder belt from your vehicle; avoid using locked belts if your car has automatic locking retractors |
| Level Tool or Smartphone App | 1 | For checking base level (Chicco bases have built-in indicators, but a separate level confirms accuracy) |
| Tensioner or Wrench (optional) | 1 | If your base requires tightening LATCH straps; most are push-button style |
| Blanket or Towel (optional) | 1 | For leveling on uneven seats without altering the base |
Important: Never use aftermarket accessories unless approved by Chicco. Installation must comply with NHTSA guidelines for child safety seats.
Preparing Your Vehicle for Chicco Infant Car Seat Base Installation
Safety starts with preparation—rushing can lead to errors that compromise protection. Begin by parking your vehicle on a flat surface in a well-lit area, like your garage or driveway. Turn off the engine and engage the parking brake to prevent any movement.
Safety Considerations
Child car seats reduce injury risk by up to 71% when installed correctly, per the National Highway Traffic Safety Administration (NHTSA). Key precautions include:
– Check Compatibility: Confirm your vehicle has LATCH anchors (look for symbols on the seat crease) or use the seat belt method. Chicco bases fit most sedans, SUVs, and trucks, but avoid front seats with airbags.
– Positioning: Install in the rear-facing position on the passenger side for easy access. The base should be in the middle or outboard rear seat if possible.
– Clear the Area: Remove any clutter, cup holders, or adjustable headrests that might interfere. If your seatback is sloped, use a rolled towel under the base front (not rear) to level it—never stack items.
– Read Manuals: Review both your Chicco base manual and vehicle manual. Chicco recommends professional inspection after installation.
Warning: Do not install in a moving vehicle. If you’re unsure about your vehicle’s setup, consult a certified Child Passenger Safety Technician (CPST) via safekids.org.
This prep phase takes about 5-10 minutes and sets the foundation for a secure fit.
Step-by-Step Chicco Infant Car Seat Base Installation Process

We’ll break this into phases for clarity. Chicco offers two primary methods: LATCH (Lower Anchors and Tethers for Children) for vehicles made after 2002, or seat belt for older cars or center positions without LATCH. Aim for less than 1 inch of movement at the belt path when done. The entire process should take 15-25 minutes.
Phase 1: Positioning and Leveling the Base
- Place the base on the vehicle seat, ensuring the LATCH anchors or belt path align with your car’s setup. The base’s anti-rebound bar (if equipped) should face forward.
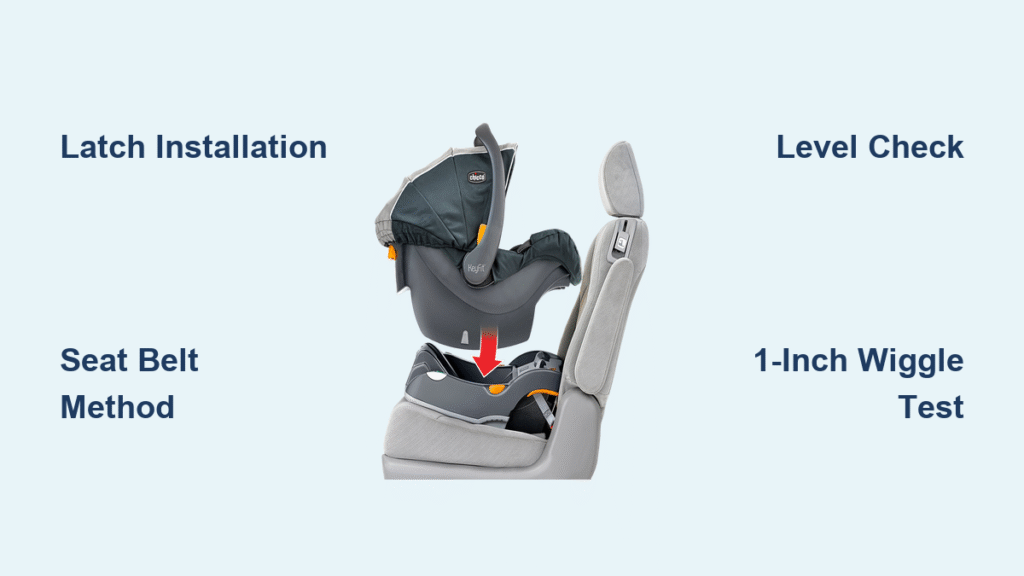
- Adjust the base’s recline angle using the foot adjustment lever—set it to match your vehicle’s seat slope. For newborns, use the most reclined position (red or first indicator on the level line).
- Use the built-in bubble level on the base (side or front) to check flatness. Rock it gently; it shouldn’t tip more than 1 inch side-to-side or front-to-back.
- If uneven, add a thin towel roll under the front edge only, per NHTSA guidelines. Secure any loose parts like the canopy.
Tip: For KeyFit 30 bases, the level indicator is on the side—align the bubble between the lines for proper recline.
Phase 2: LATCH Installation Method
LATCH is the preferred method for its rigidity and ease. It’s suitable for children up to 35-50 lbs, depending on the model.
- Locate your vehicle’s LATCH anchors—usually in the seat bight (crease) or behind a flap.
- Attach the base’s LATCH connectors: Pull the connectors from the base sides, hook the lower bars into the anchors, and push until you hear a click. Tug firmly to confirm (they shouldn’t pull out).
- Tighten the LATCH straps: Use the push-button or dial on the base to remove slack. Pull the front strap toward you while holding the base down—aim for no more than 1 inch of give at the belt path.
- Install the top tether if your vehicle and base support it (KeyFit models do): Route the tether strap over the seatback, attach to the anchor point (often in the trunk or floor), and tighten until snug.
Testing Within Phase: Shake the base vigorously. If it moves more than 1 inch, loosen and retry tightening. This method takes 10-15 minutes.
Warning: Never twist LATCH straps or use them with seat belts simultaneously—that’s a safety violation.
Phase 3: Seat Belt Installation Method (Alternative to LATCH)

Use this if LATCH isn’t available or for the center seat. It’s equally secure when done right.
- Thread the lap/shoulder belt through the base’s belt guides (blue path for most Chicco models). Start from the outboard side, pulling it across the front.
- Buckle the seat belt. If your vehicle has an automatic locking retractor (check manual), pull the belt fully out to activate the lock mode— it won’t retract until unbuckled.
- Remove slack: Push down on the base with your full body weight (kneel on it) while pulling the shoulder belt tight. For manual lock-off, use the base’s lock-off clip if available.
- Check the recline level again and adjust as needed.
Testing Within Phase: Perform the “1-inch rule”—grab the base at the belt path and try to wiggle it. Less than 1 inch movement means success. Expect 10-20 minutes here.
Phase 4: Securing the Infant Car Seat to the Base
Once the base is installed:
- Align the car seat’s tabs with the base’s slots—Chicco’s push-button release makes this easy.
- Press down firmly until it clicks into place. Tug upward on the seat’s handle to ensure it’s locked (it shouldn’t lift more than 1/4 inch).
- Adjust the seat’s recline to match the base, and set the harness straps at or above the child’s shoulders for newborns.
Post-Installation Testing and Troubleshooting

After setup, verify everything holds. Drive to a certified inspection station (find one at nhtsa.gov) within a week—it’s free and required in some states.
Basic Testing
- Wiggle Test: Shake the base and seat. No more than 1 inch movement.
- Level Check: Reconfirm with your tool; bubbles must stay centered.
- Harness Fit: When the seat is occupied, straps should be snug (pinch test: no slack when pinching).
Common Troubleshooting
If issues arise:
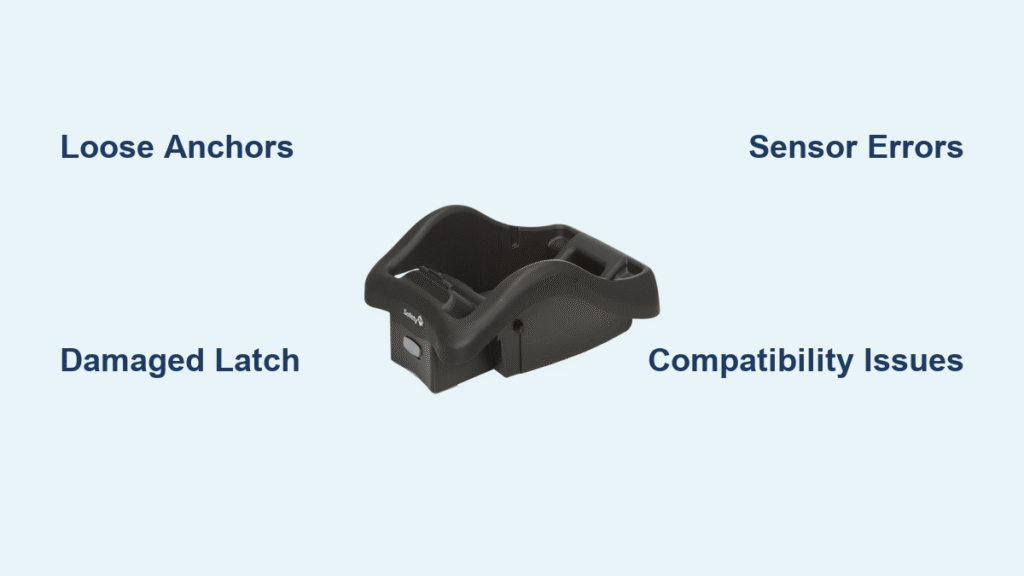
– Base Won’t Click into LATCH: Inspect anchors for damage; clean debris. Try wiggling while pushing.
– Excess Movement: Retighten straps or add the towel roll. If persistent, switch to seat belt method.
– Uneven Level: Your vehicle seat might be worn—consult a mechanic. For sloped seats, the towel trick works 90% of the time.
– No Lock on Belt: Activate your car’s locking mode by pulling the belt all the way out. If it fails, the retractor might need service.
– Seat Doesn’t Fit Base: Ensure model compatibility (e.g., KeyFit 30 base only works with KeyFit 30 seat). Contact Chicco support at 1-877-424-4226.
If tests fail, uninstall and restart from Phase 1. Document your setup with photos for reference.
Pro Tips for Chicco Infant Car Seat Base Installation
To elevate your installation from good to great, consider these expert insights from certified CPSTs and Chicco guidelines:
– Choose the Right Spot: Middle rear seats offer better crash protection per IIHS studies, but only if LATCH-equipped. Otherwise, stick to outboard.
– Avoid Common Mistakes: Don’t forget the top tether—it reduces forward movement by 40%. Also, never place on shopping cart seats; bases are vehicle-only.
– Optimize for Comfort: Adjust the base’s rotation feature (on newer models like KeyFit 35) for easier loading. Keep the harness free of twists to prevent false slack.
– Seasonal Adjustments: In hot weather, cover the base with a breathable fabric to avoid vinyl warping. For winter, ensure ice doesn’t jam connectors.
– Maintenance Routine: Monthly, check straps for fraying and clean with mild soap—avoid harsh chemicals that degrade materials.
– Tech Hack: Use apps like “Car Seat Check” for video tutorials tailored to your vehicle model.
– Longevity Tip: Upgrade to a base with SuperCinch LATCH for one-handed tightening, saving time on re-installs when switching cars.
These tweaks can make daily use hassle-free and extend your base’s life up to 10 years.
When to Seek Professional Help for Chicco Installation
While DIY is empowering, some situations call for experts. Signs include:
– Persistent movement after multiple tries.
– Vehicle modifications (e.g., aftermarket seats) that alter anchors.
– Uncertainty with older cars lacking clear LATCH labels.
– If you’re installing for multiples (twins) and space is tight.
Look for a NHTSA-certified CPST—verify via safekids.org. Expect $20-50 for a session, often covered by hospitals or fire stations. Chicco’s warranty (1-2 years) covers defects but not improper installation, so pros ensure coverage. Always ask about their experience with Chicco models specifically.
FAQ
Q: How long does Chicco infant car seat base installation take?
A: Typically 15-30 minutes for first-timers. LATCH is faster (10-15 minutes) than seat belt (15-20 minutes). Practice once, and it drops to under 10.
Q: Can I install the base without LATCH?
A: Yes, the seat belt method is NHTSA-approved and just as safe if tightened properly. It’s ideal for center seats or vehicles without LATCH.
Q: What’s the weight limit for the Chicco KeyFit base?
A: Up to 35 lbs for the child plus 5 lbs for the seat (KeyFit 30); check your model. Always rear-facing until at least 2 years old.
Q: Do I need to remove the base when not using the car seat?
A: No, but if switching vehicles often, uninstall to avoid wear. Leaving it installed is fine if secure, but inspect monthly.
Q: How do I know if my installation is correct without a pro?
A: Pass the 1-inch wiggle test and level check. Plus, buckle in a stuffed toy at the child’s weight to simulate—straps should be flush.
Q: Can I use the base in different vehicles?
A: Absolutely, as long as anchors match. Chicco bases are universal for LATCH-equipped cars, but re-level each time.
Q: What if my base is damaged?
A: Stop using it immediately. Contact Chicco for warranty replacement; provide serial number from the base bottom.
Alternative Solutions for Chicco Car Seat Installation
If your vehicle doesn’t play nice with the base, consider these options. They’re great backups but stick to the base for stability.
| Solution | Pros | Cons | Best For |
|---|---|---|---|
| Direct Seat Belt Installation (No Base) | Simpler, no extra parts; works in any vehicle | Less stable for frequent in/out; harder to level | Short trips or base incompatibility |
| Convertible Car Seat Without Base | Grows with child (up to 65 lbs); LATCH or belt options | Bulkier for infants; no click-in convenience | Older babies or multi-child families |
| Travel System Stroller Adapter | Seamless with Chicco strollers; quick swaps | Adds cost ($50-100); not for permanent install | Urban parents on the go |
The base remains the gold standard for infants under 1 year due to its rebound protection.
Start Using Your Chicco Car Seat Safely
You’ve now mastered Chicco infant car seat base installation with clear phases, from prep to testing:
– Essential tools and safety checks
– LATCH and seat belt methods
– Pro tips and troubleshooting fixes
Following this guide ensures your setup meets federal standards, giving you reliable protection every drive. Take action today—install, test, and hit the road with confidence. Your baby’s safety is worth the effort.
Have you installed your Chicco base yet? Share your tips or challenges in the comments to help fellow parents! If issues persist, describe them for tailored advice.


