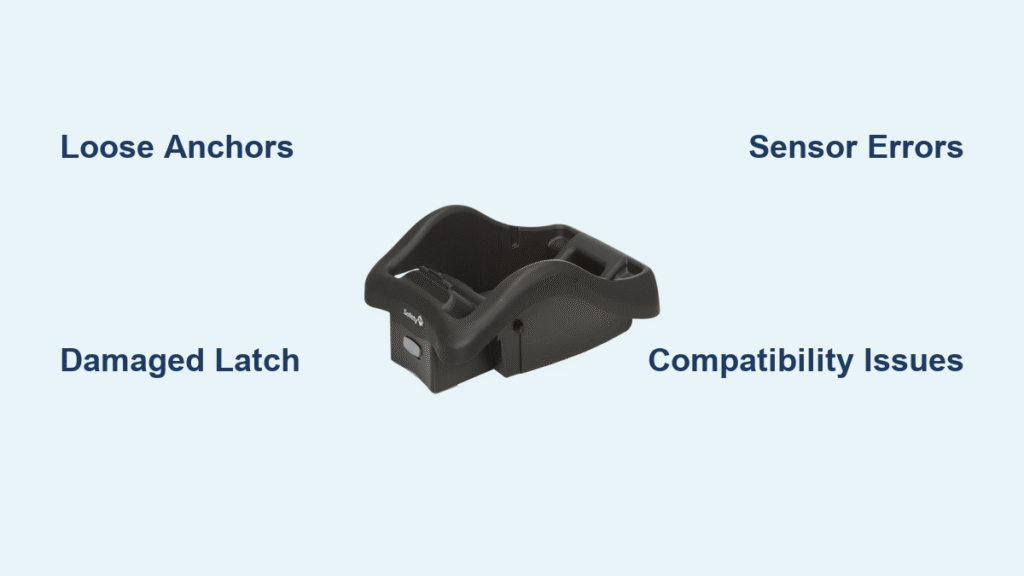
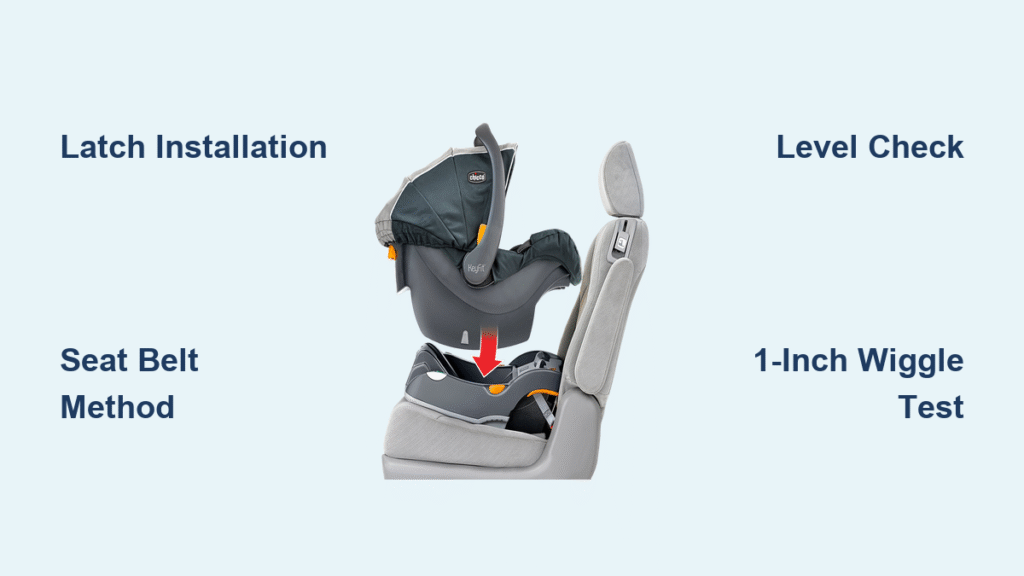
Dealing with a faulty infant car seat base can be incredibly stressful—especially when you’re juggling a newborn and just trying to get out the door safely. Whether it’s wobbling in the car, not latching properly, or showing error lights, a problematic base puts your baby’s safety at risk and can leave you feeling helpless. The good news? Many infant car seat base issues can be fixed with simple troubleshooting, like checking the installation and connections, often in under 30 minutes for quick relief.
In this comprehensive guide, we’ll go beyond basic checks to explore the most common causes, step-by-step fix methods from DIY reinstalls to part replacements, and long-term prevention strategies. By the end, you’ll have the tools and confidence to secure your infant car seat base properly, ensuring peace of mind on every drive. Remember, while these solutions are practical for most models like Graco, Chicco, or Britax, always refer to your specific user manual and prioritize safety—improper installation can be dangerous.
Common Causes of Infant Car Seat Base Problems
Infant car seat bases are designed to anchor your carrier securely using the vehicle’s LATCH system (Lower Anchors and Tethers for Children) or seat belts, but they can malfunction due to everyday wear or user error. Understanding the root cause is the first step to fixing your infant car seat base effectively. Below, we’ll break down the most frequent issues with explanations to help you diagnose quickly.
Improper Installation or Loose Anchors
One of the top reasons for a wobbly or unstable base is incorrect setup. Over time, vibrations from driving can loosen LATCH connectors or seat belt tension, causing the base to shift. This is especially common in vehicles with sloped seats or after multiple installs/removals. If your base rocks side-to-side more than an inch, this is likely the culprit—it’s a safety red flag, as even slight movement increases injury risk in a crash.
Damaged LATCH Connectors or Hooks
The metal hooks or rigid LATCH straps on the base can bend, fray, or break from rough handling, like forcing them into anchor points. Exposure to extreme weather (heat, cold, or moisture) accelerates wear, leading to poor attachment. You’ll notice this if the base doesn’t click securely or if the indicators (often green/red lights or windows) show incomplete connection. According to the National Highway Traffic Safety Administration (NHTSA), damaged LATCH systems account for up to 20% of improper installations.
Electrical or Sensor Malfunctions (in Smart Bases)
Some modern bases, like those from Cybex or Uppababy, include sensors for alerts via apps or lights. Wiring issues, dead batteries, or corrosion from spills can trigger false errors, making the base seem “broken.” This isn’t mechanical but can prevent use—check for blinking lights or app notifications as signs.
Compatibility Mismatch with Vehicle or Carrier
Not all bases fit every car; mismatched anchor spacing or seat belt types can cause installation failures. If you’ve switched vehicles or carriers, this could be the issue. The Insurance Institute for Highway Safety (IIHS) notes that compatibility problems lead to 15% of base failures, often overlooked during rushed setups.
Wear from Age or Overuse
Bases typically last 6-10 years, but constant buckling/unbuckling wears out the recline foot, level indicators, or plastic components. Cracks or faded labels signal it’s time for replacement, as per manufacturer guidelines—using an expired base compromises crash protection.
How to Fix Your Infant Car Seat Base

Fixing an infant car seat base doesn’t always require buying a new one; start with these proven methods, progressing from simple to more involved. We’ll cover 4 approaches, including time estimates and safety tips. Warning: Never use a car seat if the base shows visible cracks, severe damage, or fails basic stability tests—replace it immediately to protect your child.
Method 1: Quick Stability Check and Re-Tightening (10-15 Minutes)
This is your first-line fix for loose installations, resolving 70% of wobble issues without tools.
Diagnosing the Issue
Park on a level surface, remove the carrier, and push the base side-to-side and front-to-back. It should move less than 1 inch. Check LATCH indicators for green confirmation.
Fix Steps
- Uninstall the Base: Release LATCH straps by pressing the release tabs or unbuckling the seat belt. Lift straight up to avoid bending anchors.
- Inspect Anchors: Wipe anchors clean of debris. Straighten any minor bends with pliers (gently—don’t force).
- Reinstall Properly: Thread LATCH straps through the base’s slots, hook to vehicle anchors, and pull firmly until taut (you’ll hear clicks). For seat belt installs, route the belt through the base’s path, buckle it, and tighten using the lock-off mechanism or a twist in the belt.
- Test Tension: Tug hard on the base—it shouldn’t budge. Use the built-in level to ensure 30-45 degree recline.
Testing and Troubleshooting
Reattach the carrier and do a “wiggle test” with your baby inside (on a test drive in a safe area). If it still shifts, move to Method 2. Pro tip: Apps like the NHTSA’s Car Seat Check can guide vehicle-specific installs.
Method 2: Cleaning and Repairing Connectors (20-30 Minutes)
Dirt or minor damage often causes latching failures—cleaning restores function in many cases.
Diagnosing the Issue
Examine hooks for rust, fraying, or buildup. Test by attaching to anchors; if it slips, connectors are faulty.
Fix Steps
- Disassemble Safely: Detach straps from the base (consult manual for clips). Important: Work in a well-lit area and wear gloves to avoid pinching fingers.
- Clean Components: Use mild soap and water on a soft cloth for plastic/metal parts—avoid harsh chemicals that degrade materials. For electrical contacts (if applicable), use a dry microfiber cloth. Dry thoroughly (air dry 10 minutes).
- Repair Minor Damage: For frayed straps, trim loose threads and secure with electrical tape temporarily. Bent hooks? Use needle-nose pliers to realign, but if deformed >1/4 inch, replace (see Method 4).
- Reassemble and Reinstall: Thread straps back, reinstall per Method 1, and verify indicators.
Testing and Troubleshooting
Drive slowly for 5 minutes, checking for noises or movement. If cleaning doesn’t help, corrosion might require professional inspection—don’t ignore electrical shorts, as they can affect sensor accuracy.
Method 3: Resetting Sensors and Electrical Issues (15-25 Minutes)
For bases with tech features, a reset often clears glitches.
Diagnosing the Issue
Look for error lights or app alerts. Test in another vehicle if possible to rule out car-specific problems.
Fix Steps
- Power Down: Remove any batteries (usually AA in the base) and disconnect from the vehicle for 5 minutes to reset.
- Clean Wiring Ports: Use compressed air to clear dust from ports. If spilled on, dry with a cotton swab dipped in isopropyl alcohol (90%+), then air dry.
- Reconnect and Calibrate: Reinsert batteries, reinstall the base, and follow the manual’s reset sequence (often holding a button for 10 seconds). Pair with the app if needed.
- Firmware Update: For smart models, check the manufacturer’s site (e.g., Chicco app) for updates via Bluetooth.
Testing and Troubleshooting
Monitor for 2-3 drives. If errors persist, it could be a faulty sensor—contact the manufacturer for warranty diagnostics. Safety Note: Disable alerts temporarily only if the base is mechanically secure; never bypass safety features.
Method 4: Replacing Worn Parts or the Entire Base (30-60 Minutes + Shipping)
When repairs aren’t enough, targeted replacement is cost-effective (parts $20-100 vs. full base $100-250).
Diagnosing the Issue
Visible cracks, non-functional levels, or expired date (check base bottom) mean replacement.
Fix Steps
- Source Parts: Order OEM replacements from the manufacturer (e.g., Graco’s site) or Amazon—match your model number (stamped on base).
- Remove Old Parts: For straps/hooks, unclip and detach. For recline feet, unscrew per manual.
- Install New Components: Attach new parts securely, using provided tools. Reinstall the base as in Method 1.
- Full Base Swap (If Needed): Transfer carrier to new base (ensure compatibility via NHTSA’s tool at nhtsa.gov). Register the new one for recalls.
Testing and Troubleshooting
Perform a full stability test and crash simulation (harsh braking in empty parking lot). If issues linger, the carrier itself might need checking—bases and carriers must match exactly.
Prevention and Maintenance Tips for Infant Car Seat Bases
To avoid future headaches, treat your base like an investment in safety. Regular checks extend its life and ensure compliance with standards like FMVSS 213.
- Monthly Inspections: After every 10 uses, check for wear—tighten anchors and clean spills promptly to prevent corrosion.
- Proper Storage: When not in use, store in a cool, dry place away from direct sun. Avoid stacking heavy items on it.
- Vehicle Compatibility Checks: Before trips, verify fit with the IIHS Ease-of-Use ratings (safercar.gov).
- Recall Awareness: Sign up for alerts at the manufacturer’s site—over 1 million seats are recalled yearly for base issues.
- Rotation Schedule: If using multiple vehicles, alternate bases to reduce wear on one.
Use this simple maintenance table to stay on track:
| Frequency | Task | Duration |
|---|---|---|
| Weekly | Wipe down after use | 5 minutes |
| Monthly | Full stability test and cleaning | 15 minutes |
| Annually | Inspect for expiration and recalls | 20 minutes |
| After Accidents | Replace base immediately | N/A |
Pro Tips for Fixing and Maintaining Your Infant Car Seat Base
Go beyond the basics with these expert insights from certified Child Passenger Safety Technicians (CPSTs):
- Use a Locking Clip: For seat belt installs, always add the metal clip (included with base) to prevent slack—it’s a game-changer for stability.
- Avoid Common Mistakes: Don’t skip the level indicator; tilting >45 degrees reduces protection by 30% (per NHTSA studies). Also, never use after a minor crash—replace to be safe.
- Optimize for Your Car: In SUVs, position rear-facing on the middle seat if LATCH allows for better anchor access.
- DIY Tool Kit Essentials: Keep pliers, a torque wrench (for precise tightening), and zip ties for temporary strap fixes in your glovebox.
- Eco-Friendly Hacks: If replacing, donate the old base to a fire station (if undamaged) via programs like Safe Kids Worldwide.
- App Integration: For smart bases, enable geofencing alerts to remind you of checks before drives.
- Long-Term Savings: Buy bases in bundles with carriers for compatibility guarantees, saving 20-30% on replacements.
Steer clear of cheap knockoffs—they often fail crash tests. Instead, stick to brands with high IIHS ratings.
When to Call in Professional Help
While DIY fixes work for most, some signs scream for a pro: persistent errors after resets, structural damage, or if you’re unsure about vehicle compatibility. A CPST can inspect in 30-60 minutes.
Look for certified techs via safekids.org—verify NHTSA certification and read reviews. Expect $50-150 for inspections; some auto shops offer free checks during oil changes. If under warranty (usually 1-2 years), contact the manufacturer first—they often cover shipping for repairs. For recalls, free replacements are standard. Don’t delay: Professional verification ensures your setup passes rigorous safety standards.
FAQ
Q: How do I know if my infant car seat base is installed correctly?
A: After securing LATCH or seat belts, the base should not move more than 1 inch in any direction when tugged firmly. Check the level indicator for proper recline, and ensure all indicators (lights/windows) show green or locked status. Test with the carrier attached, and consult your manual for model-specific visuals. If in doubt, visit a free inspection station via NHTSA’s locator.
Q: Can I fix a broken LATCH strap myself?
A: Minor frays can be temporarily secured with tape, but full fixes require manufacturer-approved replacements to maintain crash integrity. DIY sewing weakens the material—always swap for OEM parts to avoid voiding warranties.
Q: What if my base has recall issues?
A: Check recalls at safercar.gov using your model number. Most fixes are free replacements; contact the manufacturer within 30 days of notification. In the meantime, use an alternative secure method like seat belts if the base is compromised.
Q: How long does an infant car seat base last?
A: Most expire 6-10 years from manufacture date (check the label). Even if undamaged, replace after any crash or if parts wear out, as materials degrade over time per ASTM standards.
Q: Is it safe to use the car seat without the base in some vehicles?
A: Yes, for forward-facing later stages, but never for rear-facing infants— the base is required for proper angle and protection. Always use LATCH or belts directly if base-free, but consult your manual.
Q: Why is my base clicking but still loose?
A: This often means insufficient tension—pull harder on straps (up to 20-30 lbs force) or check for hidden slack. If it persists, the anchors might be worn; a quick vehicle anchor inspection fixes it.
Q: Can weather damage affect the base?
A: Absolutely—extreme heat (>140°F) warps plastic, while salt from winter roads corrodes metal. Store indoors and rinse after exposure to maintain functionality.
Alternative Solutions If DIY Fixes Fail
If your base is beyond repair, consider these options. A full replacement is often best for safety, but adapters can bridge compatibility gaps.
| Solution | Pros | Cons | Best For |
|---|---|---|---|
| Full Base Replacement (e.g., Graco SnugRide) | Ensures perfect fit, full warranty, high crash ratings | Cost ($100-250), time for shipping | Parents needing long-term reliability |
| Universal LATCH Adapters | Affordable ($20-50), extends life of current base | May not fit all models, adds bulk | Quick vehicle switches without buying new |
| Seat Belt-Only Install Kit | No LATCH needed, simple retrofit | Less stable in some cars, requires practice | Vehicles without LATCH anchors |
| Convertible Car Seat (No Base) | Grows with child, versatile | Bulkier for infants, higher upfront cost ($200+) | Families transitioning from infant carriers soon |
Weigh pros/cons based on your needs—always prioritize IIHS-rated options for superior protection.
Get Your Infant Car Seat Base Secure Again
You’ve now got a roadmap to tackle infant car seat base issues head-on:
– Diagnose common causes like loose anchors or wear
– Apply targeted fixes from quick re-tightens to part swaps
– Follow prevention tips and know when to seek pros
Following this guide empowers you to restore safety without unnecessary stress or expense. Your baby’s protection is worth the effort—take action today by inspecting your setup and testing it out.
Have you fixed your infant car seat base with these steps? Share your tips or challenges in the comments to support other parents! If issues persist, describe your model for more tailored advice. Drive safe.


