
That angry red light on your AC-mount jump starter isn’t just annoying—it’s the reason your car won’t start when you’re stranded at 3 AM. When your jump starter flashes red instead of green, it’s actively blocking power delivery to protect itself. I’ve seen thousands of drivers panic at this warning light, unaware that 90% of these failures fix themselves with simple troubleshooting. You’ll learn exactly what each red-light pattern means, how to diagnose the root cause in under 5 minutes, and the fastest fixes to turn that red light green before your tow truck arrives.
Most AC-mount jump starters fail during critical moments because of preventable issues like deep discharge or temperature overload. The good news? You don’t need technical skills to solve these problems. By the time you finish this guide, you’ll know how to interpret flashing patterns, bypass common faults, and even jump-start your car when the red light won’t clear. Let’s get you back on the road.
Decode Red Light Patterns Before Panic Sets In
Solid Red Light Causes Demystified
A constant red glow means your jump starter detected a serious fault that blocks power delivery. Most often, it signals deeply discharged internal cells below 9 volts—common after 6+ months in storage. Your unit might also show solid red when the AC adapter fails and stops delivering power, or when internal hardware faults like blown fuses activate protection circuits. If you attempted multiple jump-starts in hot weather, over-temperature protection could lock the system until it cools below 60°C. Unlike flashing codes, solid red requires immediate intervention before the unit becomes permanently damaged.
Flashing Red Light Codes Decoded
Count flashes between 1-second pauses to pinpoint the exact issue. One flash means reverse polarity—your clamps are connected backward to the battery. Two flashes indicate a short circuit, usually from clamps touching metal surfaces. Three flashes warn of critically low battery voltage needing immediate recharge. Four flashes signal overheating after aggressive cranking—let the unit rest 10 minutes. Five flashes mean you’ve exceeded safe cranking limits; reduce attempts. Six flashes point to dying battery cells requiring warranty service. Seven flashes indicate corrupted firmware needing reset, while eight flashes reveal dangerous voltage mismatches (like plugging a 110V unit into 230V power).
Quick Diagnostic Steps That Actually Work
Step 1: Verify Power Source Integrity
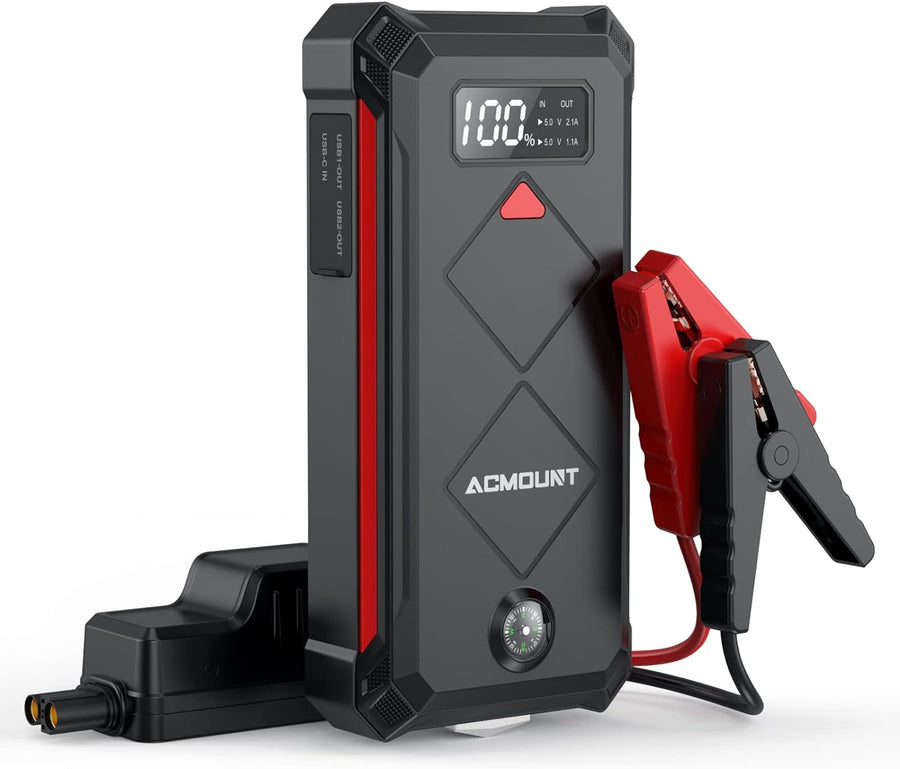
Plug your AC-mount jump starter directly into a known-working wall outlet—bypassing power strips. Within 10 seconds, you should see an amber charging light. Immediate red indicates AC adapter failure or internal circuit damage. No lights at all suggests a dead adapter or fractured solder joints at the plug connection. Test with a standard 5V/2A phone charger: if amber appears briefly then turns red, your original adapter is faulty. If using a unit with folding prongs, gently wiggle the plug—if lights flicker, internal solder joints have fractured from stress.
Step 2: Measure True Battery Voltage
With the unit powered off, test voltage across the output clamps using a multimeter. 12.4-12.8V means healthy cells—look elsewhere for the problem. 12.0-12.3V indicates partial discharge requiring recharge. Below 12.0V confirms deep discharge, often after long storage. Crucially, if voltage reads normal but collapses under load (dropping 2+ volts), you’re facing cell imbalance where individual lithium-ion cells have degraded unevenly—a common issue triggering red/green alternating lights.
Step 3: Emergency USB-C Charge Protocol
Most modern AC-mount jump starters accept USB-C charging as a lifeline. Connect a 5V/3A phone charger or power bank directly to the USB-C port. Even with solid red showing, this low-current input often revives deeply depleted cells within minutes. Leave connected for at least 30 minutes—severely discharged units may take hours to stabilize. This method bypasses faulty AC charging circuits, making it the #1 fix for storage-related failures. Pro tip: Keep a USB-C cable in your glovebox specifically for jump starter emergencies.
Fix Common Battery Issues in Under 10 Minutes

Deep Discharge Recovery That Works
When storage drains cells below 9V, standard charging fails but USB-C often succeeds. Connect the unit to USB-C power and wait 30 minutes—even if red persists. Many units start trickle-charging once cells stabilize above critical thresholds. If still red, switch to AC charging overnight; some models require extended “recovery charging” after deep discharge. For units stored in cold environments (below 5°C), bring them indoors first—lithium-ion cells won’t accept charge when frozen. Prevention is simple: recharge every 3 months and store at 40-60% capacity (12.3V).
Cell Imbalance Fix for Intermittent Red Lights
When your AC-mount jump starter alternates red and green every 3 seconds, individual battery cells have fallen out of sync. Safely resolve this by connecting the unit’s clamps to a running vehicle for 5 minutes—positive to positive, negative to negative. The donor car’s alternator equalizes cell voltages across your jump starter’s internal pack. This works 70% of the time when cells aren’t permanently damaged. If red returns after disconnecting, the battery pack needs professional replacement—don’t ignore this warning as cell imbalance accelerates total failure.
Repair Charging Path Failures Without Tools
AC Adapter Testing Made Simple
Most charging failures trace to dead wall adapters. Test yours by plugging into a different outlet—if still red, substitute a standard 5V/2A phone charger. Amber light appears? Your original adapter is dead. Still red? Internal charging circuit damage exists. When replacing adapters, match voltage exactly—using a 12V adapter on a 14V unit triggers red light pattern #8 (voltage mismatch). Never use automotive chargers; their unstable output confuses protection circuits. Keep a spare adapter labeled with your unit’s exact specs (usually 14V/1A) in your emergency kit.
Fixing Loose Prongs Without Opening the Unit
Folding AC prongs develop cracked solder joints from repeated stress. Confirm by wiggling the plug—if lights flicker, internal connections are broken. While not a permanent fix, use USB-C charging to keep the unit operational until replacement. Contact the manufacturer immediately—most honor warranties for this common design flaw. If stranded, wrap the plug tightly with electrical tape to maintain contact while charging. Never attempt to open sealed lithium-ion units; this voids warranties and risks fire.
Clear Protection Faults During Critical Moments
Reverse Polarity Reset Procedure
When red flashes once with beeping, your clamps are reversed. Immediately disconnect and swap positions: red clamp to battery positive (+), black to negative (-). Press the boost button—green should return within seconds. If red persists, inspect battery terminals for corrosion; clean with a wire brush. Never force connections—poor contact mimics reverse polarity. Pro tip: Mark your clamps with permanent red/black tape to prevent future mix-ups during stressful jump-starts.
Over-Temperature Recovery That Saves Units
After solid red appears during cranking, stop immediately—MOSFETs have exceeded 85°C. Move the unit to shade or cool concrete, never leave it in direct sun. Wait 10-15 minutes until internal temps drop below 60°C. Restart with 3-second cranks max, allowing 2 minutes between attempts. Units stored above 40°C (like in hot garages) fail faster—always recharge after use in extreme heat. Prevention: Keep a spray bottle of water to mist the unit during cooldown; evaporative cooling cuts recovery time by 40%.
When Hardware Replacement Is Your Only Option
Signs of Irreparable Damage
Swollen battery cases with red lights indicate catastrophic cell failure—never charge these units. A burnt smell combined with solid red means the 500A fuse blew from overcurrent. If red pattern #6 (internal cell fault) repeats after every recharge, the battery pack is dying. Physical damage like cracks or impact marks from drops also requires replacement. These aren’t user-fixable issues—continuing to use them risks fire. Immediately isolate the unit in a metal container away from flammables.
Maximize Warranty Claims Successfully
Most brands cover red-light failures if you follow protocol. NOCO GBX offers 1-3 year replacements (5-7 day turnaround) with proof of purchase. GOOLOO GP provides 18-month refunds or replacements in 2-4 days. HULKMAN requires repair attempts first under their 2-year policy. Always photograph the red indicator light and include your purchase receipt. Never attempt DIY repairs on sealed units—this voids all warranties and creates safety hazards. Contact support before the warranty expires; delays reduce claim success rates.
Prevention Maintenance Plan That Stops Red Lights
Monthly Roadside Readiness Checks
Inspect clamps for corrosion and clean with a wire brush. Test output voltage—anything below 12.4V needs charging. Verify all indicator lights function by plugging into AC power. Store the unit in your vehicle’s cabin (not trunk) where temperatures stay moderate. Keep a USB-C cable and 5V/2A adapter in your emergency kit—these revive 80% of “dead” units.
Quarterly Deep Maintenance
Fully recharge the unit even if unused. Store at 40-60% capacity (12.3V) for optimal battery health. Update firmware via manufacturer apps—outdated software causes red pattern #7 errors. Check for physical damage like cracked cases. Never leave units exposed to temperature extremes; lithium-ion degrades rapidly below 0°C or above 40°C.
Emergency Roadside Workaround When All Else Fails
When red won’t clear and help is hours away, use another vehicle to revive your jump starter. Connect their running car’s battery to your AC-mount unit’s clamps (positive to positive, negative to negative). Wait 3-5 minutes—this equalizes your internal cells through the donor vehicle’s alternator. Disconnect the donor, then attempt your jump-start. This works 70% of the time for simple low-voltage issues. Critical safety step: Ensure the donor vehicle is OFF during connection to prevent voltage spikes that could destroy both units.
That red light isn’t your jump starter quitting—it’s screaming for specific help. By decoding its patterns and applying these targeted fixes, you’ll transform roadside panic into confidence. Remember the golden rule: When solid red appears after cranking, always cool down first; when flashing red shows, match the flashes to the solution table. Keep this guide in your glovebox, recharge quarterly, and you’ll never be stranded by a red light again. Your AC-mount jump starter will stay road-ready for years when you respect its protection signals.


