
Your DeWalt jump starter sits in your trunk for months, ready to save the day. Then the moment arrives—dead battery, freezing morning—and nothing happens. No lights, no clicking, no power. That sinking feeling hits as you realize your trusted tool has become an expensive paperweight. Whether you own the DXAEJ14, DXAEPS2, or another model, jump starter failure follows predictable patterns that you can diagnose and often repair yourself.
This guide walks you through the exact steps to revive your dead DeWalt jump starter, identify when it’s truly broken versus just depleted, and prevent future failures. You’ll learn to read those cryptic LED indicators, test components systematically, and decide when to repair versus replace. Most importantly, you’ll avoid costly replacement by solving common issues that mimic complete failure.
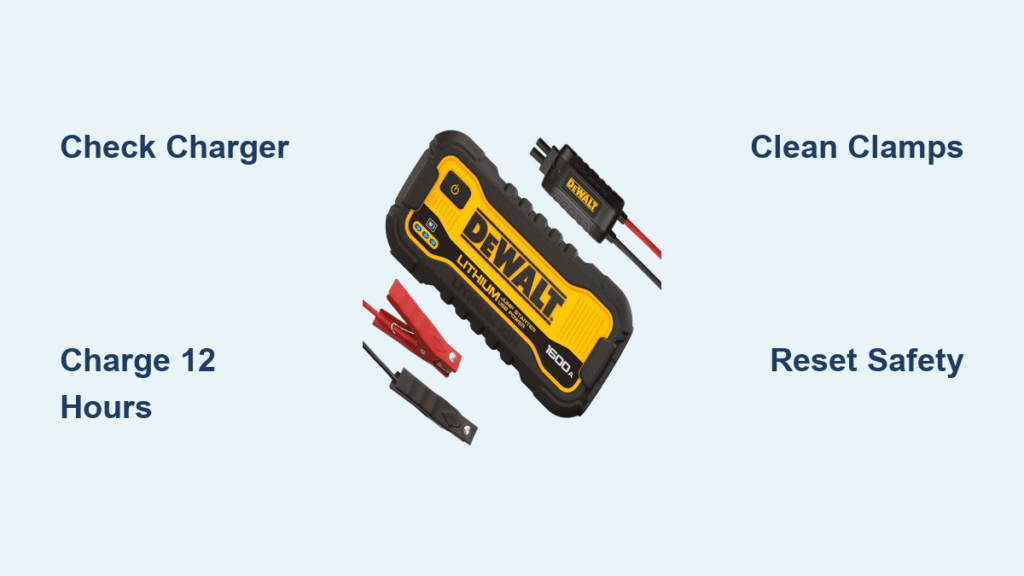
Check Power Status Before Assuming Failure
No Lights When Pressed or Powered
When your DeWalt jump starter shows zero response—no LED indicators, no sounds—the battery is either completely drained or an internal connection has failed. Connect the provided wall charger and wait 15 minutes; most models show at least a dim LED within this timeframe. If still dark, verify the charger works by testing another device or trying a different outlet. Critical mistake many users make: assuming the jump starter is dead when the real issue is a faulty wall adapter or poor outlet connection. Always test the charger independently before concluding your jump starter has failed.
Dim Flashing Red Light Indicates Critical Drain
A weak, blinking red indicator typically signals critically low battery voltage—different from solid red (charging) or solid green (fully charged). Let the unit charge for a full 8-12 hours; many users give up after 2-3 hours, but deeply discharged lithium batteries need extended charging to recover. If the light never strengthens to solid red after this extended period, the internal battery may have failed permanently. This common issue often occurs when users store their jump starter without periodic charging, allowing the battery to drop below minimum operating voltage.
Solid Red That Won’t Turn Green Signals Battery Degradation
When your jump starter accepts charge but never reaches full capacity, this indicates battery degradation—common after 2-3 years of regular use. The cells can’t hold their rated capacity, though they might still provide limited jump starting capability. Test by attempting to jump a vehicle after 12+ hours charging. If it barely cranks the engine or dies immediately, battery replacement becomes necessary. This pattern affects older units most frequently, especially those stored at full charge or exposed to temperature extremes.
Test Charging Components Systematically
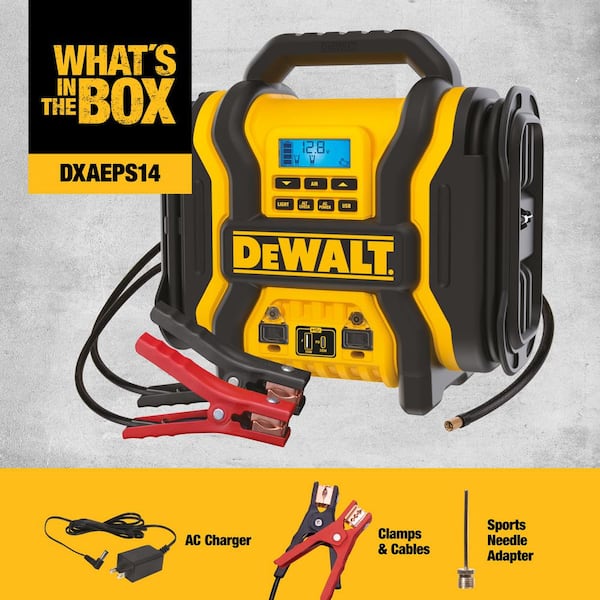
Wall Charger Verification with Multimeter
Unplug the charger from both wall and jump starter. Inspect the barrel connector for bent pins or debris that prevents proper connection. Test with a multimeter—should read 15V DC (varies slightly by model). If voltage reads zero or fluctuates wildly, replace the charger before assuming jump starter failure. Many apparent jump starter problems actually stem from faulty chargers, which are inexpensive to replace. Generic 15V adapters often work, but verify polarity matches the original to avoid damaging your unit.
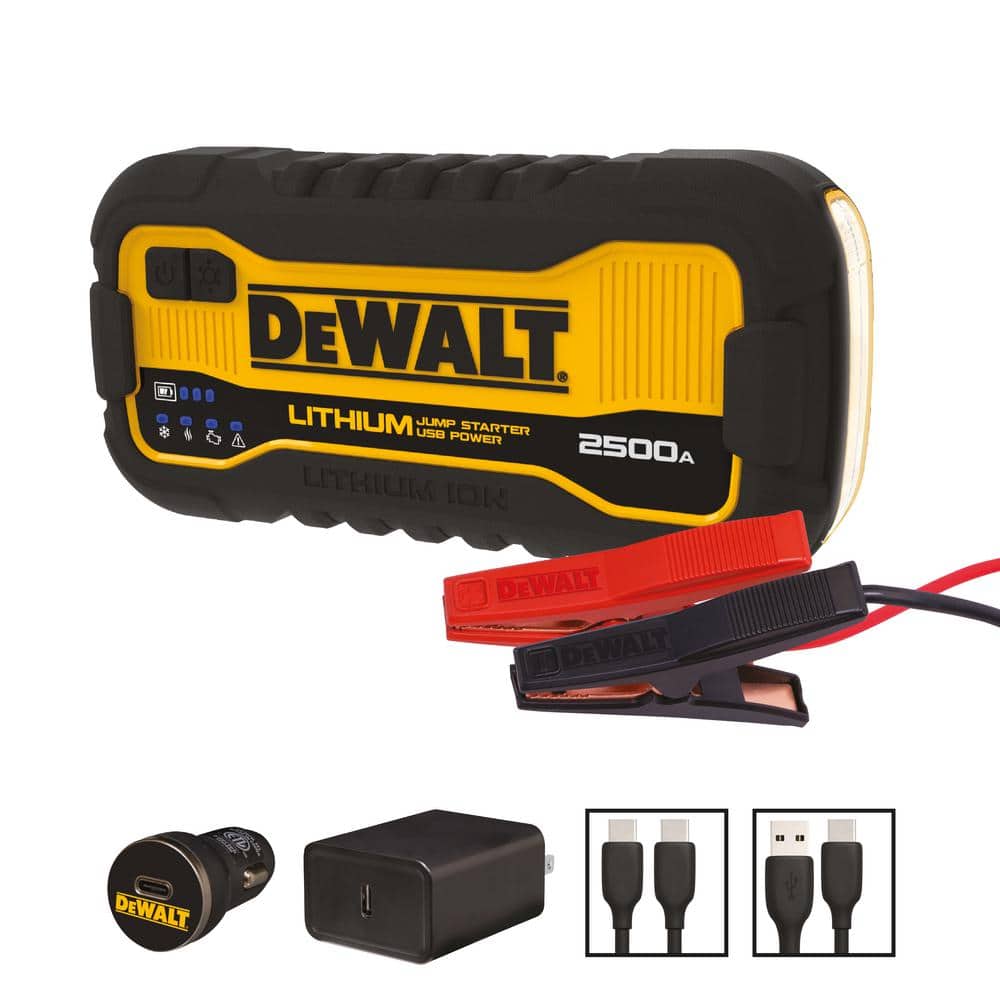
USB-C Charging Issues on Newer Models
Newer DeWalt models include USB-C charging that fails more subtly than traditional barrel connectors. Try multiple cables and wall adapters—cheap cables often can’t deliver sufficient wattage. The unit should pull 30-60 watts during charging; phone chargers delivering only 10-15 watts won’t work. Look for “PD” (Power Delivery) marked on quality adapters. If your jump starter works with one USB-C adapter but not another, the problem lies with the adapter’s power delivery capability, not your jump starter.
Car Charger Problems in Cigarette Lighter Sockets
12V car charging seems convenient but frequently causes issues due to poor connections in cigarette lighter sockets, especially in older vehicles. Test the socket with another device like a phone charger before blaming your jump starter. If charging works from wall but not car, the socket fuse or wiring is your problem—not the jump starter. This common oversight wastes time troubleshooting the wrong component.
Diagnose Output Failures Under Load
Clean Corroded Clamps Blocking Current Flow
Clean battery terminal clamps thoroughly—corrosion blocks the high current needed for jumping. Use a wire brush or fine sandpaper on both the clamps and battery terminals. Test clamp springs for tension; weak springs create poor connections that prevent power transfer. Try clamping to a different vehicle or battery. If the jump starter works elsewhere, your car battery or cables are at fault, not the jump starter itself.
Reset Tripped Internal Safety Mechanisms
DeWalt jump starters include reverse polarity protection that sometimes latches even after correcting clamp placement. Disconnect everything, wait 30 seconds, then reconnect properly. The unit should reset automatically. If not, locate the reset button (typically a tiny recessed switch near ports) and press with a paperclip. Pro tip: Always double-check clamp orientation before connecting—red to positive, black to negative—to prevent triggering this safety feature unnecessarily.
Clear Overload Protection After Failed Jump Attempts
Attempting to jump large diesel engines or severely dead batteries can trigger overload protection. The unit appears dead but actually needs reset. Let it cool for 10 minutes, then press and hold the power button for 15 seconds. This forces a hard reset on most models. Try jumping a smaller vehicle to verify function. This protection circuit activates after multiple failed jump attempts or when the starter detects excessive resistance.
Decode LED Error Patterns Correctly
Flashing Red and Green Alternating Pattern
This alternating pattern indicates internal battery temperature extremes. In cold weather, bring the unit indoors for 30 minutes to warm up. In hot conditions (like a trunk in summer), let it cool in shade. Never charge when showing this pattern—wait for temperature normalization first. Lithium batteries operate best between 40-80°F; outside this range, protection circuits limit functionality.
Rapid Red Flashing Means Safety Circuit Triggered
High-speed red flashing typically means reverse polarity (clamps reversed) or short circuit detected. Double-check clamp orientation carefully. Clean clamp contact surfaces thoroughly to ensure proper connection. If the problem persists with correct connections, the internal protection circuit may have failed—requiring professional service. This differs from normal operation where lights change pattern during successful jumps.
Single Red Blink Then Off Indicates Critical Drain
This cryptic pattern suggests the internal battery has dropped below minimum operating voltage. The protection circuit cuts power to prevent damage. Try the extended 12-hour charge method. If still unresponsive, battery replacement is likely needed as cells have degraded beyond recovery. This pattern often follows extended storage without maintenance charging.
Assess Battery Health Before Replacement
Voltage Testing Procedure Without Disassembly
Remove any cables and turn off the jump starter. Set multimeter to DC voltage and test across the main output clamps. Healthy units show 12.6-13.2V when fully charged. Readings below 10V indicate severely degraded battery. Zero volts suggests complete internal failure or blown main fuse. This simple test takes 30 seconds but provides critical diagnostic information before disassembly.
Load Testing with Automotive Bulb Confirms Capacity
A simple headlight test reveals actual capacity better than voltage readings alone. Connect a standard 12V automotive bulb across the clamps. Bright, steady light for 30+ seconds means reasonable battery health. Dim or rapidly fading light confirms capacity loss. This test works even when LED indicators suggest “full charge,” exposing degraded batteries that show false full indicators.
Prevent Future Failures with Proper Maintenance
Monthly Maintenance Routine Saves Replacement Costs
Every 30 days, charge your jump starter fully even if unused. Lithium batteries self-discharge 3-5% monthly. After charging, disconnect all cables and store in moderate temperatures. Test functionality by powering a small device—this confirms both battery and output function. Setting calendar reminders prevents the “out of sight, out of mind” storage that leads to dead units when needed most.
Optimal Storage Conditions Extend Battery Life
Never leave jump starter in vehicles during extreme weather. Lithium batteries hate heat above 100°F and cold below 20°F. Ideal storage: 40-70°F with 50-80% charge. The trunk of a parked car can exceed 140°F in summer—battery killer territory. Store in your garage or home where temperatures remain stable. Critical fact: Storing at full charge accelerates lithium battery degradation—50-80% is optimal for long-term storage.
When Professional Help Becomes Necessary

Internal Fuse Replacement for Complete Failures
Some failures trace to internal blade fuses—accessible by removing 4-6 screws on the case bottom. Only attempt if you’re comfortable with electronics. Match fuse ratings exactly (usually 30-50 amps). Wrong amperage creates fire hazards. If you’re not experienced with electronics repair, seek professional help—this simple component can be dangerous when mishandled.
Warranty Considerations Before Attempting Repairs
DeWalt warranties vary 1-3 years depending on model. Save your receipt—in most cases, warranty replacement is faster than repair. Don’t attempt disassembly on warranty units; this voids coverage immediately. Contact DeWalt support with serial number and purchase date before proceeding. Many users unknowingly void warranties by attempting simple fixes that would be covered under standard warranty terms.
Quick Reference Troubleshooting Decision Guide
No response at all: Check charger → test outlet → try reset button
Won’t hold charge: Test voltage → load test → likely battery replacement
Works but weak output: Clean clamps → check cable connections → battery degradation
Error codes flashing: Note pattern → check manual → temperature or polarity issues
Charging port loose: Try different cable → wiggle test → port replacement needed
Your DeWalt jump starter can provide years of reliable service with proper maintenance. Most “failures” actually stem from depleted batteries, poor connections, or user error rather than true component failure. Systematic testing saves both money and frustration—often reviving units that seemed permanently dead. Remember: these devices contain high-capacity lithium batteries—never puncture, incinerate, or attempt charging damaged units. When in doubt, professional service ensures both safety and warranty preservation.


