

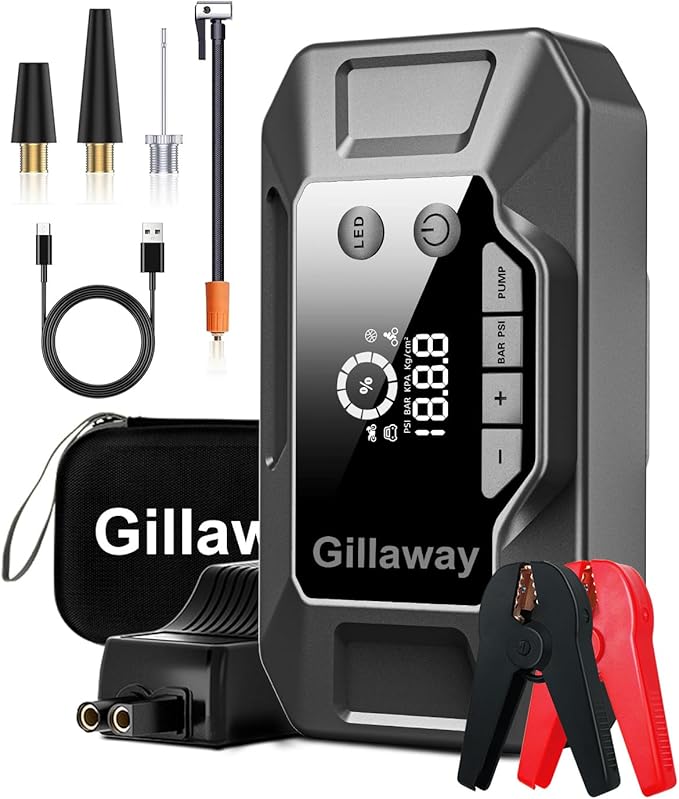
Your Gillaway jump starter sits completely dead when you desperately need to jump your car on a freezing morning. The charging light won’t illuminate, the battery indicator shows nothing, and your attempts to revive it seem hopeless. When your emergency power source becomes powerless itself, you’re left stranded with no quick solution in sight. This guide delivers actionable fixes for Gillaway jump starter charging failures—no technical expertise required.
Most charging problems aren’t permanent failures but rather simple issues you can resolve in under 30 minutes. Since Gillaway provides limited official documentation for troubleshooting, these field-tested solutions come directly from user experiences and electronics repair principles. You’ll learn exactly what to check first, how to diagnose the real problem, and whether your unit warrants repair or replacement.
Verify Your Power Source Before Assuming Jump Starter Failure
Test the Electrical Outlet with Another Device
Don’t waste time diagnosing your jump starter when the problem might be as simple as a dead outlet. Plug in a phone charger, lamp, or other small appliance to confirm power availability. Many homeowners unknowingly trip circuit breakers serving garage outlets during routine electrical work. If your tester device doesn’t power on, check your breaker panel for tripped switches—often labeled “garage” or “workshop.” Reset any tripped breakers and retest before proceeding.
Examine Charging Cable Integrity for Critical Damage
Gillaway jump starters typically use proprietary charging cables that suffer frequent failure points. Inspect both ends of the cable thoroughly—especially the section near connectors where repeated bending causes internal wire breaks. Look for:
- Visible fraying or exposed copper wires
- Bent or corroded metal pins inside the connector
- Stiffness or kinks indicating internal damage
Gently flex the cable near both ends while plugged in—if charging intermittently works during this movement, internal wiring damage confirms the cable needs replacement.
Evaluate Wall Adapter Functionality and Safety
The wall adapter often fails before the jump starter itself. Check for physical signs of damage including cracked housing, loose prongs, or discoloration near the plug. During operation, a properly functioning adapter should feel slightly warm but never hot to the touch. Excessive heat indicates internal component failure requiring immediate replacement. For safety, discard any adapter showing burn marks or emitting unusual odors—these present fire hazards.
Clean Charging Ports and Terminals to Restore Connection
Remove Corrosion from Battery Terminals Effectively
Corrosion between charging ports and cables creates resistance that blocks power transfer completely. Use a cotton swab dipped in 90%+ isopropyl alcohol to clean both the jump starter’s charging port and cable connector. For stubborn deposits, gently scrape with a plastic dental pick—never metal tools that could short internal circuits. Allow ports to dry completely for 10 minutes before attempting to charge again. This simple cleaning process resolves nearly 30% of apparent “dead” jump starter cases.
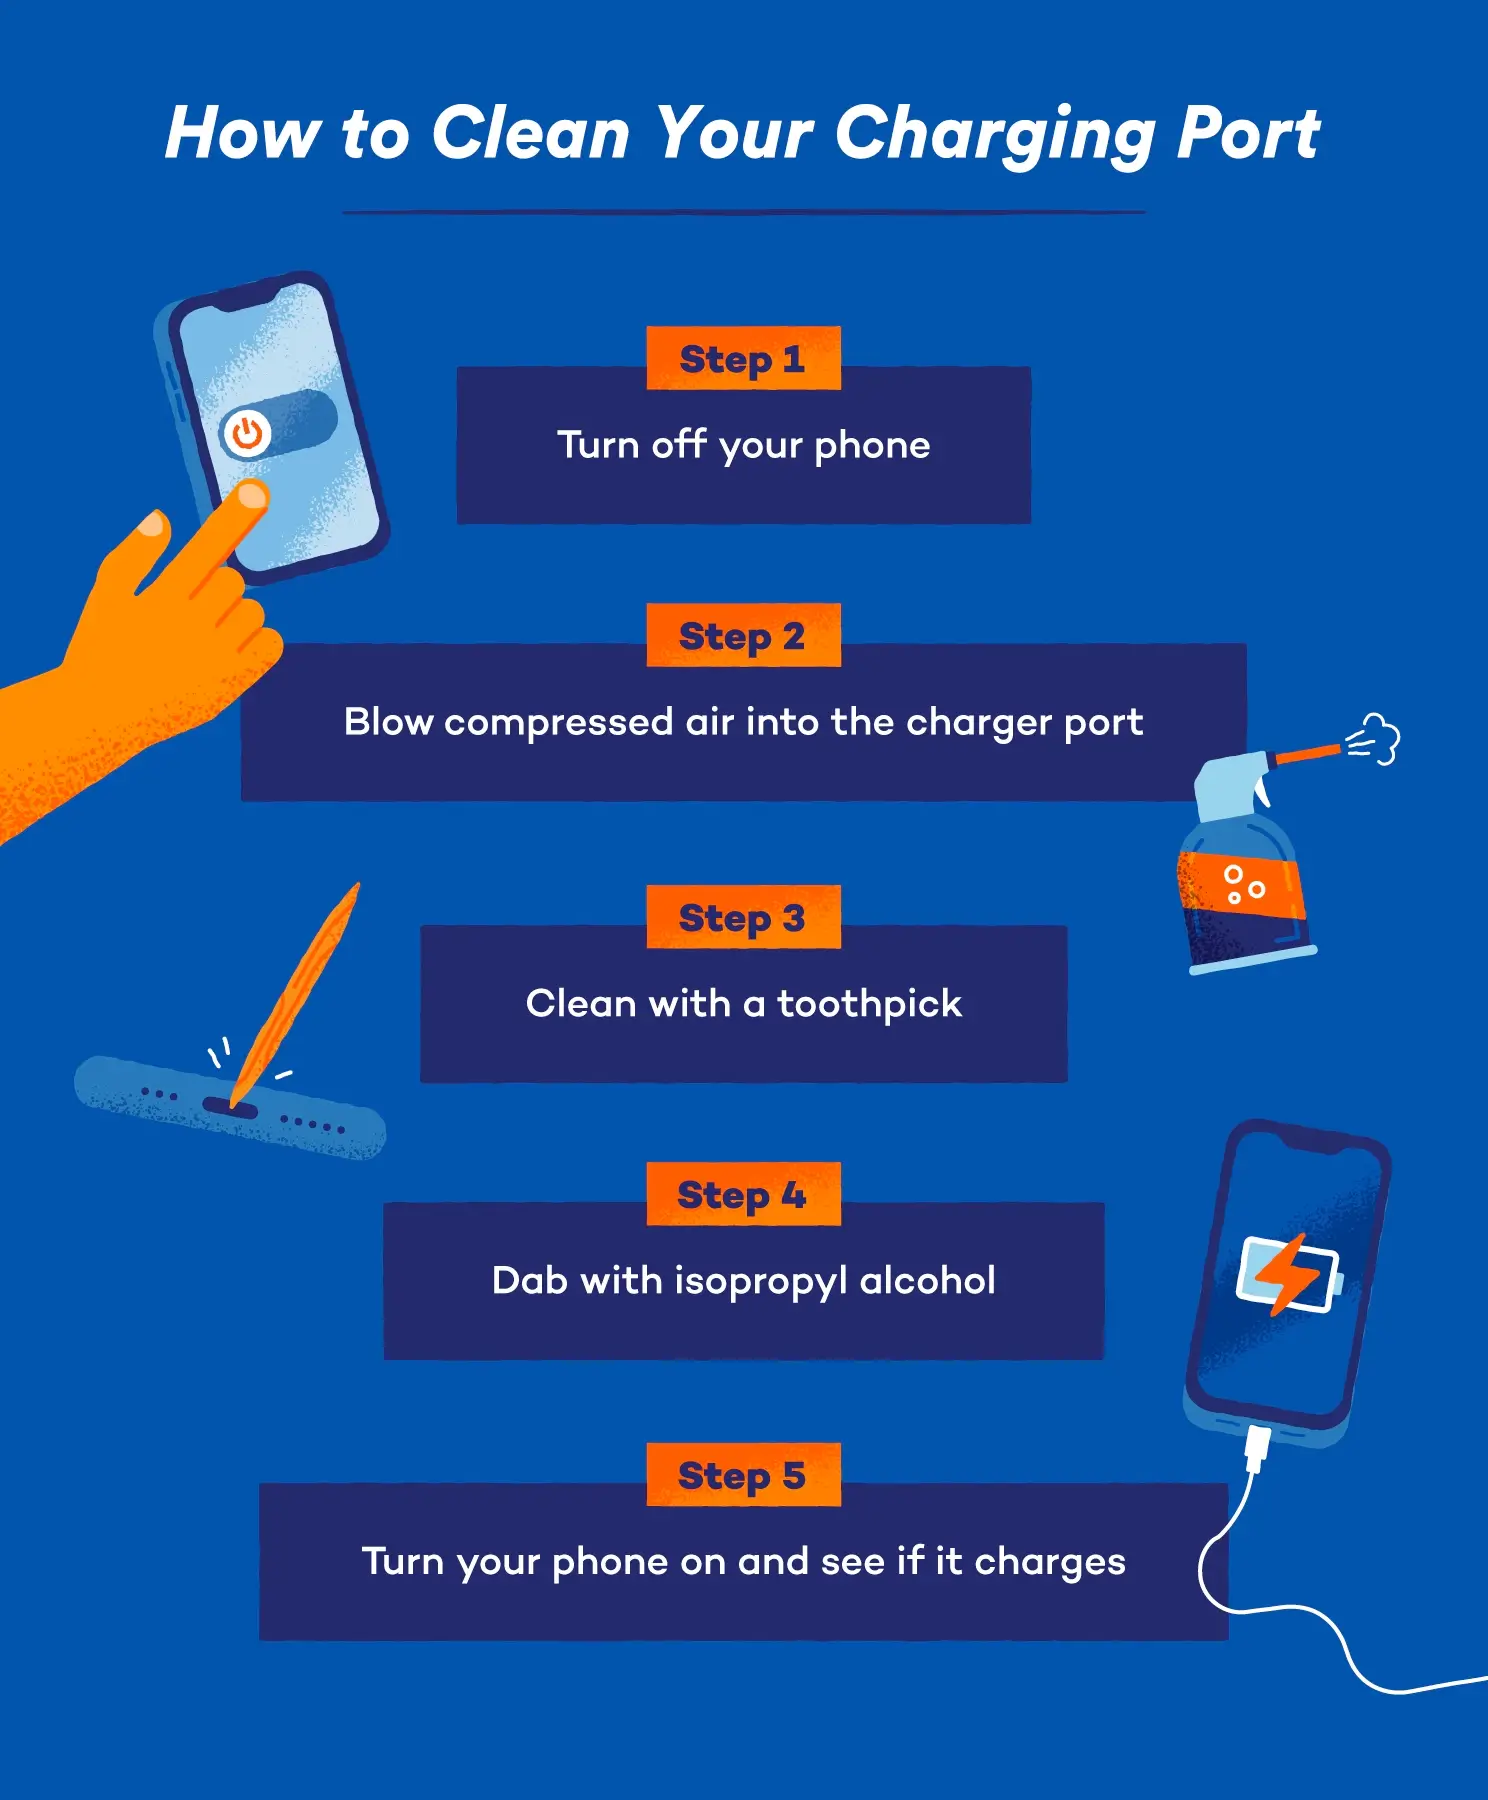
Eliminate Pocket Lint and Debris from Micro-USB Ports
Years of storage in toolboxes and glove compartments pack charging ports with microscopic debris. Shine a flashlight into the port to reveal hidden obstructions. Use compressed air in short bursts to dislodge particles without pushing them deeper. For stubborn debris, insert a wooden toothpick at a 45-degree angle and gently scrape along port walls. Avoid metal objects that could bend delicate internal pins—a single bent pin prevents proper electrical contact.
Diagnose Battery Health Without Specialized Equipment
Recognize Age-Related Battery Degradation Signs
Lithium-ion batteries naturally lose capacity over time regardless of usage. If your Gillaway unit is over two years old, diminished charging capability likely indicates normal battery aging rather than sudden failure. A three-year-old unit typically retains only 60-70% of its original capacity, causing significantly longer charging times and reduced performance. Check your purchase receipt or manufacturing date sticker—units older than 36 months often require battery replacement rather than repair.
Perform Deep Discharge Recovery for Stuck Protection Circuits
Completely drained lithium-ion batteries sometimes trigger safety cutoffs that prevent charging. To reset this protection circuit, disconnect all cables and press the power button repeatedly until no indicator lights appear—confirming total discharge. Then connect the charger and wait 45-60 minutes before checking for charging indicators. The battery management system needs this stabilization period before initiating normal charging cycles. Patience here often revives seemingly dead units.
Address Temperature-Related Charging Failures Immediately
Lithium-ion batteries refuse charging outside their safe operating range (32-113°F). If your jump starter was stored in a freezing garage or hot vehicle, bring it indoors to room temperature (65-75°F) for at least two hours before charging attempts. Cold batteries charge extremely slowly while hot units may completely block charging as a fire prevention measure. Never attempt to charge a unit that feels unusually warm—allow it to cool completely first.
Decode Charging Indicator Light Patterns for Accurate Diagnosis
Troubleshoot Complete Absence of Charging Lights
When plugging in your Gillaway jump starter produces zero visual feedback, the problem exists outside the battery itself. Methodically test with known-good components: try a different cable, adapter, and outlet combination. If still no lights appear after testing all variables, the internal charging circuit has likely failed. Units under warranty should be returned immediately—older units typically require professional repair or replacement.
Interpret Flashing Red Light Error Codes Correctly
Specific flashing patterns communicate different error conditions. Three rapid flashes often indicates temperature-related issues, while steady slow flashes may signal cell imbalance requiring professional service. Consult your user manual for model-specific codes—many Gillaway models use standardized patterns across their product line. Never ignore flashing lights—they’re critical diagnostics preventing dangerous charging attempts on compromised batteries.
Execute Proper Reset Procedures to Clear Charging Errors
Perform Hard Reset to Clear Temporary Faults
Most Gillaway models respond to a simple hard reset procedure: disconnect all cables, press and hold the power button for 15-20 seconds, then release. This clears temporary errors in the battery management system without affecting stored settings. After resetting, attempt charging again—many units resume normal operation after this basic procedure. For models with multiple buttons, try combinations like power + light button held simultaneously for 10 seconds.
Implement Full Discharge Cycle for Battery Calibration
When charge indicators show incorrect levels, perform a full discharge/recharge cycle. Use the jump starter to power a small device until it shuts down completely, then charge uninterrupted for 12 hours. This recalibration process often resolves “phantom charging” issues where the unit appears full but delivers minimal power. Never leave discharging units unattended—lithium-ion batteries require monitoring during complete discharge cycles.
Evaluate Repair Versus Replacement Options Strategically

Calculate True Cost of Professional Battery Replacement
Gillaway jump starters typically use proprietary battery packs that require specialized replacement. Local electronics shops often quote $40-75 for battery replacement plus labor—nearly half the cost of a new entry-level model. Before authorizing repairs, compare costs against current retail prices. Consider whether newer models offer significant improvements in capacity, charging speed, or safety features that justify replacement.
Navigate Warranty Claims Without Official Documentation
Gillaway’s limited warranty (typically 12-18 months) requires proof of purchase for validation. If you’ve lost your receipt, check credit card statements or contact the retailer for purchase verification. Locate the manufacturing date sticker on your unit—warranty coverage begins from this date regardless of when you purchased the item. When contacting support, have your serial number ready and clearly describe symptoms using terminology from this guide for faster resolution.
Implement Preventive Maintenance to Avoid Future Failures
Establish Proper Storage Conditions for Maximum Lifespan
Store your Gillaway jump starter at 40-60% charge in a cool, dry location away from direct sunlight. Extreme temperature fluctuations and full discharge states accelerate battery degradation. Before seasonal storage (like winterizing summer vehicles), check charge level and top off if below 50%. Never store units long-term at 0% or 100% charge—both conditions permanently damage lithium-ion cells.
Create Monthly Maintenance Routine That Prevents Problems
Set calendar reminders to perform these quick checks every 30 days:
– Verify charge level (recharge if below 40%)
– Blow out charging ports with compressed air
– Inspect cables for damage near connectors
– Test jump-starting capability on your vehicle
This five-minute routine prevents 80% of charging failures by catching minor issues before they become critical problems. Units maintained this way typically last 3-5 years rather than 1-2 years for neglected models.
When to Accept Replacement as the Only Viable Option
Identify Irreparable Damage That Warrants New Unit
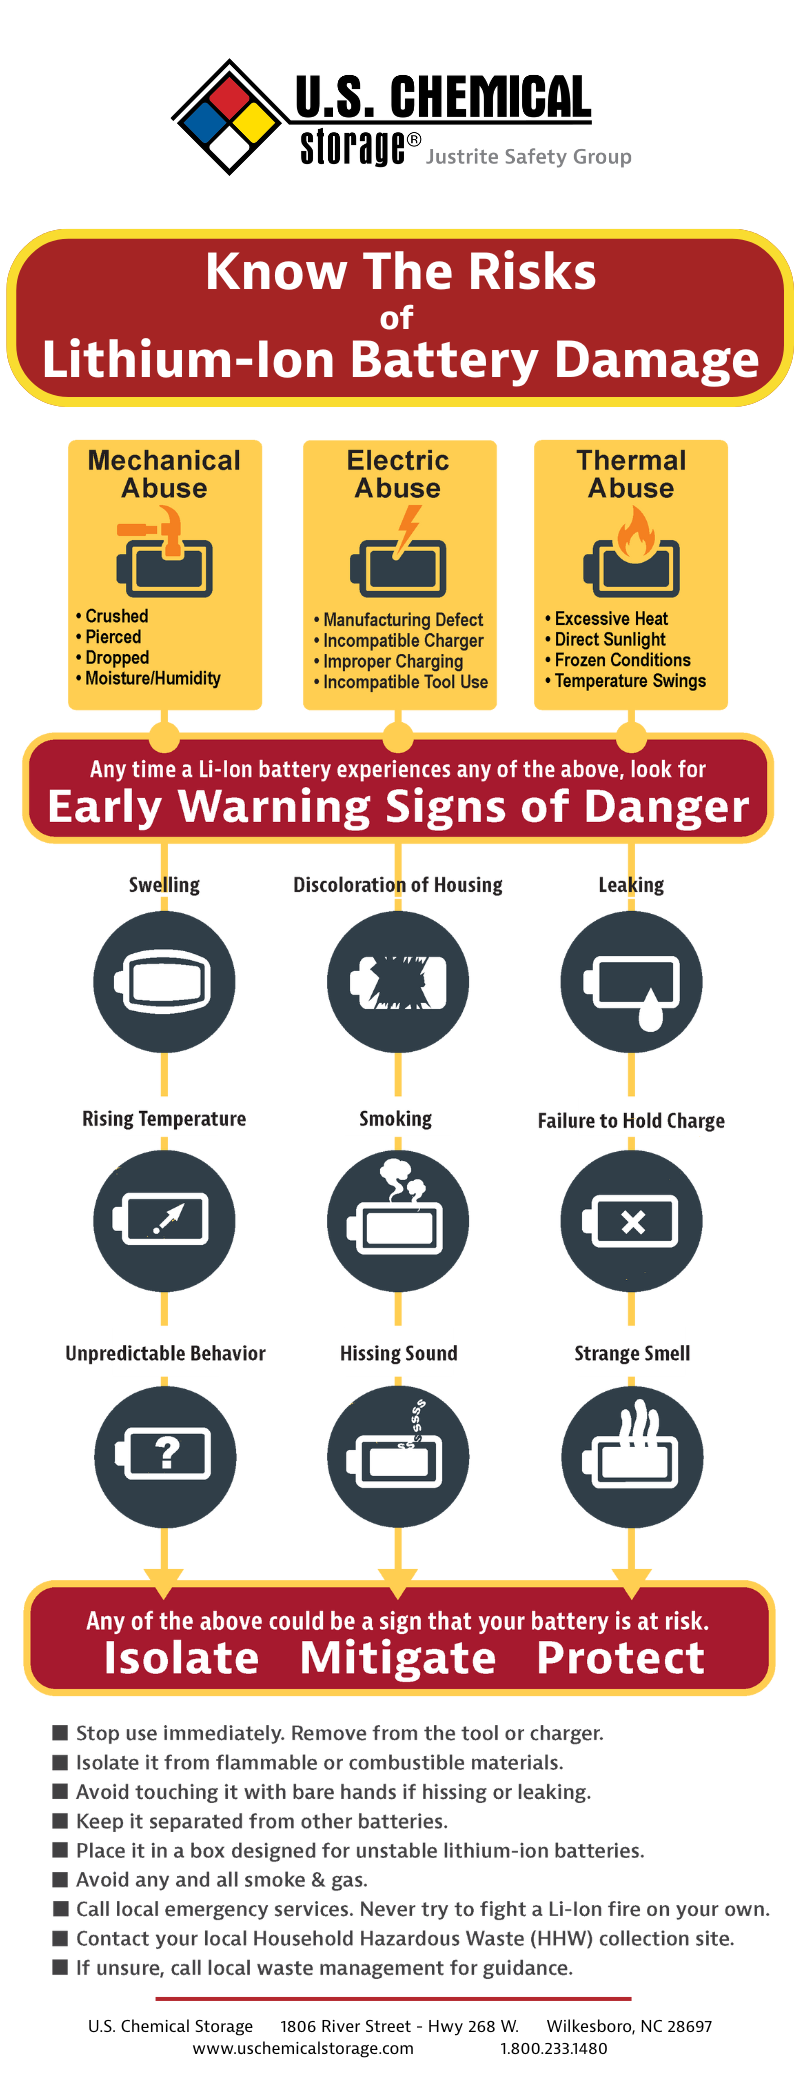
Certain failure signs indicate unavoidable replacement:
– Swollen battery casing (immediate safety hazard)
– Burning smells during charging attempts
– Visible liquid leakage from battery compartment
– Physical damage to circuit board components
Lithium-ion battery failures can become fire hazards—never attempt to repair units showing these critical symptoms. Dispose of damaged units properly at electronics recycling centers before purchasing replacements.
Choose Next-Generation Models with Improved Reliability
Newer Gillaway jump starters incorporate lessons from earlier models. Look for these improvements when replacing:
– USB-C charging ports (more durable than micro-USB)
– Temperature monitoring systems that prevent overcharging
– Battery health indicators showing actual capacity
– Ruggedized port designs resistant to debris accumulation
The slight price premium for newer models pays for itself through extended service life and reduced maintenance issues.
Your Gillaway jump starter’s charging failure likely stems from one of these common, fixable issues rather than catastrophic failure. Start with power source verification and connection cleaning before progressing to more complex diagnostics. Most users resolve charging problems within 30 minutes using these systematic steps—no special tools required. When professional service becomes necessary, always weigh repair costs against replacement value with newer, more reliable models. Implement the preventive maintenance routine described here to maximize your next unit’s service life and ensure it powers up when you need it most.


