Loose car seat straps could cost your child their life in a crash. Federal regulators confirm nearly half of all car seats have critical errors—including improper harnessing—that drastically reduce protection. If you’ve ever watched your child slump forward during a nap or struggled to tighten straps properly, you’re risking severe injury in even minor collisions. This guide delivers the exact techniques certified technicians use to secure your child correctly, whether rear-facing or forward-facing. You’ll master harness adjustments that distribute crash forces safely across strong bony structures and eliminate deadly slack—proven to reduce ejection risks by up to 71% according to NHTSA research.
Improper harnessing isn’t just about comfort; it directly compromises your child’s safety cage. When straps are too loose, crash forces transfer to soft tissues instead of shoulders and hips, increasing spinal injury risks. Worse, bulky winter coats create hidden slack that compresses instantly during impact, leaving dangerous gaps. But you can fix this today with five critical adjustments that take under two minutes. Let’s transform how you secure your child for every single trip.
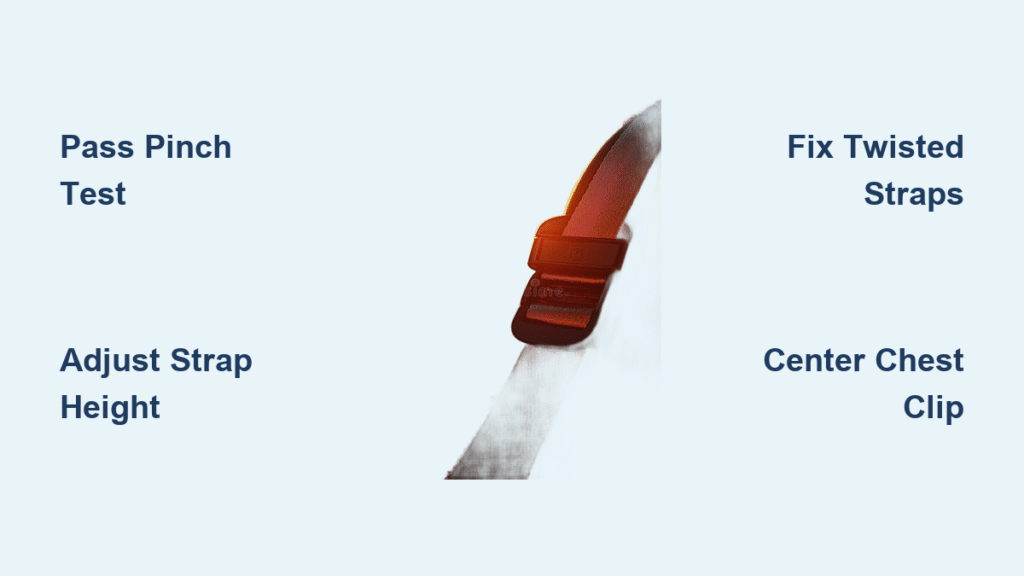
Pass the Pinch Test Every Single Time
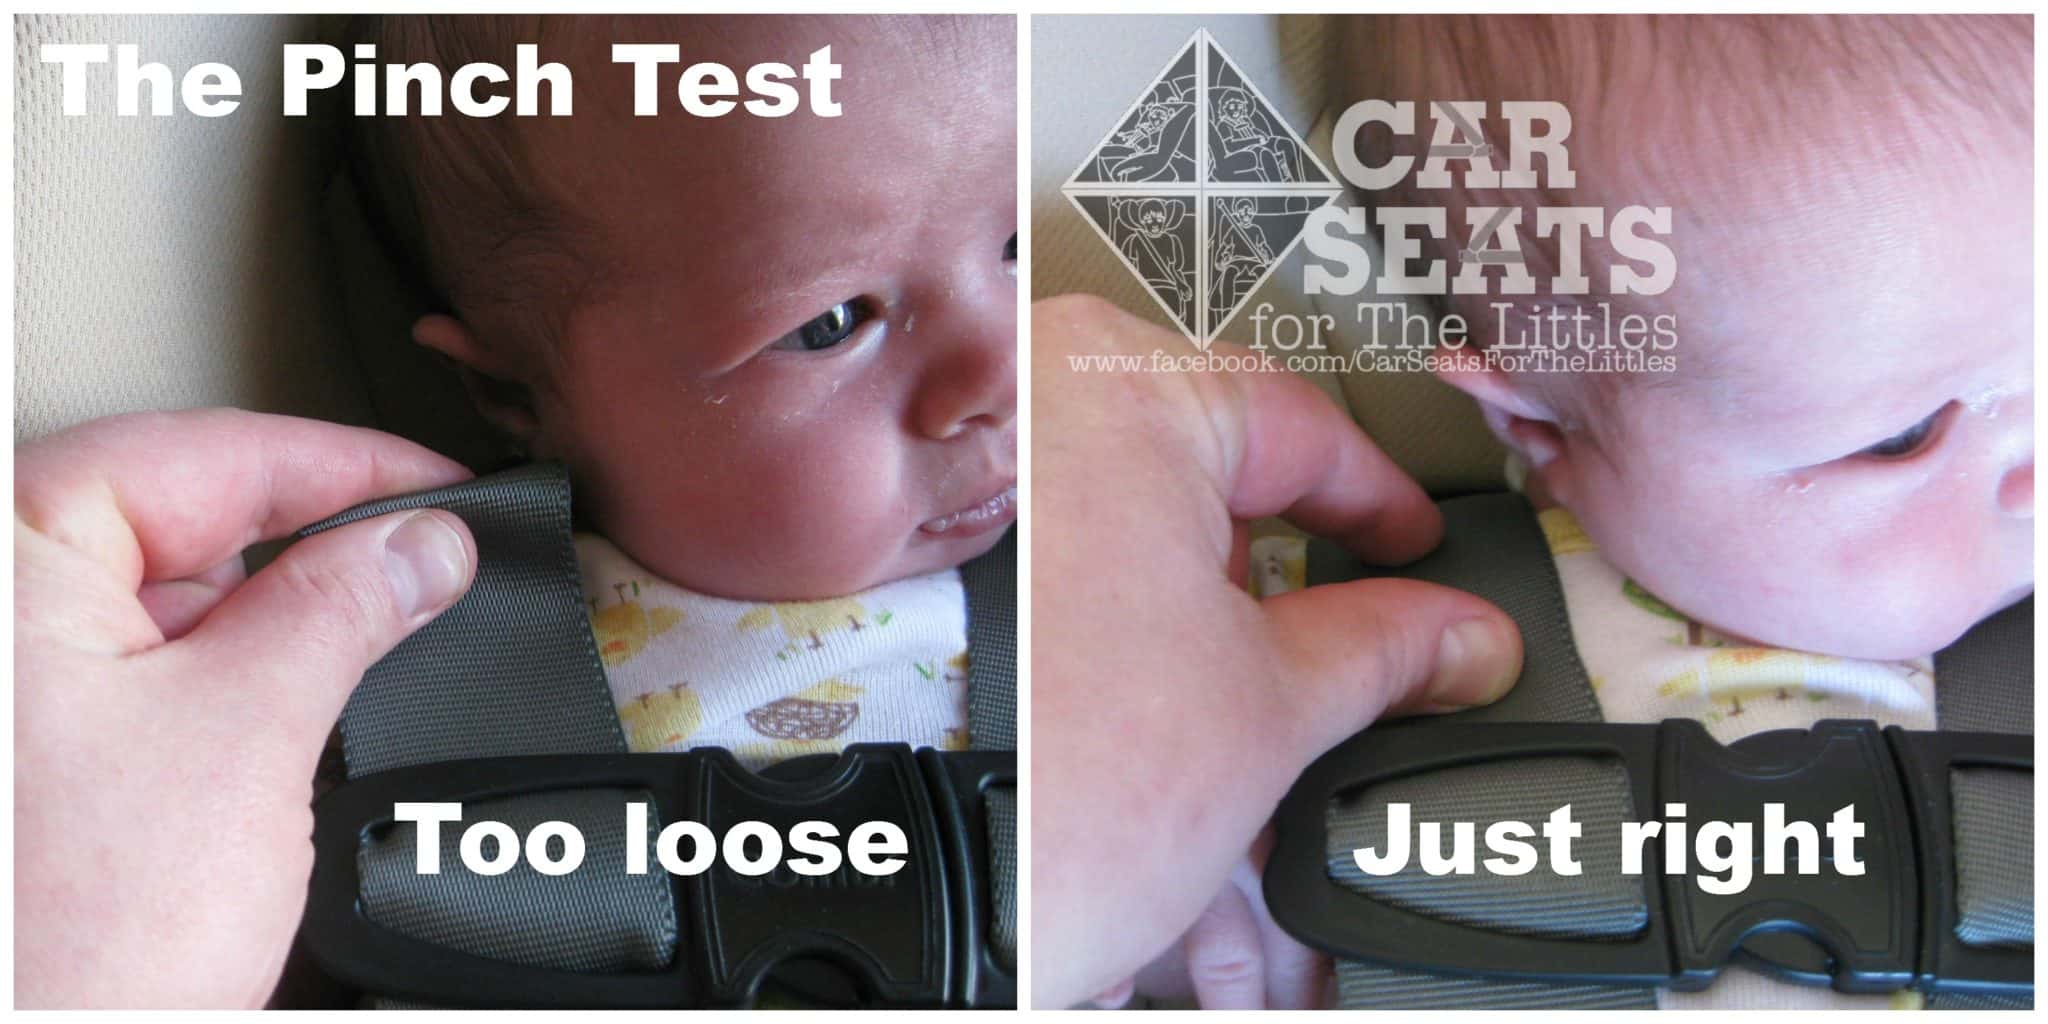
Stop relying on “snug feels”: The only reliable method to verify proper tightness is the pinch test. Place two fingers horizontally at your child’s shoulder level on the harness strap. If you can pinch any fabric between your fingers, the harness is dangerously loose—reducing crash protection by 40%. Here’s the technician-approved tightening sequence:
- Remove hip slack first – Press down firmly on the crotch buckle while simultaneously pulling up on both torso straps
- Slide chest clip to belly button – Prevents interference during adjustment (reposition later)
- Pull front adjuster strap until resistance is firm but not uncomfortable
- Re-test at shoulders – Zero fabric should gather between your fingers
- Reset chest clip to armpit level for final positioning
Critical mistake: Yanking only one strap side creates uneven pressure, forcing crash forces onto one shoulder. Always pull both straps together. If straps feel tight but still pinch, twisted webbing is likely hiding slack—check immediately.
Set Strap Height by Facing Direction

Rear-Facing Straps Must Sit Below Shoulders
Harness slots must emerge at or below your child’s shoulders when rear-facing. This downward angle prevents upward “jackknifing” during sudden stops. Britax models strictly require “below” positioning—never at or above.
Visual verification: Kneel beside your child and sight along their shoulder line. Straps should angle downward toward the buckle. If shoulders sit above the top slot, immediate adjustment is critical—your child risks head impact with the vehicle interior.
Forward-Facing Straps Require Above-Shoulder Positioning
Switch to slots at or above shoulder level when forward-facing. This upward angle anchors the torso against frontal impacts. Britax again mandates “above” positioning regardless of other brands’ guidelines.
Red flag: If straps cut into your child’s neck, they’re too low for forward-facing use. Never force straps downward—this compromises the entire safety system.
Match Your Harness System Type
- External adjustment (top-handle systems): Turn handle clockwise to raise, counterclockwise to lower without uninstalling
- Re-thread systems: Requires complete seat removal—thread both straps through identical height slots to prevent unevenness
- No-rethread systems: Squeeze release lever while sliding headrest assembly—ideal for frequent adjustments
Eliminate Twisted Straps in 20 Seconds
Twisted straps concentrate crash forces on small body areas, increasing injury severity by 65%. Fix twists immediately using the triangle folding method:
- Fold the twisted section into a flat triangle shape
- Hold firmly between thumb and forefinger
- Slide the entire triangle through the buckle mechanism
- Pull strap taut to verify complete untwisting
- Recheck tightness—twists often hide dangerous slack
Never ignore: If straps won’t lie flat or buckle feels stiff, complete untwisting is non-negotiable. Twisted webbing can bind in locking mechanisms, creating false tightness that fails during impact.
Position Chest Clip at Armpit Level
The Sternum Rule for Crash Safety
The chest clip must rest precisely at nipple line, centered on the sternum. This placement distributes forces across the ribcage—not soft abdominal tissue.
- Too high (near throat): Risks neck laceration from clip impact
- Too low (on belly): Allows straps to slip off shoulders during crashes
- Perfect position: Bottom edge aligns with armpit crease—check this every single trip
Quick verification: After buckling, slide the clip up and down. It should move freely but stay centered. If it drifts sideways, straps are uneven—loosen and restart the process.
Fix Bulky Clothing Hazards Immediately

Winter Coat Danger Test
Puffy jackets create deceptive slack that compresses instantly in crashes. The 4-inch gap you see equals 4 inches of deadly movement during impact. Here’s the coat test:
- Buckle your child wearing their winter coat
- Remove the coat without adjusting straps
- Perform pinch test—if slack appears, the coat is unsafe
Safe alternatives:
– Thin fleece layers under the harness
– Warm blankets over the secured harness
– Coat worn backwards after buckling
Critical exception: Halloween costumes with padding or stiff wires pose identical risks. Change into regular clothes before buckling, then add costume pieces over the harness.
Troubleshoot Uneven Straps in 3 Steps
Symptoms: Chest clip tilts sideways, child leans to one shoulder, or one strap appears looser.
- Release completely using the front release button
- Pull both straps simultaneously while keeping one hand under them to gauge evenness
- Re-tighten slowly while maintaining equal pressure on both sides
Pro tip: Uneven straps often stem from mismatched harness slots—verify both straps use identical height positions. If your seat has dual routing paths (common in convertible seats), ensure both straps follow the same path.
Verify Crotch Buckle Positioning
The buckle must sit closest to your child without pressing underneath them. Check your manual—many seats offer two to three buckle positions for growing legs.
- Too far back: Creates gap causing slouching and head flopping
- Too close: Presses uncomfortably against diaper area
- Ideal position: One finger width between buckle and child’s body
Never skip: An undone crotch buckle allows “submarining”—where children slide down during crashes, risking strangulation from chest clips. Always secure both crotch buckle and chest clip.
Daily Safety Checklist
Before Every Departure
- [ ] Passes pinch test at shoulder and thigh level
- [ ] Chest clip centered at armpit level on sternum
- [ ] Straps completely flat with zero twists
- [ ] Crotch buckle clicked securely with proper spacing
- [ ] Zero bulky clothing under harness
Growth Monitoring Schedule
- Rear-facing children: Check harness height every 3 months (rapid growth phases)
- Forward-facing children: Verify every 2 months
- Immediate adjustment needed if shoulders sit above top slots or straps cut into neck
Maintenance Protocol
Weekly
- Inspect for twisted straps after cleaning
- Wipe buckle mechanism with damp cloth (no chemicals)
- Check chest clip for cracks or stiffness
Monthly
- Verify harness height matches growth
- Test all adjustment mechanisms
- Clean straps per manufacturer instructions (usually mild soap)
Every 6 Months
- Deep clean entire seat fabric
- Check expiration date (typically 6-10 years)
- Review manual for recalls or updates
Final safety imperative: The five minutes you spend adjusting straps properly could save your child’s life. These techniques aren’t optional—they’re the difference between your car seat working as designed or failing catastrophically in a crash. Make the pinch test automatic muscle memory, eliminate bulky clothing risks, and verify chest clip positioning every single journey. Your child’s safety depends on these precise details, not just “close enough.” Never compromise on proper fit—even for short trips down the street. When you secure straps correctly, you activate the life-saving engineering built into every certified car seat.