
Traveling with a baby can feel overwhelming, especially when you’re juggling an infant car seat amid the chaos of a busy airport. If you’ve ever struggled with carrying your infant car seat through the airport while pushing a stroller, holding your little one, and managing carry-on bags, you’re not alone—it’s a common frustration for parents. The good news is there’s a quick fix: invest in a dedicated car seat travel bag with wheels or straps that allow you to pull it like luggage, making the process much smoother and less physically taxing right from the start.
In this comprehensive guide, we’ll go beyond that initial tip to cover everything you need to know for a stress-free journey. From preparing your gear and understanding airline policies to navigating check-in, security, and boarding with ease, you’ll find step-by-step instructions, safety essentials, and pro tips tailored for 2025 travel regulations. By the end, you’ll feel confident handling your infant car seat at any airport, ensuring your baby’s safety and your peace of mind throughout the trip.
What You’ll Need to Carry Your Infant Car Seat Through the Airport
Before heading to the airport, gathering the right items can make carrying your infant car seat through the airport far less daunting. Focus on lightweight, durable gear that complies with TSA and airline rules—infant car seats are typically allowed as carry-on items if they fit in the overhead bin or under the seat, but gate-checking is common for convenience.
Here’s a breakdown of essential items in a handy table for quick reference:
| Item | Quantity | Specifications |
|---|---|---|
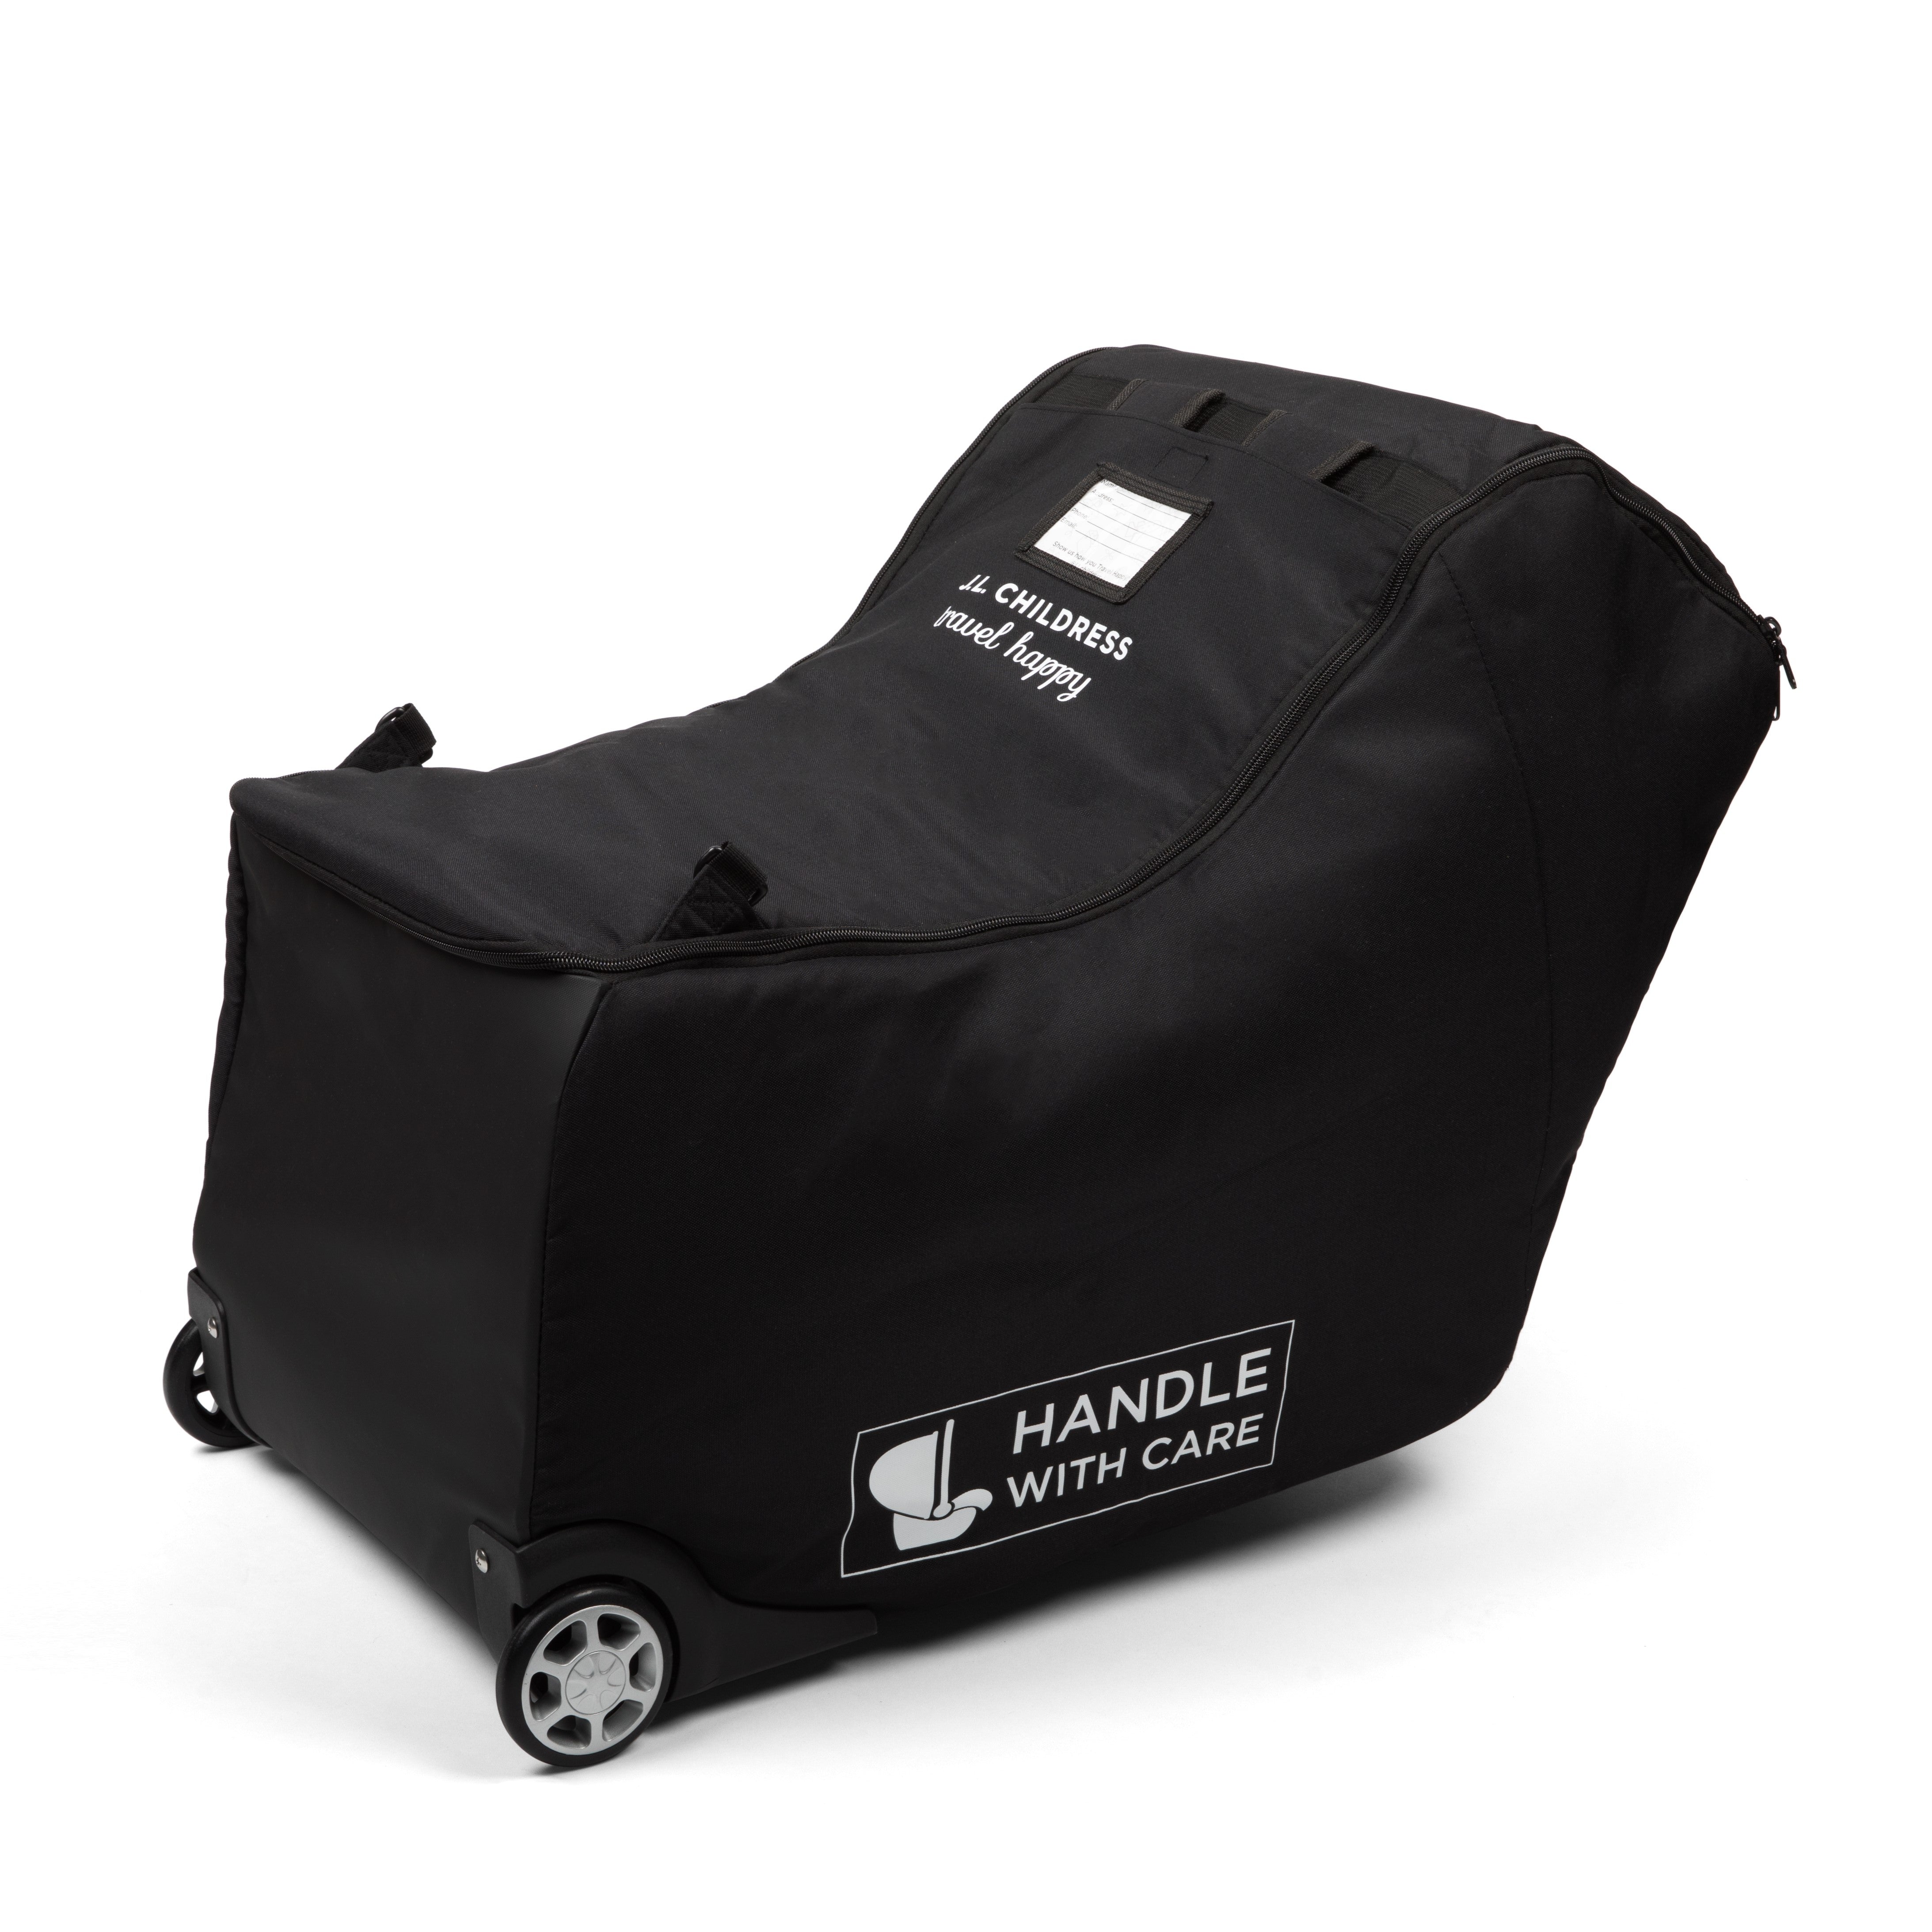
| Infant Car Seat Travel Bag | 1 | Padded, water-resistant with wheels and handles; fits FAA-approved seats like Graco SnugRide or Chicco KeyFit (dimensions under 22x14x9 inches when collapsed). Brands like J.L. Childress or Cosco recommended for durability. |
| Luggage Straps or Bungee Cords | 2-3 | Adjustable, heavy-duty straps (up to 50 lbs capacity) to secure the car seat to a rolling suitcase or stroller. |
| Backpack Carrier or Sling | 1 | Ergonomic baby carrier (e.g., Ergobaby or BabyBjörn) for hands-free baby transport while wheeling the car seat. |
| ID Tags and Labels | 2-4 | Weatherproof tags with your contact info; attach to car seat and bag to prevent loss. |
| Portable Battery Pack | 1 | For charging baby monitors or your phone; must be under 100Wh per TSA rules. |
| Snacks and Essentials Pouch | 1 | Clear, quart-sized bag for TSA-compliant baby items like formula, diapers, and wipes. |
These items keep everything organized and portable. Budget around $50-100 for a quality travel bag if you don’t have one—it’s a one-time investment that pays off for frequent flyers. Always double-check your car seat model’s compatibility with airline bins; most lightweight infant models (under 10 lbs empty) are ideal for carrying.
Preparing for Your Airport Trip with an Infant Car Seat
Preparation is key to avoiding last-minute hassles when carrying your infant car seat through the airport. Start by reviewing airline policies—most U.S. carriers like Delta, United, and American allow free gate-checking of car seats and strollers, but international flights may vary. For 2025, the FAA emphasizes that car seats must face backward for infants under 2 and meet safety standards (no cracked shells or expired harnesses).
Safety considerations first: Ensure your car seat is clean, with no loose parts that could snag during transport. Test the travel bag at home by practicing wheeling it fully packed. If flying with a lap infant (under 2), confirm seating arrangements—car seats require their own ticketed seat for installation. Pack a backup plan like a lightweight stroller that collapses easily.
Arrive at the airport 2-3 hours early to account for extra time with baby gear. Download your airline’s app for real-time updates on family lanes at security. Important: If your baby has special needs, contact the airline 48 hours in advance for accommodations like priority boarding. Weatherproof your setup with rain covers for outdoor airport areas, and keep all documents (boarding passes, car seat registration) in an accessible pouch.
Step-by-Step Guide to Carrying Your Infant Car Seat Through the Airport
Navigating the airport with an infant car seat doesn’t have to be a workout. This phased approach breaks it down into manageable steps, from curbside drop-off to boarding. Expect the whole process to take 45-90 minutes, depending on airport crowds.
Phase 1: Check-In and Baggage Drop-Off
Start strong by streamlining check-in to minimize dragging the car seat around.
- At the curb or parking area, attach your car seat to your rolling suitcase using straps—position it upright like luggage for easy pulling.
- Head to the airline counter or self-service kiosk. Present your boarding pass and inform staff you’re traveling with an infant; they’ll tag your checked bags and provide gate-check tags for the car seat (a bright orange sticker).
- If gate-checking, keep the car seat with you until the gate—don’t hand it over here unless it’s oversized. For carry-on, confirm it fits sizer bins if required.
- Weigh your setup if needed; most car seats add 7-12 lbs, so distribute weight evenly to avoid strain.
Tip: Use airline family check-in lanes if available—they’re faster and often have space to park your stroller/car seat combo. Time estimate: 10-15 minutes.
Phase 2: Navigating Security (TSA Checkpoint)
Security is often the trickiest part when carrying your infant car seat through the airport, but TSA has parent-friendly protocols.
- Join the family or PreCheck line if you have it (TSA PreCheck allows car seats through without removal in many cases).
- Remove your baby from the car seat and place it on the conveyor belt separately—unbuckle and fold if possible, but never carry it through the metal detector.
- Collapse or wheel the car seat through the scanner; if it’s too bulky, request a hand inspection. Strollers and car seats are exempt from the 3-1-1 liquids rule for baby essentials.
- Hold your baby during screening—nurses or bottles can be swabbed if needed. Reassemble on the other side quickly.
Warning: Avoid wearing the car seat through detectors; it can trigger alarms. If traveling internationally, expect similar but stricter checks—allow extra time. Time estimate: 15-20 minutes. Pro parent hack: Practice this at home to keep your baby calm.
Phase 3: From Security to the Gate
Once past security, focus on efficient movement through the terminal.
- Reattach the car seat to your luggage or use a wheeled travel bag to pull it alongside your stroller.
- If your airport has a train or shuttle (like at ATL or ORD), fold the car seat if needed and secure it—most have priority seating for families.
- Stop at family restrooms or nursing areas for breaks; many airports like LAX now offer dedicated play zones.
- Monitor gate changes via the app, and use moving walkways to conserve energy while pushing/pulling.
Keep hydration and snacks handy—babies can get fussy in the AC. If the car seat feels heavy, rotate carrying it on your back with a strap system every 10-15 minutes. Time estimate: 20-30 minutes, depending on terminal size.
Phase 4: At the Gate, Boarding, and On the Plane
The final stretch—gate-checking or stowing your car seat.
- At the gate, ask about pre-boarding for families (standard on most airlines since 2023 mandates).
- If carrying on, lift the car seat into the overhead bin during boarding—request help from crew if it’s a tight fit (infant seats like Peg Perego usually slide in easily).
- For gate-checking: At the jet bridge, hand over the car seat in its bag—it’ll be stored below and returned planeside on arrival.
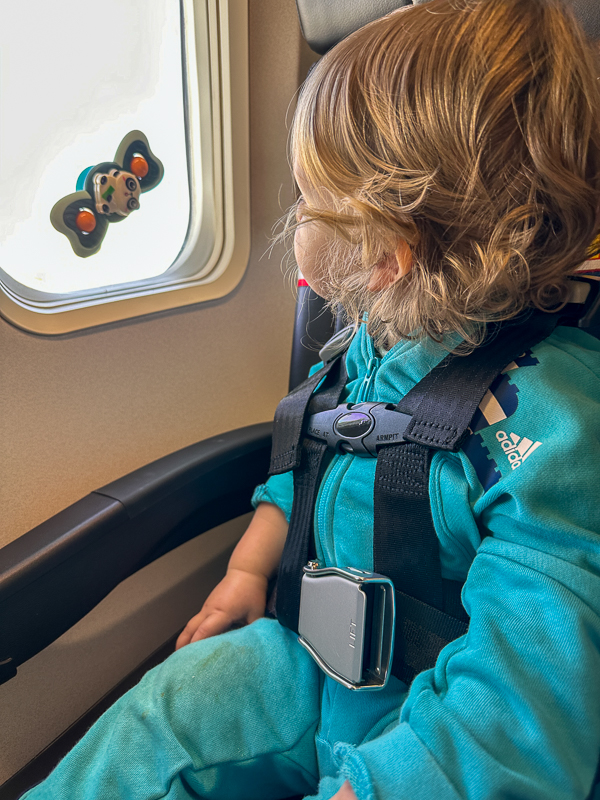
- Onboard, install the car seat if you bought a seat (use the airplane seatbelt; no LATCH systems on planes). For lap infants, keep it stowed.
Important: Never place a car seat in an exit row or against a bulkhead without approval. Test the harness fit mid-flight if turbulence hits. Time estimate: 10-15 minutes.
Post-Completion Testing and Arrival Tips
After landing, retrieve your car seat promptly at baggage claim or the gate. Inspect it for damage—report any issues immediately to airline staff, as most cover car seats under their baggage policy (up to $3,800 for domestic flights).
Reinstall the car seat in your rental car or taxi, ensuring it clicks securely (most rentals provide LATCH anchors). If connecting flights, repeat Phases 2-4, but factor in 30 extra minutes. Hydrate everyone and celebrate making it through—your preparation paid off.
Pro Tips for Carrying Your Infant Car Seat Through the Airport
To elevate your experience beyond the basics, here are expert insights from frequent traveling parents and aviation pros:
- Opt for a multi-tool stroller-car seat combo: Models like the Doona integrate the car seat into a stroller frame, eliminating the need to carry separately—perfect for solo parents.
- Layer up for efficiency: Dress your baby in easy-on layers to avoid full undressing at security, saving time.
- Common mistake to avoid: Don’t overpack the car seat bag; keep it under 22 lbs to prevent back strain or airline fees.
- Optimize for long hauls: Use compression straps to shrink the car seat by 20-30% for easier wheeling on international terminals.
- Battery boost: Charge all devices pre-flight; a dead phone mid-airport is a nightmare with a fussy infant.
- Eco-friendly choice: Pick reusable car seat covers over disposables to reduce waste and add padding.
- Seasonal prep: In winter, add insulated liners; summer travelers, ventilate with mesh bags to keep baby cool.
These tweaks can cut your effort in half and make carrying your infant car seat through the airport feel routine.
When to Seek Professional Help or Special Assistance
While most parents manage solo, certain situations call for extra support. If your infant has medical needs (e.g., oxygen-compatible car seats), or if mobility issues make carrying tough, request airline special assistance—free for families under the Air Carrier Access Act.
Look for providers with family travel expertise: Airlines like Southwest offer dedicated coordinators; third-party services like Meet and Assist (costing $50-200) handle gear transport. Warranty-wise, check your car seat’s coverage for travel damage—Graco and Britax often reimburse up to $100. Signs you need help: Persistent pain from lifting, complex itineraries with multiple connections, or a bulky non-collapsible seat.
FAQ
Q: Can I gate-check my infant car seat for free?
A: Yes, all major U.S. airlines allow free gate-checking of car seats and strollers as of 2025. Just tag it at the gate, and it’ll be waiting at your destination— no need to pay baggage fees like for adult luggage.
Q: What if my car seat doesn’t fit in the overhead bin?
A: Gate-check it instead; crew can store it in the cabin if space allows, but don’t force it. Always measure beforehand—FAA-approved seats under 16 inches wide usually fit under the seat in front.
Q: How do I handle security with a sleeping baby and car seat?
A: Request a family lane or supervisor for a private screening. You can carry your sleeping infant through the detector while an officer inspects the car seat nearby—it’s designed to minimize disruption.
Q: Are there differences for international airports?
A: Yes, expect longer lines and stricter liquid rules, but car seats are still carry-on eligible. EU airports like Heathrow have family fast-tracks; always check IATA guidelines for your route.
Q: What’s the best travel bag for an infant car seat?
A: The J.L. Childress Ultimate Backpack Padded Bag is top-rated for its backpack straps and wheels, fitting most seats and costing around $70. It protects against dirt and impacts during transit.
Q: Can I use my car seat on the plane without buying a seat?
A: No, for safety, install it only in a purchased seat. Lap infants can travel on your lap, with the car seat stowed as carry-on or checked.
Q: How heavy is too heavy for carrying the car seat myself?
A: Aim under 15 lbs total (seat + bag). If it’s more, use wheeled options or assistance to avoid injury—OSHA notes repetitive lifting over 20 lbs strains the back.
Alternative Solutions for Airport Car Seat Transport
If wheeling a bag isn’t ideal, consider these options when carrying your infant car seat through the airport proves challenging:
| Solution | Pros | Cons | Best For |
|---|---|---|---|
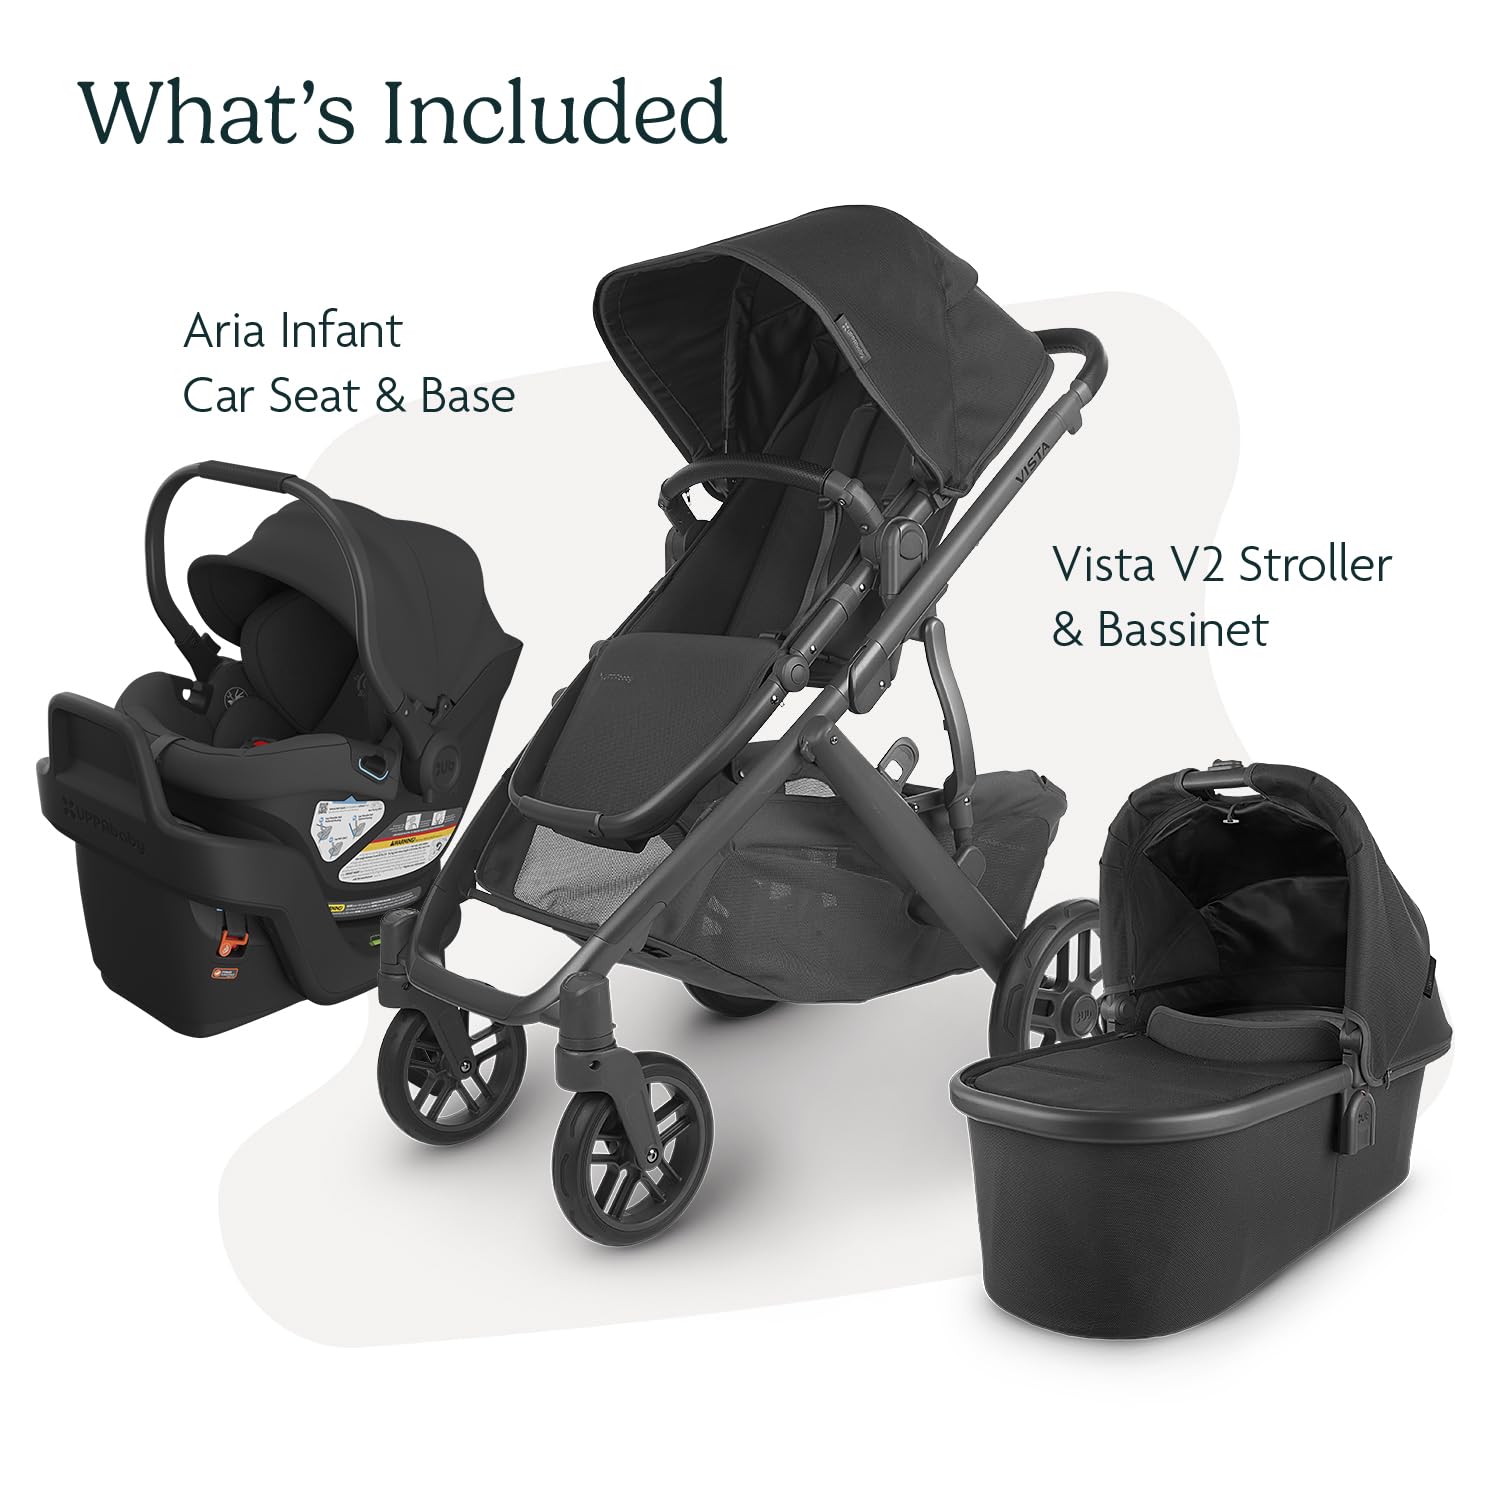
| Stroller Car Seat Combo (e.g., UPPAbaby Vista) | All-in-one; no separate carrying; folds compactly. | Higher upfront cost ($300+); bulkier for storage. | Frequent urban travelers with multiple kids. |
| Airport Porter Service | Hands-free; pros handle everything for $20-50. | Availability varies; not always immediate. | Elderly parents or those with heavy luggage. |
| Lightweight Travel Car Seat (e.g., Cosco Scenera) | Weighs only 6.8 lbs; easy to backpack. | Less padding than full-size; not for long-term use. | Short trips or budget-conscious families. |
| Rent at Destination | Skip bringing it; rent from services like BabyQuip ($30/day). | Potential quality variance; extra planning needed. | One-off vacations without checked baggage. |
Compare based on your flight length and baby’s age—the combo wins for versatility, but renting shines for international moves.
Navigate Airports with Your Infant Car Seat Effortlessly
You’ve now got a complete roadmap for carrying your infant car seat through the airport, from essential gear and prep to seamless steps at every stage:
- Curbside check-in and secure attachment techniques
- Stress-free security and terminal navigation
- Gate and boarding strategies, plus arrival checks
- Pro tips and alternatives for personalized tweaks
Following this guide ensures safer, simpler travels that prioritize your baby’s comfort and your sanity. Don’t let airport logistics dim your excitement—implement these steps on your next trip, and watch the process transform.
Ready to try these tips? Share your airport travel hacks or questions in the comments below—we’d love to hear how it goes for you and other parents! Safe journeys ahead.


