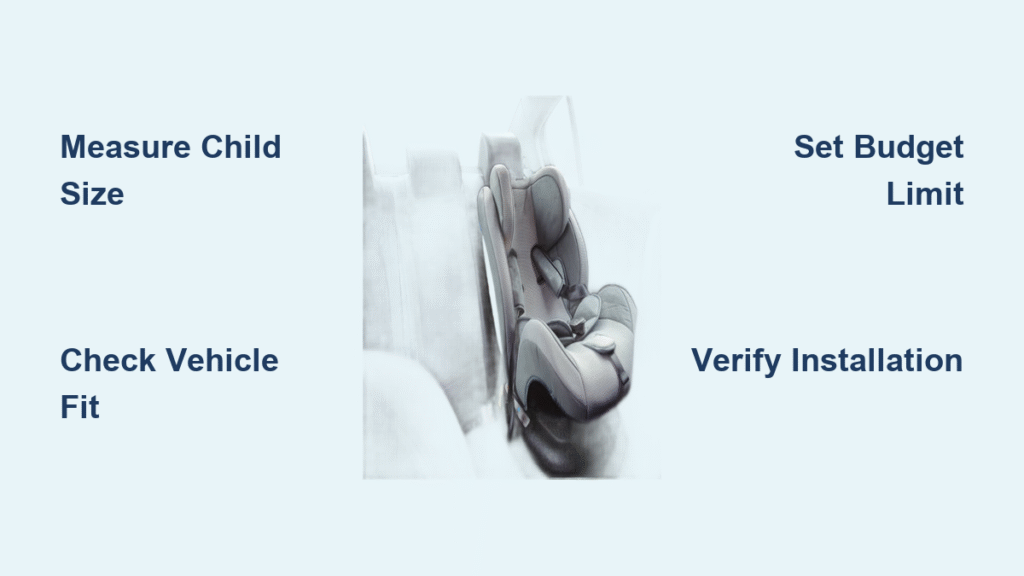
Nine out of ten car seats are installed incorrectly according to U.S. safety data, turning everyday commutes into hidden danger zones for children. This alarming statistic reveals that most safety failures begin long before the first drive—they start at the point of purchase. How to choose a car seat that perfectly matches your child’s size, your vehicle’s specifications, and your real-world needs is the critical first step toward crash protection.
Forget overwhelming marketing claims or price tags that suggest better safety. Federal standards require all North American car seats to pass identical crash tests (FMVSS 213 in the U.S., CMVSS 213 in Canada). Your actual safety margin depends entirely on correct fit and installation. This guide cuts through the confusion with technician-approved tactics to identify the right seat, avoid costly mistakes, and verify proper installation—so you leave the store (or click “buy”) with confidence that every ride is protected.
Pass These Three Safety Filters Before Shopping
Measure Your Child’s Exact Size Limits
Grab your pediatrician’s growth chart and a tape measure—weight alone won’t determine when a seat becomes unsafe. For rear-facing seats, the danger zone begins when your child’s head crown sits less than one inch below the shell top. Forward-facing seats require shoulders to sit below the highest harness slot. Convertibles and boosters follow printed height limits on the label, not weight. Note your child’s current measurements plus projected growth for the next six months. Any seat you consider must exceed both numbers—this prevents premature outgrowing that forces unsafe early transitions.
Confirm Your Vehicle’s Hidden Constraints
Your car’s manual holds critical clues many parents miss. Search for “child restraints” to find LATCH anchor locations, top-tether points, and center-seat warnings. Then measure:
– Seat width at the belt path (narrow seats reject wide bases)
– Seat depth from backrest to buckle (deep seats cause incorrect recline)
– Headrest interference (tall seats block rear windows)
A convertible seat that’s 20 inches deep might prevent front seats from reclining fully, creating a dangerous collision hazard. Test-fit potential seats before buying—retailers like Target offer in-store trial installations, while online sellers (Amazon, Albee Baby) provide 30–90 day return windows specifically for vehicle compatibility checks.
Set Your Realistic Budget Threshold
Spending $500 on a “premium” seat won’t improve crash protection—mid-range models ($150–$300) like the Graco Extend2Fit routinely outperform luxury brands in ease-of-use tests. Focus instead on longevity:
– Infant seats ($70–$550) require replacing by 15 months
– All-in-ones ($100–$450) cover birth to booster but often fit newborns poorly
– Convertibles ($60–$650) offer the best value for extended rear-facing
Never compromise on safety for savings. Used seats without full crash history are illegal in Canada and strongly discouraged by U.S. safety groups—hidden damage from minor accidents can render them useless in a crash.
Decode Car Seat Categories Like a Technician
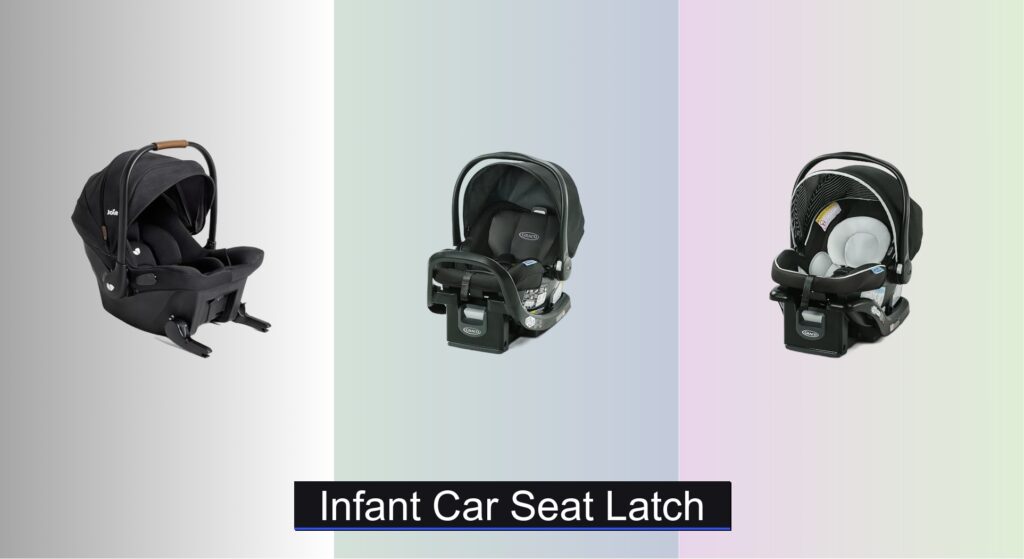
Infant Carriers: When Portability Wins
Perfect for: Newborns needing frequent transfers (e.g., daycare runs)
Critical limits: 4–35 lbs, under 32 inches tall
Hidden trap: Measure from shell base to carry handle peak—models like the Nuna PIPA (22 inches) won’t fit under low sedan roofs. Skip if your vehicle has tight headroom.
Pro move: Buy one base for your primary car only. Second-car bases cost $120+ and often misalign with sedan seat angles.
Convertible Seats: The Rear-Facing Powerhouse
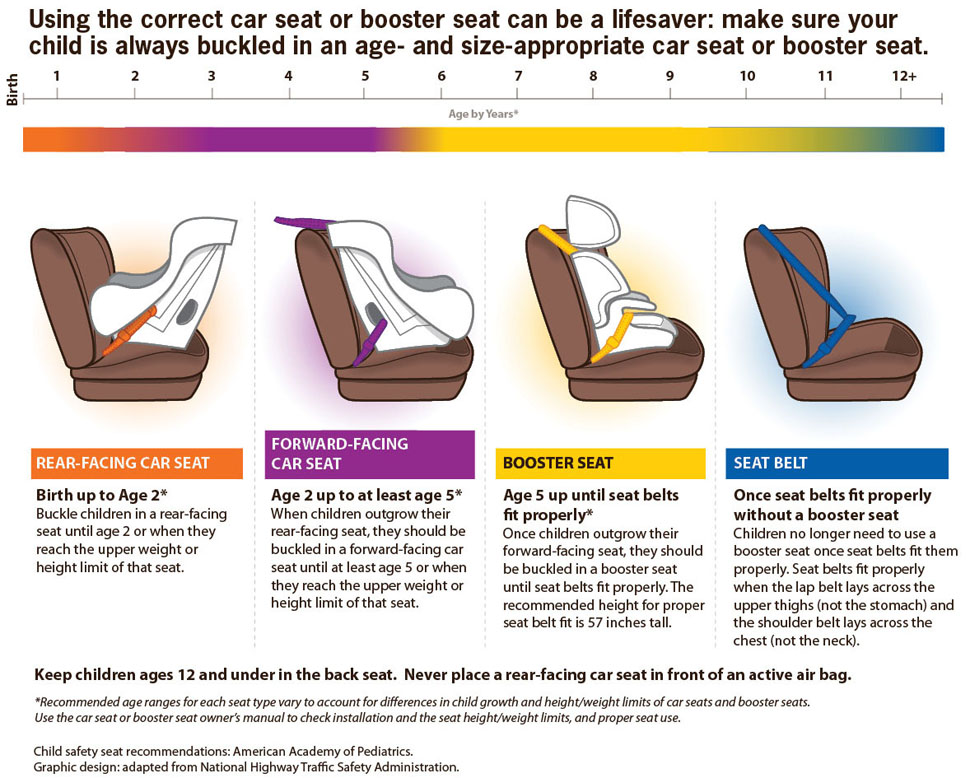
Perfect for: Skipping infant seats or keeping kids rear-facing past age 2
Critical limits: Rear-facing up to 50 lbs/49 inches (vs. infant seats’ 35 lbs limit)
Hidden trap: Flat vehicle seats require rolled towels or pool noodles to achieve newborn-safe recline (45-degree angle). Check your model’s recline range—some like the Clek Foonf need 5+ inches of cushion depth.
Pro move: Prioritize seats with rear-facing weight limits ≥50 lbs—this buys 6–12 extra months of safety.
All-in-One Seats: The Long-Term Gamble
Perfect for: Grandparents’ cars or single-child families
Critical limits: Rear-facing ≤50 lbs, booster ≤120 lbs, ≤57 inches tall
Hidden trap: Booster mode often fits children poorly—the Graco 4Ever’s shallow headrest leaves 50-inch kids’ heads exposed in side impacts.
Reality check: 78% of kids outgrow height limits before weight limits. A 57-inch height cap typically expires by age 10, forcing booster replacement anyway.
Boosters: The Maturity Test
High-back boosters (40–120 lbs, 40–57 inches): Essential for cars without headrests—they position seat belts correctly across the chest and hips.
Backless boosters: Legal only for children >57 inches tall in the U.S., but banned in Europe below 125 cm (49 inches) due to side-impact risks.
Non-negotiable rule: Your child must pass the Five-Point Belt Fit Test consistently:
1. Sits fully against the vehicle seat
2. Knees bend comfortably at seat edge
3. Lap belt rests low on hips (not stomach)
4. Shoulder belt crosses center of chest (not neck)
5. Stays seated properly for entire rides
Install Using the 8-Point Safety Checklist
LATCH vs. Seat Belt: When to Switch Methods
LATCH (ISOFIX) reduces installation errors by 37% but hits a U.S. weight limit: 65 lbs combined seat + child. Once your toddler hits 50 lbs, switch to seat-belt installation—it’s equally safe when tight. Never mix methods (e.g., LATCH base + seat-belt harness).
The Technician’s Tightness Test
Grab the seat at the belt path (where lap belt crosses). Shake firmly side-to-side and front-to-back. Critical red flag: Movement exceeding one inch indicates dangerous slack. Fix this by:
– Leaning into the seat while buckling
– Using hip pressure during LATCH tightening
– Engaging load legs (if equipped) against the floor
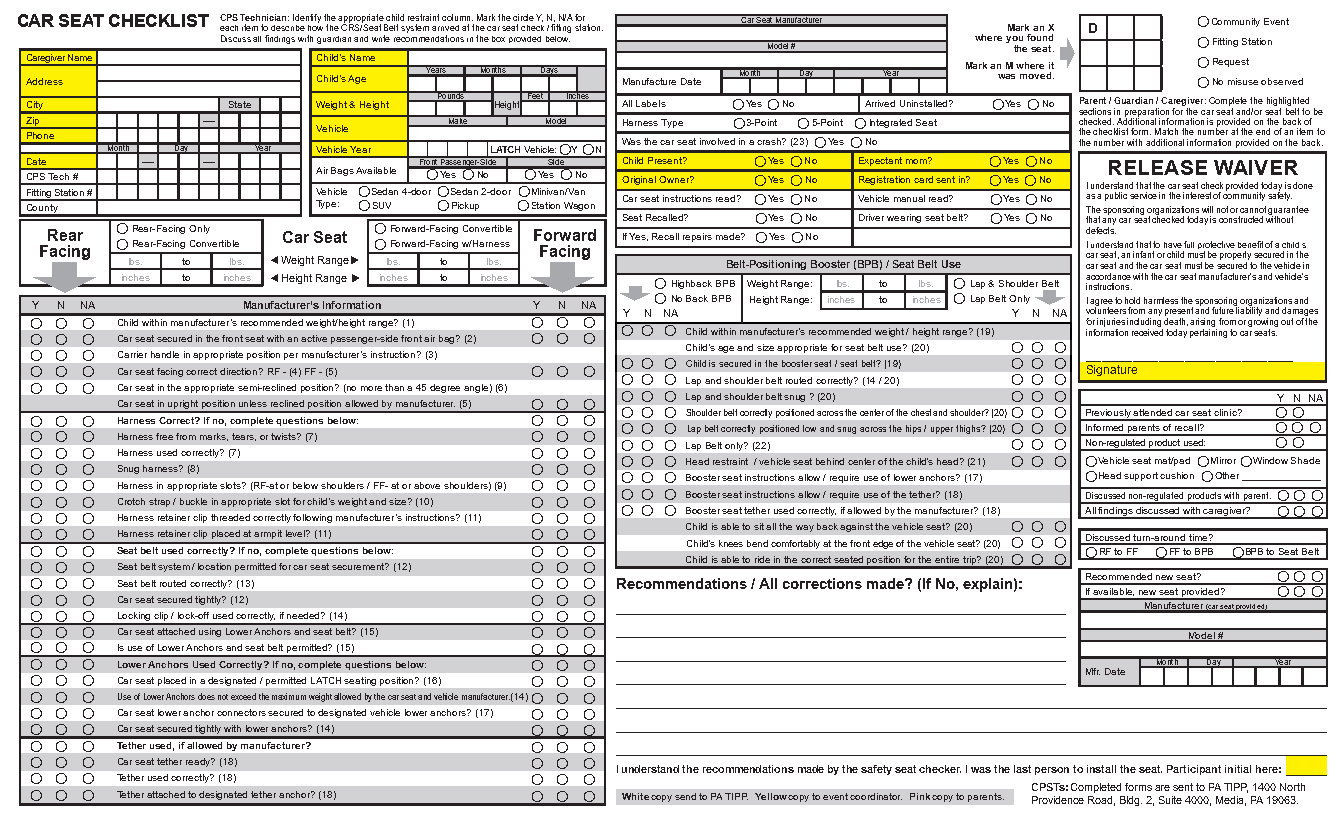
Complete all eight verification steps:
1. Confirm child’s weight/height within seat limits
2. Achieve <1-inch movement at belt path
3. Set rear-facing recline to “green zone” indicator
4. Position harness slots: at or below shoulders rear-facing, at or above forward-facing
5. Center chest clip at armpit level
6. Ensure harness snugness (no pinchable webbing at shoulders)
7. Attach top tether for all forward-facing seats
8. Schedule a free CPST check via SafeKids.org within 30 days
Budget Smarter Without Sacrificing Safety
Avoid These Costly Traps
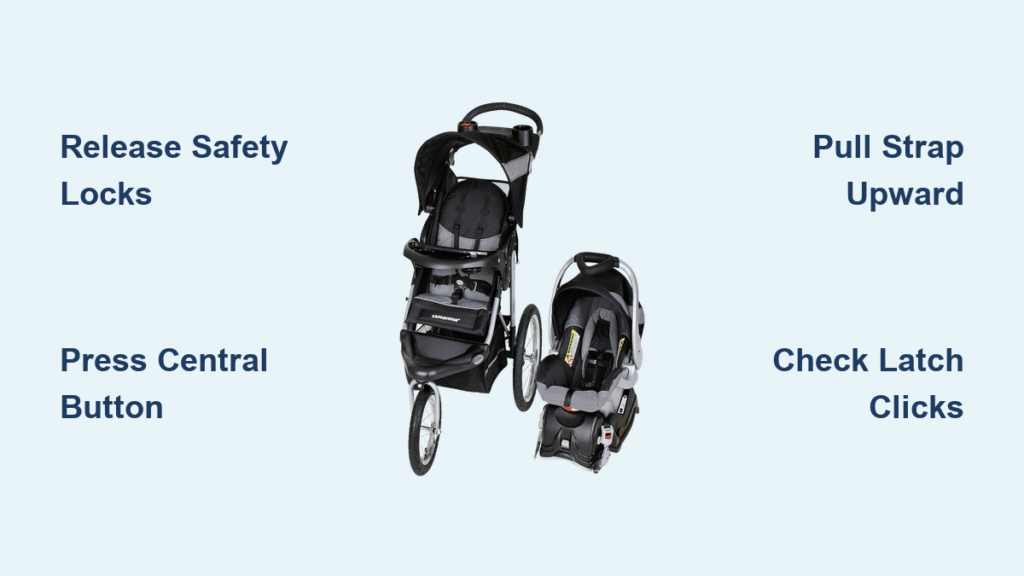
- “Travel system” upcharges: Stroller adapters often cost $50+ and lock you into proprietary brands. Verify compatibility before buying.
- Expiration date blind spots: Seats older than 6 months (DOM label) lose material integrity. Always check date of manufacture.
- Black Friday hype: Premium seats rarely discount below $300. Target January sales for convertible seat deals (typically 25–40% off).
Smart strategy: Buy convertible seats in September during Baby Safety Month. Register immediately for recall alerts—32% of recalled seats go unreported. Never skip the CPST check; improper installation voids all safety benefits regardless of price.
When and How to Transition Between Seats

Extend Rear-Facing as Long as Possible
Keeping your child rear-facing until at least age 3 reduces head/neck injury forces by 75% in frontal crashes. Transition only when:
– Head exceeds 1-inch shell clearance
– Shoulders pass top harness slot
– Feet touch vehicle seat (non-safety factor)
The Booster Readiness Litmus Test
Don’t rush to seat belts. Keep harnessing until your child:
– Weighs 40+ lbs AND
– Passes all Five-Point Belt Fit steps consistently
– Can stay seated properly for 30+ minute rides
Children under 8 often lack the discipline for proper booster use—slouching or belt-positioning errors increase injury risk by 59%.
Critical Replacement Rules You Must Know
Replace your car seat immediately if:
– It’s past the 6–10 year expiration (check molded date on plastic)
– Involved in any moderate/severe crash (NHTSA defines moderate as airbag deployment)
– Shows visible cracks, frayed harness webbing, or missing parts
– Has unknown crash history (never buy used seats)
Register new seats within 30 days at manufacturer sites—this triggers automatic recall alerts. Recheck installation tightness every 6 months as harness webbing stretches over time.
Final note: Choosing the right car seat isn’t about the fanciest model—it’s about matching your child’s size, your vehicle’s layout, and your real-life usage. By prioritizing these three filters over marketing hype, you’ll select a seat you can install correctly 100% of the time. Remember: a $150 seat installed perfectly beats a $500 seat with hidden errors. Measure, verify, and trust technician-approved checks—your child’s safety depends on it.

