
Your stroller has conquered playground mud, juice explosions, and mysterious sticky spills. But those battle scars hide bacteria hotspots that threaten your child’s health. A dirty stroller isn’t just unsightly—it’s a breeding ground for germs that can cause rashes, infections, and respiratory issues. This how to clean a baby stroller guide delivers proven techniques to restore hygiene without damaging your investment. You’ll learn exactly how to sanitize every component safely, prevent mold growth, and extend your stroller’s lifespan through seasonal deep cleans.
Skip shortcuts that void warranties or harm delicate fabrics. Instead, follow this methodical approach that balances thoroughness with baby-safe practices. Within 90 minutes (plus drying time), you’ll transform your stroller from grimy to germ-free—ready for safe, comfortable rides.
Verify Your Stroller’s Cleaning Requirements First
Never assume all strollers clean alike—UPPAbaby’s leather handles demand different care than Graco’s mesh fabrics. Grab your manual immediately to avoid irreversible damage like melted harness straps or shrunken canopies.
Locate critical instructions through:
– Manufacturer websites using your exact model number
– Official YouTube channels demonstrating disassembly
– Customer service hotlines for discontinued models
Confirm these non-negotiables before starting:
– Whether fabrics detach for machine washing
– Wheel removal mechanisms (some pop off; others need tools)
– Harness strap submersion limits (many require spot-cleaning only)
– Temperature restrictions that prevent fabric warping
Ignoring these details risks $200 replacement costs. When uncertain, email the manufacturer—most respond within 24 hours with model-specific protocols.
Assemble Baby-Safe Cleaning Supplies
Using harsh chemicals risks irritating your child’s skin during rides. Stock these pediatrician-approved essentials instead:
Your germ-fighting toolkit:
– Handheld vacuum with crevice attachment for crumbs in buckle joints
– Seventh Generation Free & Clear detergent (no dyes or fragrances)
– Babyganics Stain & Odor Remover for sunscreen and food spills
– Old toothbrush for scrubbing wheel treads and frame joints
– Microfiber cloths to prevent scratches on plastic components
Critical safety rule: Never use bleach, vinegar, or scented products—they degrade fabrics and trigger eczema. Keep WD-40 far away; silicone-based lubricant is the only safe option for wheel axles.
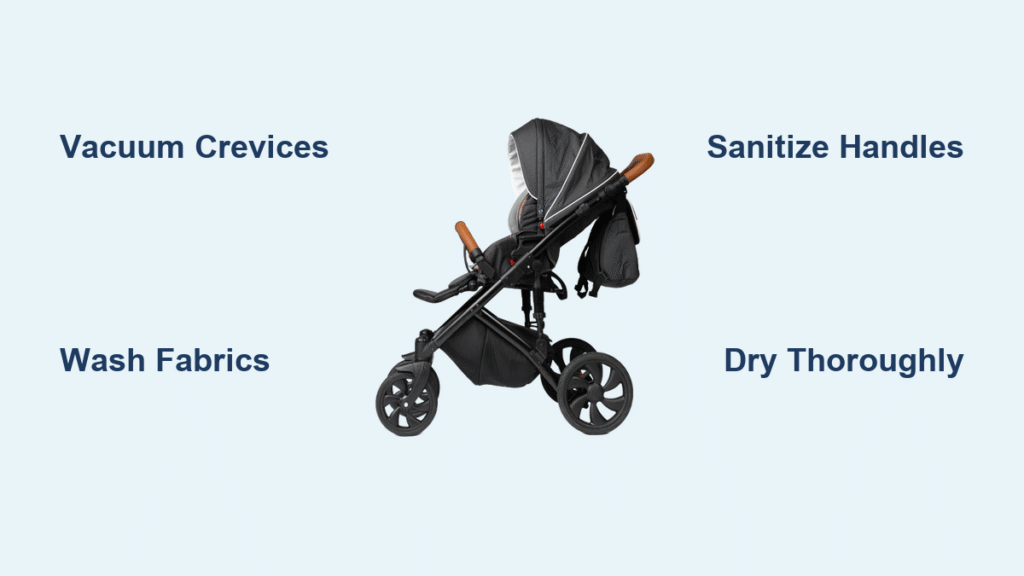
Vacuum Debris from Every Concealed Crevice
Dried crumbs attract pests and accelerate fabric wear. Execute this strategic vacuum sequence before adding moisture:
- Remove cup holders, snack trays, and storage baskets
- Rotate stroller 360 degrees while vacuuming from canopy downward
- Target harness strap channels with crevice tools
- Flip storage basket to extract hidden debris in corners
Pro tip: Lay removable fabrics flat on grass for vacuuming. This prevents stretching during removal and exposes seam edges where food particles embed. Skip this step, and you’ll grind dirt deeper during washing.
Machine-Wash Removable Fabrics Correctly
Heat destroys stroller fabric integrity. Follow this exact sequence for machine-safe components:
- Detach fabric per manual (usually requires removing inner boards first)
- Wash in cold water on gentle cycle with Seventh Generation detergent
- Never use dryer—heat causes shrinkage and foam separation
- Reattach while slightly damp to avoid buckling during drying
- Air-dry 6-24 hours in shaded, ventilated area
Stop immediately if you see:
– Color bleeding during rinsing
– Stiff, cardboard-like backing peeling
– Seams pulling apart at stress points
Hand-wash only fabrics? Submerge in cold soapy water, press (never wring) out moisture, and air-dry vertically.
Eliminate Stains on Permanent Upholstery
Non-removable fabrics need precision cleaning to avoid water damage. Use this spot-treatment method:
- Mix 1 tsp Seventh Generation dish soap with 1 cup warm water
- Dip microfiber cloth, wring until damp (oversaturation causes mildew)
- Blot stains from edge to center using toothbrush for set-in residues
- For grass or sunscreen, apply Babyganics directly; wait 10 minutes before scrubbing
Critical mistake to avoid: Rubbing stains spreads them deeper into fibers. Always blot outward to contain the mess.
Sanitize High-Touch Hard Surfaces

Stroller handles harbor 40% more bacteria than public restroom surfaces. Disinfect these zones daily:
- Handlebar grips (where hands transfer germs)
- Tray edges (direct food contact)
- Buckle releases (chewed by toddlers)
- Frame joints (dirt traps that accelerate rust)
Choose your method:
– Clorox wipes for quick disinfection (10-second dwell time)
– Handheld steam cleaner for chemical-free sanitization
– Seventh Generation All-Purpose Cleaner for eco-sensitive families
Wipe surfaces twice—first to remove grime, second for disinfection.
Deep-Clean Wheels and Moving Parts
Caked-on mud makes strollers wobble and spreads dirt indoors. Revive wheel performance with this process:
- Remove wheels using manufacturer-specific method
- Scrub treads with toothbrush in soapy water sink
- Rinse thoroughly to prevent soap residue buildup
- Dry axles completely before applying silicone lubricant
- Inflate tires to 15-20 PSI for smooth rolling
Never skip axle drying—moisture causes rust that seizes wheels. Check brake pads for embedded debris that reduces stopping power.
Dry Thoroughly to Prevent Mold Growth
Incomplete drying causes musty odors and toxic black mold. Follow this drying protocol:
- Air-dry fabrics on stroller frame in garage or porch (not direct sun)
- Use compressed air in wheel hubs and buckle mechanisms
- Insert paper towels into harness strap tubes to absorb trapped moisture
- Wait 12+ hours before reassembly in humid climates
Warning: Artificial heat from hair dryers melts plastic components. Test fabric dryness by pressing seams—if dampness transfers to your hand, continue drying.
Treat Emergencies Like Bodily Fluid Spills
Urine and vomit require immediate action to prevent permanent damage:
- Urine: Apply enzyme cleaner (not vinegar), cover with plastic for 30 minutes, then rinse
- Vomit: Scrape solids, sprinkle baking soda for 15 minutes, vacuum before spot-cleaning
- Diaper blowouts: Use Grandma’s Secret Spot Remover with 10-minute dwell time
Delaying treatment lets proteins bond with fabrics, making stains permanent within 24 hours.
Implement Weekly Maintenance Routines
Prevent deep-clean overwhelm with these 15-minute habits:
- Shake out crumbs after every outing
- Wipe handles with disinfecting wipes post-park visits
- Vacuum storage basket monthly
- Check wheel rotation for hair tangles
Store completely dry in a stroller bag—never folded while damp. This cuts deep-clean frequency by 60%.
Recognize When to Hire Professionals
DIY cleaning risks voiding warranties on premium models. Call experts for:
- Bodily fluids penetrating foam padding
- Visible mold in frame crevices
- Strollers stored in garages over 30 days
- UPPAbaby or Bugaboo with specialty fabrics
Quality services ($50-$150) use industrial extraction tools that remove 99% of moisture—critical for preventing hidden mold. Verify they use baby-safe products before booking.
Perform Final Safety Checks Before Use
A clean stroller isn’t safe if components malfunction. Verify:
- Brakes engage smoothly on inclines
- Wheels rotate without wobble
- Harness buckles click securely
- No cleaning residue on handlebars
Test stability by loading with 15 lbs of weight. If anything feels loose or sticky, re-clean affected areas. Your child’s safety depends on these checks.
A properly cleaned stroller eliminates 90% of illness-causing germs while extending your investment’s life. By following this how to clean a baby stroller method consistently—especially the critical drying phase—you create a hygienic mobile sanctuary for your child. Remember: Weekly maintenance prevents the overwhelming messes that tempt parents to skip deep cleans. Keep your supplies stocked, consult your manual first, and never compromise on drying time. Your little one deserves rides that are as safe as they are smooth.


