

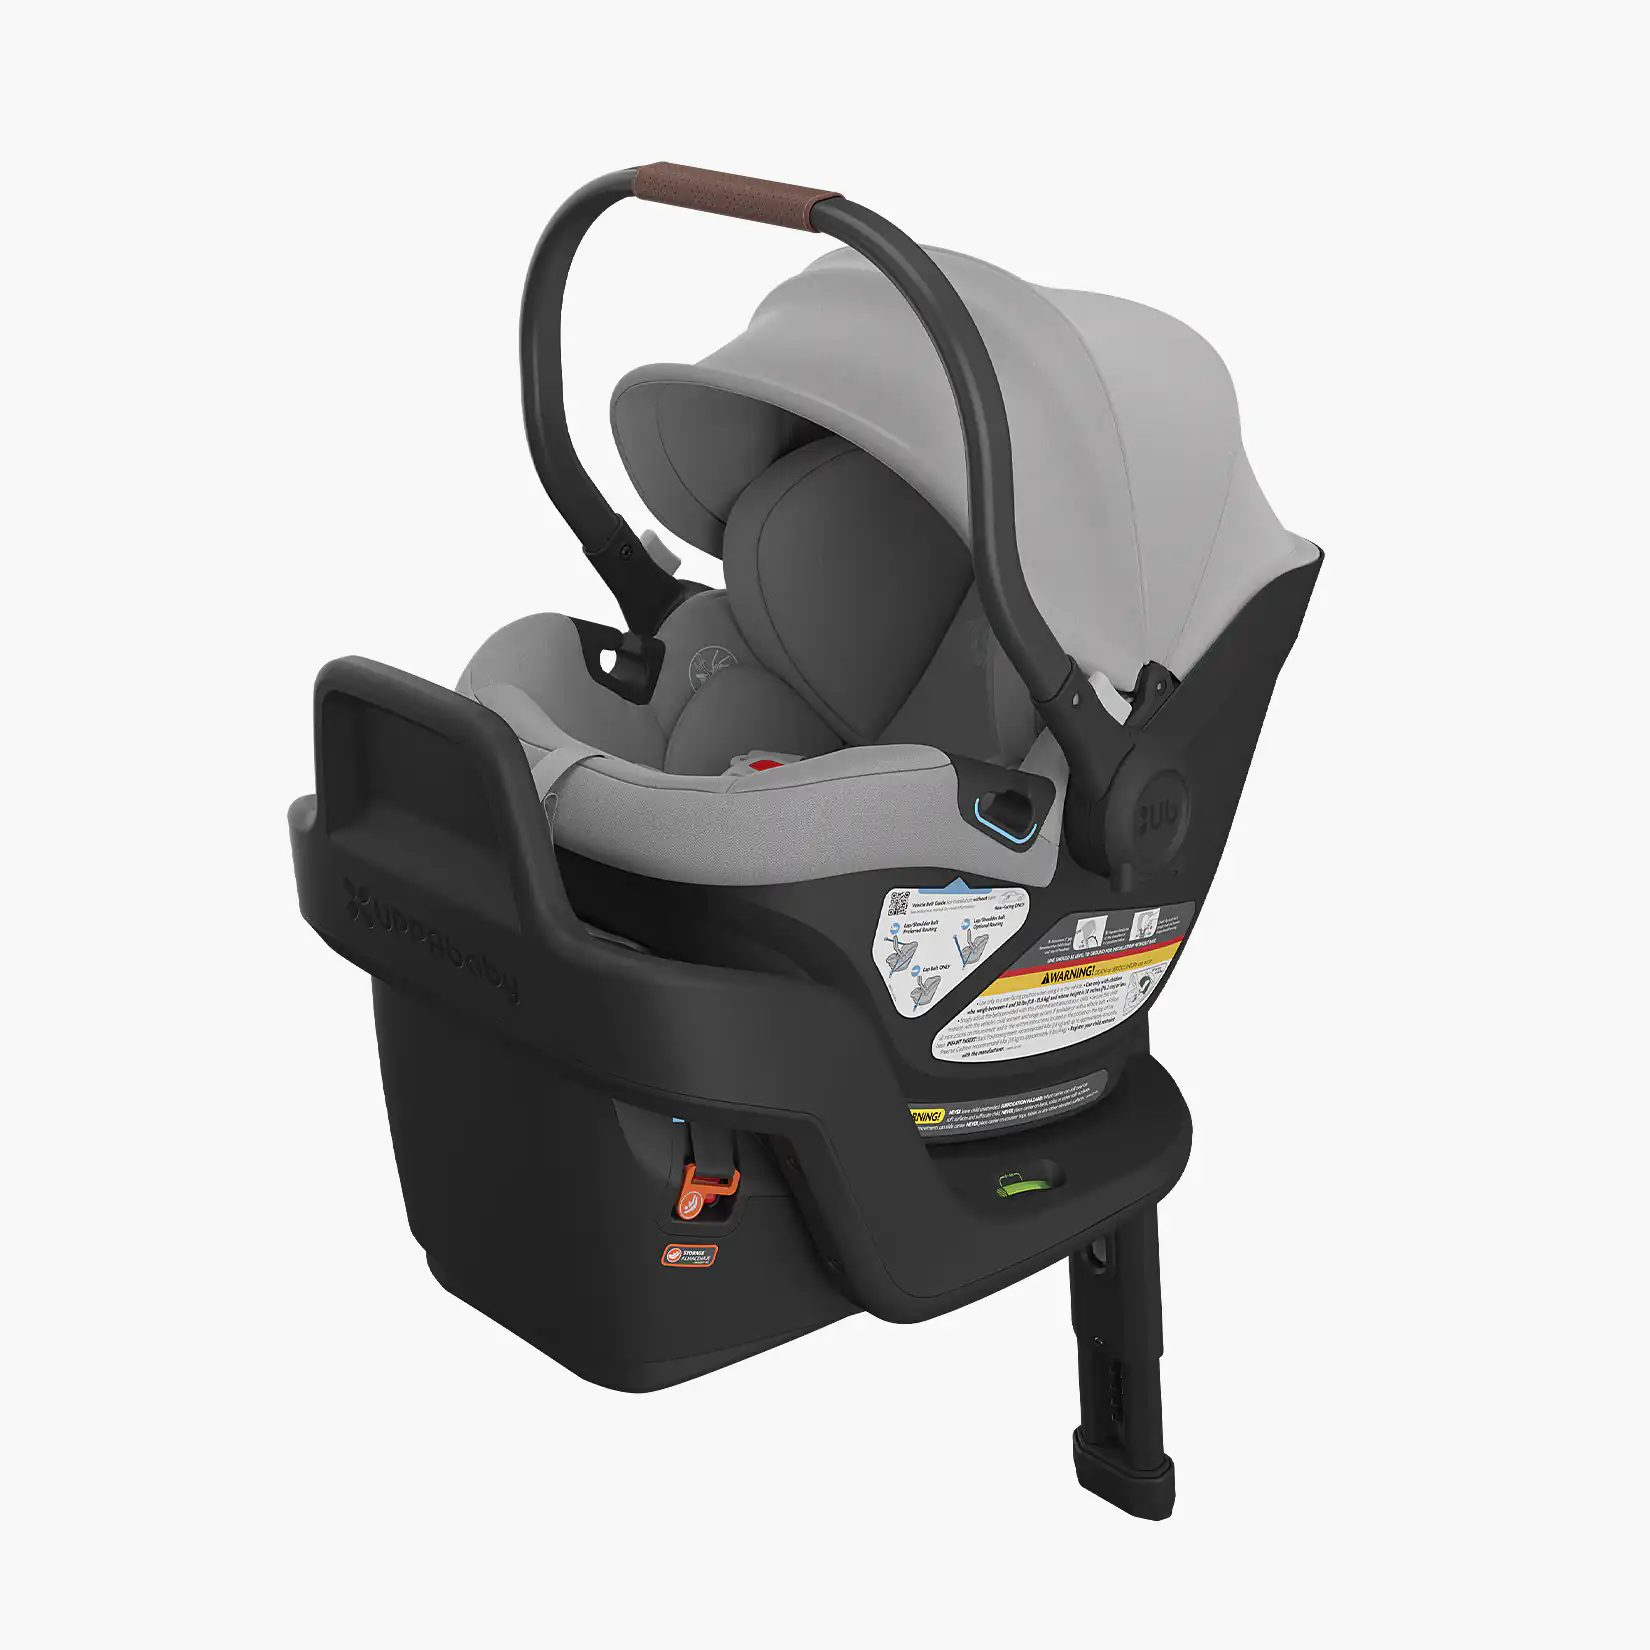
Spilled juice, crushed crackers, and mysterious sticky spots—your Aria car seat has absorbed more than its fair share of childhood messes. Unlike traditional car seats that trap grime in hard-to-reach places, the Aria features removable, machine-washable fabrics and dishwasher-safe components designed specifically for thorough cleaning. This practical guide delivers the exact process to restore your car seat to like-new condition while maintaining critical safety standards.
Most parents don’t realize that improper cleaning can compromise their car seat’s safety features. Following the correct how to clean Aria car seat procedure ensures every component—harness straps, plastic buckles, and fabric covers—remains functional and free from harmful bacteria. You’ll learn professional techniques for removing stubborn stains without damaging materials, plus critical safety checks that must happen before reinstalling the seat in your vehicle.
Remove Your Aria Car Seat Before Starting Cleaning
Never attempt to clean your car seat while it remains installed in your vehicle. This creates safety hazards and prevents thorough access to hidden areas where crumbs and spills accumulate.
Critical first actions:
– Uninstall the entire seat from your vehicle using proper LATCH or seatbelt procedures
– Check the expiration date printed on the seat base—cleaning won’t restore an expired seat
– Take clear photos of the fully assembled seat before disassembly for accurate reassembly
– Choose a clean, well-lit workspace with enough room to spread out all components
Gather Baby-Safe Cleaning Supplies
Using harsh chemicals can damage fabrics or leave harmful residues that contact your child’s skin. The Aria’s materials respond best to gentle, baby-safe cleaning agents.
Required cleaning kit:
– Mild, baby-safe detergent (maximum 2 tablespoons)
– Soft-bristled brush or clean toothbrush
– Multiple microfiber cloths
– Small basin of warm water
– Compressed air canister for crevices
– Access to dishwasher for plastic components
Never use: bleach, fabric softeners, abrasive cleaners, or steam cleaning equipment that could compromise safety features.
Disassemble Aria Components Correctly
Proper disassembly prevents damage and ensures every part receives thorough cleaning. Work methodically from top to bottom, referencing your photos.
Remove Fabric Elements Safely
Harness system removal:
– Completely unbuckle chest clip and crotch buckle
– Thread harness straps backward through seat back slots
– Carefully slide off harness pads
Seat cover removal:
– Locate elastic edges around the entire seat perimeter
– Pull elastic free from plastic shell starting at the top
– Slide cover downward and off the seat frame
Detach Plastic Accessories
Snap-off components:
– Cup holders: Pull straight out with firm pressure
– Chest clip: Slide apart into two separate pieces
– Buckle tongue: Press release button at seat back, slide out from front
Special components: Remove LATCH connectors and level indicators if cleaning the base separately.
Machine Wash Fabric Components Properly
The Aria’s fabric elements are designed for home washing, but specific techniques prevent damage and maintain safety integrity.
Seat Cover and Inserts Cleaning
- Machine wash cold water on gentle cycle only
- Use maximum 2 tablespoons baby-safe detergent
- Never add bleach or fabric softeners—they degrade safety materials
- Air dry completely for minimum 24-48 hours
- Warning: Tumble drying shrinks fabrics permanently and compromises safety
Harness Straps Require Hand Washing
Critical safety note: Machine washing damages safety fibers:
– Mix mild soap with warm water in basin
– Gently scrub stained areas with soft brush
– Rinse thoroughly until water runs completely clear
– Air dry away from direct sunlight
– Never use chemicals that could weaken strap integrity
Clean Plastic Parts Without Compromising Safety
Plastic components harbor hidden grime in textured surfaces. Proper technique prevents water damage while maintaining safety functions.
Shell and Frame Cleaning Process
- Wipe entire shell with damp cloth and mild soap solution
- Use soft brush for textured areas and tight crevices
- Rinse with clean damp cloth to remove soap residue
- Dry completely with microfiber towel
- Use compressed air to remove water from screw holes and joints
Buckle and Hardware Safety Protocol
Critical safety component cleaning:
– Rinse buckle under warm running water only
– Use soft brush to remove debris from buckle slots
– Never use soap or lubricants inside buckle mechanism
– Shake out excess water, air dry completely
– Test buckle clicks securely before reinstalling
Remove Stubborn Stains Effectively

Different stains require targeted treatment approaches. Quick action prevents permanent discoloration and odor buildup.
Food and Drink Spills Treatment
Immediate action steps:
– Blot liquids with clean cloth (never rub)
– Create baking soda paste for stubborn stains
– Let paste sit 15 minutes, then gently scrub
– Rinse thoroughly to prevent residue buildup
Formula and Breast Milk Removal
- Pre-soak stained areas in cold water 30 minutes
- Use enzyme-based baby detergent directly on stains
- Gently work detergent in with fingers
- Rinse thoroughly and repeat if needed
- Sun drying naturally bleaches remaining discoloration
Dry Components Completely Before Reassembly
Moisture trapped in fabrics or mechanisms creates mold risks and compromises critical safety functions.
Minimum drying timeline:
– Fabric items: 24-48 hours air drying (no exceptions)
– Use fan circulation to speed process without heat
– Never use hair dryers or direct heat sources
– Check plastic crevices for trapped moisture with paper towel
Reassemble Aria Step by Step
Reverse the disassembly process carefully, ensuring every component is correctly positioned and functional.
Critical assembly sequence:
1. Start with completely dry shell
2. Install cover from top-down, securing all elastic edges
3. Thread harness through correct height slots for your child
4. Reattach buckle until you hear secure click confirmation
5. Add cup holders, canopy, and accessories
6. Final verification: Test all functions work properly
Critical Safety Reminders After Cleaning
Never Do These Cleaning Mistakes
- Pressure wash any car seat component
- Steam clean adhesives or fabrics
- Use abrasive brushes on fabric surfaces
- Lubricate buckles or harness mechanisms
- Reassemble damp components (creates mold risk)
Mandatory Post-Cleaning Function Tests
- Verify all adjustment mechanisms work smoothly
- Confirm harness tightens and loosens properly
- Test chest clip and buckle operation 5+ times
- Check LATCH connector engagement strength
- Inspect for any cleaning-related damage
Maintain Between Deep Cleans
Regular maintenance prevents major buildup and extends time between full cleanings.
Weekly Quick Clean Routine
- Wipe high-touch areas with baby wipes
- Vacuum crevices using brush attachment
- Spot clean new stains immediately
- Check harness for twists or trapped debris
Monthly Inspection Checklist
- Shake out accumulated crumbs from seat base
- Wipe straps with damp cloth (never soaking wet)
- Inspect fabric and hardware for wear patterns
- Ensure proper buckle function with dry hands
Your Aria car seat’s safety depends on proper cleaning techniques—not just appearance. By following this how to clean Aria car seat guide, you’ll eliminate harmful bacteria, remove stubborn stains, and ensure every component functions perfectly. Remember that a damp car seat is an unsafe car seat—always verify complete dryness before reinstallation. Schedule deep cleaning every 3-6 months based on usage, and your Aria will provide years of safe, comfortable rides for your child. Never skip the post-cleaning functionality tests, as these simple checks maintain the safety integrity that protects your most precious passenger.


