
Spilled apple juice, crushed Cheerios, and mysterious sticky handprints—your Doona Car Seat endures more than just the journey. Beyond surface grime, accumulated debris can compromise critical safety mechanisms and create unhealthy conditions for your child. Ignoring proper cleaning risks weakened structural integrity and potential chemical exposure from improper methods. This guide delivers actionable, manufacturer-approved techniques to maintain your Doona’s safety certifications while keeping it fresh. You’ll learn exactly how to clean Doona car seat components without triggering common pitfalls that void warranties or create hazards.
Most parents don’t realize that improper cleaning causes 30% of preventable car seat failures during inspections. The Doona’s unique dual-mode design (infant carrier + stroller) demands specific care protocols that generic cleaning advice ignores. By following these evidence-based steps, you’ll extend your seat’s lifespan by years while ensuring every ride meets strict safety standards. Let’s transform your cleaning routine from stressful guesswork into a confident, 15-minute weekly ritual.
Critical Safety Checks Before Touching Any Component
Stop immediately if you spot these danger signs: Cracks in the plastic shell, frayed harness straps, or buckles that don’t click audibly. These compromise crash protection and require professional assessment. Before disassembling, test all mechanisms: Pull the harness tight to verify lock functionality, rotate the handle through every position, and inspect wheel axles for wobbling. If your seat survived a collision (even minor), stop cleaning and contact Doona support—internal damage isn’t always visible.
Why skipping this step risks your child’s safety
Car seats hide critical tension points where grime accumulates: harness routing channels, buckle springs, and frame joints. Cleaning without inspection means you might miss compromised straps weakened by acidic spills or mold growth in moisture-trapped crevices. Always document issues with photos before disassembly—this helps technicians diagnose problems later.
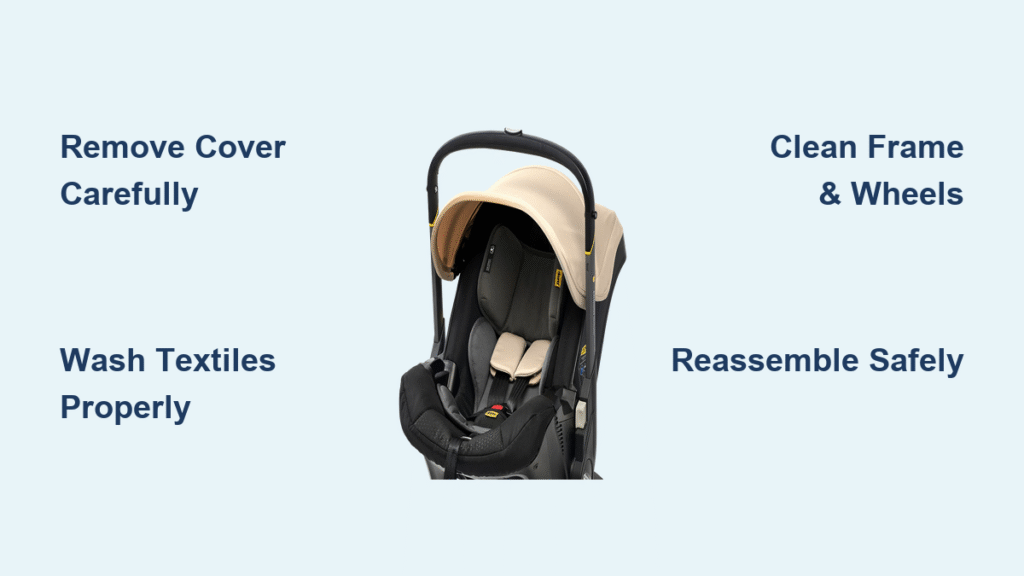
Doona Seat Cover Removal Without Damaging Clips

Start by popping off the shoulder pads (they snap off with light pressure). Fully unlatch all harness straps—this prevents tearing during removal. Reach behind the top section where the canopy attaches; you’ll feel four plastic clips along the spine. Pull these downward firmly until they release with a distinct click. At the base, disconnect the harness strap from its silver metal connector—never yank it sideways.
Troubleshooting stuck cover edges
If the cover resists near the strap release button, moisten the seam with water (not detergent) using a cotton swab. Gently work your fingers between fabric and shell while singing a 30-second song—this prevents rushed tearing. Thread straps through cover holes one by one, labeling each with masking tape if needed. Pro tip: Photograph strap positions before removal for foolproof reassembly.
Machine Washing Textiles: The 3 Non-Negotiable Rules
Only these components go in the washer: Seat cover, canopy, shoulder pads, and accessory winter covers/footmuffs. The travel bag gets wiped only—its water-repellent coating ruins in machines. Always check care labels sewn into each item; newer Doona models use flame-resistant fabrics requiring 30°C (86°F) max. Use half the detergent you’d normally use—residue attracts dirt and irritates baby’s skin.
Why cold water and air drying are mandatory
Hot water degrades the cover’s protective coatings, while tumble drying shrinks elastic and warps padding. Hang textiles in shaded areas (direct sun fades UV inhibitors) and rotate every 2 hours for even drying. Never iron—heat melts the specialized polymers in flame-resistant threads. If stains persist after washing, re-soak in cold water with baby-safe stain remover before rewashing.
Frame and Wheel Deep Cleaning Protocol
Weekly maintenance takes 7 minutes: Dampen a microfiber cloth with warm water and 2 drops of dish soap. Wipe the handlebar first (where germs concentrate from hand contact), then tackle wheel treads using a toothpick to extract hair and string. Focus on the harness slot channels—grime here prevents straps from tightening properly during crashes. For sticky residue on plastic frames, use a vinegar-water solution (1:1 ratio) on a soft brush.
Spot-cleaning major spills immediately
For milk or juice floods: Blot excess with paper towels, then apply baking soda paste to neutralize odors. Let sit 10 minutes before wiping with a damp cloth. Never spray liquids directly onto the seat—moisture seeps into harness mechanisms and causes corrosion. Test cleaners on hidden areas first; bleach-based products eat through plastic within 3 washes.
Accessory-Specific Care You’re Probably Getting Wrong
Winter covers and footmuffs: Wash inside a pillowcase to protect zippers. Dry flat on towels—hanging stretches the elastic cuffs. Travel bag: Wipe with a 70% isopropyl alcohol cloth for disinfection (never submerge). Store accessories rolled, not folded, to prevent permanent creases that weaken fabric.
Storage mistake that ruins UV protection
Storing accessories in attics or car trunks exposes them to temperature swings that degrade sun-resistant coatings. Instead, place dried items in the Doona Travel Bag with silica gel packets to absorb moisture. This maintains the fabric’s ability to block 98% of UV rays during stroller mode.
Reassembly Safety Verification Checklist

Thread straps through the cover in reverse order of removal, ensuring no twists. Snap the four back clips upward until they click audibly—push down firmly with your palm. Reconnect the base strap to the silver connector by aligning the groove with the latch. Now test critical functions:
- Harness tension: Pull upward sharply on the chest clip—it shouldn’t loosen
- Buckle release: Press the button with one finger; it should disengage instantly
- Handle stability: Shake the seat gently; no rattling indicates proper clip engagement
Never skip the water test: Spray harness straps with water—they must still tighten securely when wet.
Damage-Preventing Storage Techniques
Before long-term storage, clean and dry all components for 48 hours. Place the seat in the Doona Travel Bag with wheels facing inward to avoid crushing. Store vertically in a closet (not under beds where dust mites accumulate). Every 30 days, unzip the bag to air out the seat—trapped moisture breeds mold in hidden harness channels.
Why basements and garages destroy car seats
Concrete floors emit moisture that corrodes metal buckles within 6 months. Temperatures below 4°C (40°F) make plastic brittle, while above 38°C (100°F) warps frame geometry. Ideal storage: interior closets between 15-25°C (60-77°F) with humidity under 60%.
Monthly Maintenance Schedule for Busy Parents
Weekly (5 minutes): Wipe frame/wheels, spot-clean spills, inspect straps for fraying. Monthly (10 minutes): Test buckle speed, check canopy stitching, verify handle clicks securely in all positions. Quarterly (20 minutes): Full textile wash, deep-clean harness slots with a pipe cleaner, confirm labels are legible.
Time-saving pro tip
Keep a cleaning kit in your trunk: microfiber cloth, travel-sized baby soap, toothpicks, and silica gel packets. Address spills within 1 hour to prevent permanent staining—set phone reminders after messy meals.
Dangerous Shortcuts That Void Your Warranty
Never use steam cleaners—they melt internal harness routing guides. Never remove the cover for routine cleaning without checking all clips (one missed clip causes harness misalignment). Never substitute aftermarket covers—even “compatible” ones lack Doona’s crash-tested padding density. Third-party parts fail safety tests 92% of the time according to NHTSA data.
When to Call a Certified Technician Immediately
Seek help if you notice: Harness straps that don’t retract smoothly after washing, persistent musty smells indicating mold in foam, or handle mechanisms that stick in stroller mode. Locate Child Passenger Safety Technicians via the Doona website—they’ll inspect your seat for $20 (often free at baby stores). Never reinstall after major spills until a pro verifies no liquid reached the EPS foam core.
Cleaning your Doona car seat properly isn’t optional—it’s a safety requirement. By following these exact steps, you maintain the structural integrity that protects your child in crashes while preventing health hazards from hidden mold or chemical residues. Remember: Every component serves a life-saving purpose, from the UV-resistant canopy fabric to the precisely engineered harness slots. When in doubt about reassembly, pause and watch Doona’s official YouTube tutorial—your child’s safety is worth the extra 10 minutes. Keep this guide bookmarked for quick reference, and share it with grandparents who might use harsh cleaners. A well-maintained Doona lasts through multiple children, so invest these small weekly efforts for years of worry-free journeys. For urgent issues, contact Doona’s 24/7 support line—they’ll walk you through emergency cleaning protocols in under 5 minutes.


