
Spilled apple sauce, mysterious sticky handprints, and the dreaded diaper explosion—your Graco car seat endures daily warfare against childhood messes. When juice floods the crotch buckle or mud tracks invade the headrest, knowing how to clean your Graco car seat safely becomes mission-critical. Skip the guesswork: this guide delivers Graco’s exact cleaning protocols that protect your child’s safety while eliminating stubborn stains. You’ll discover why high heat permanently damages safety components, which “harmless” household cleaners could void your warranty, and the 30-second verification step that prevents costly cover damage during removal. Whether you’re tackling a fresh juice spill or overdue deep cleaning, these methods preserve crash-protection integrity while keeping your little one’s ride fresh.
Most parents don’t realize that improper cleaning compromises critical safety features. One wrong move—like tossing the cover in the dryer—can shrink fabric, melt internal foam padding, or weaken harness stitching. By following Graco’s precise instructions, you’ll maintain both hygiene and the seat’s life-saving capabilities. This isn’t just about appearances; it’s about ensuring every ride meets rigorous safety standards.
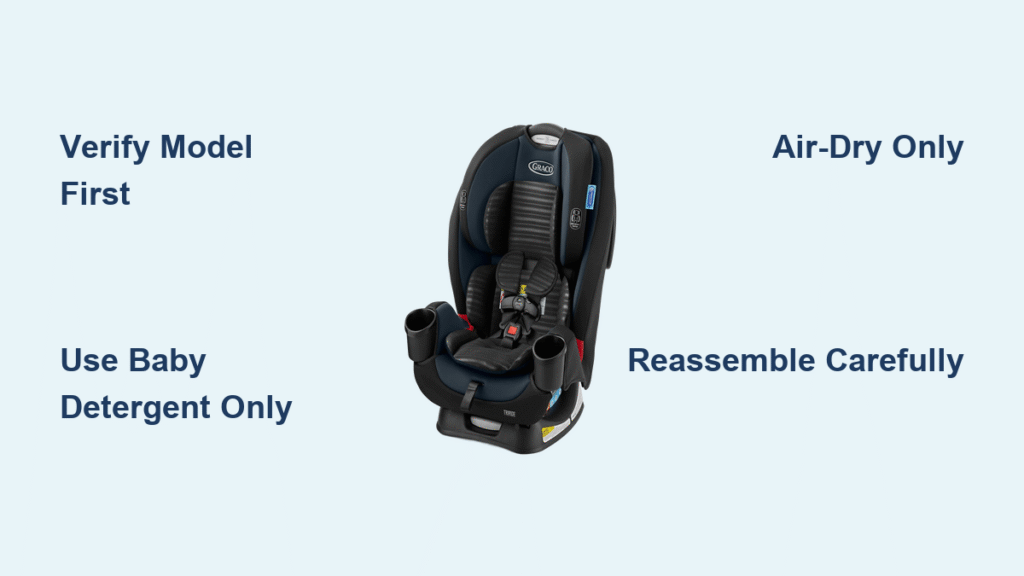
Verify Your Graco Model Before Cleaning
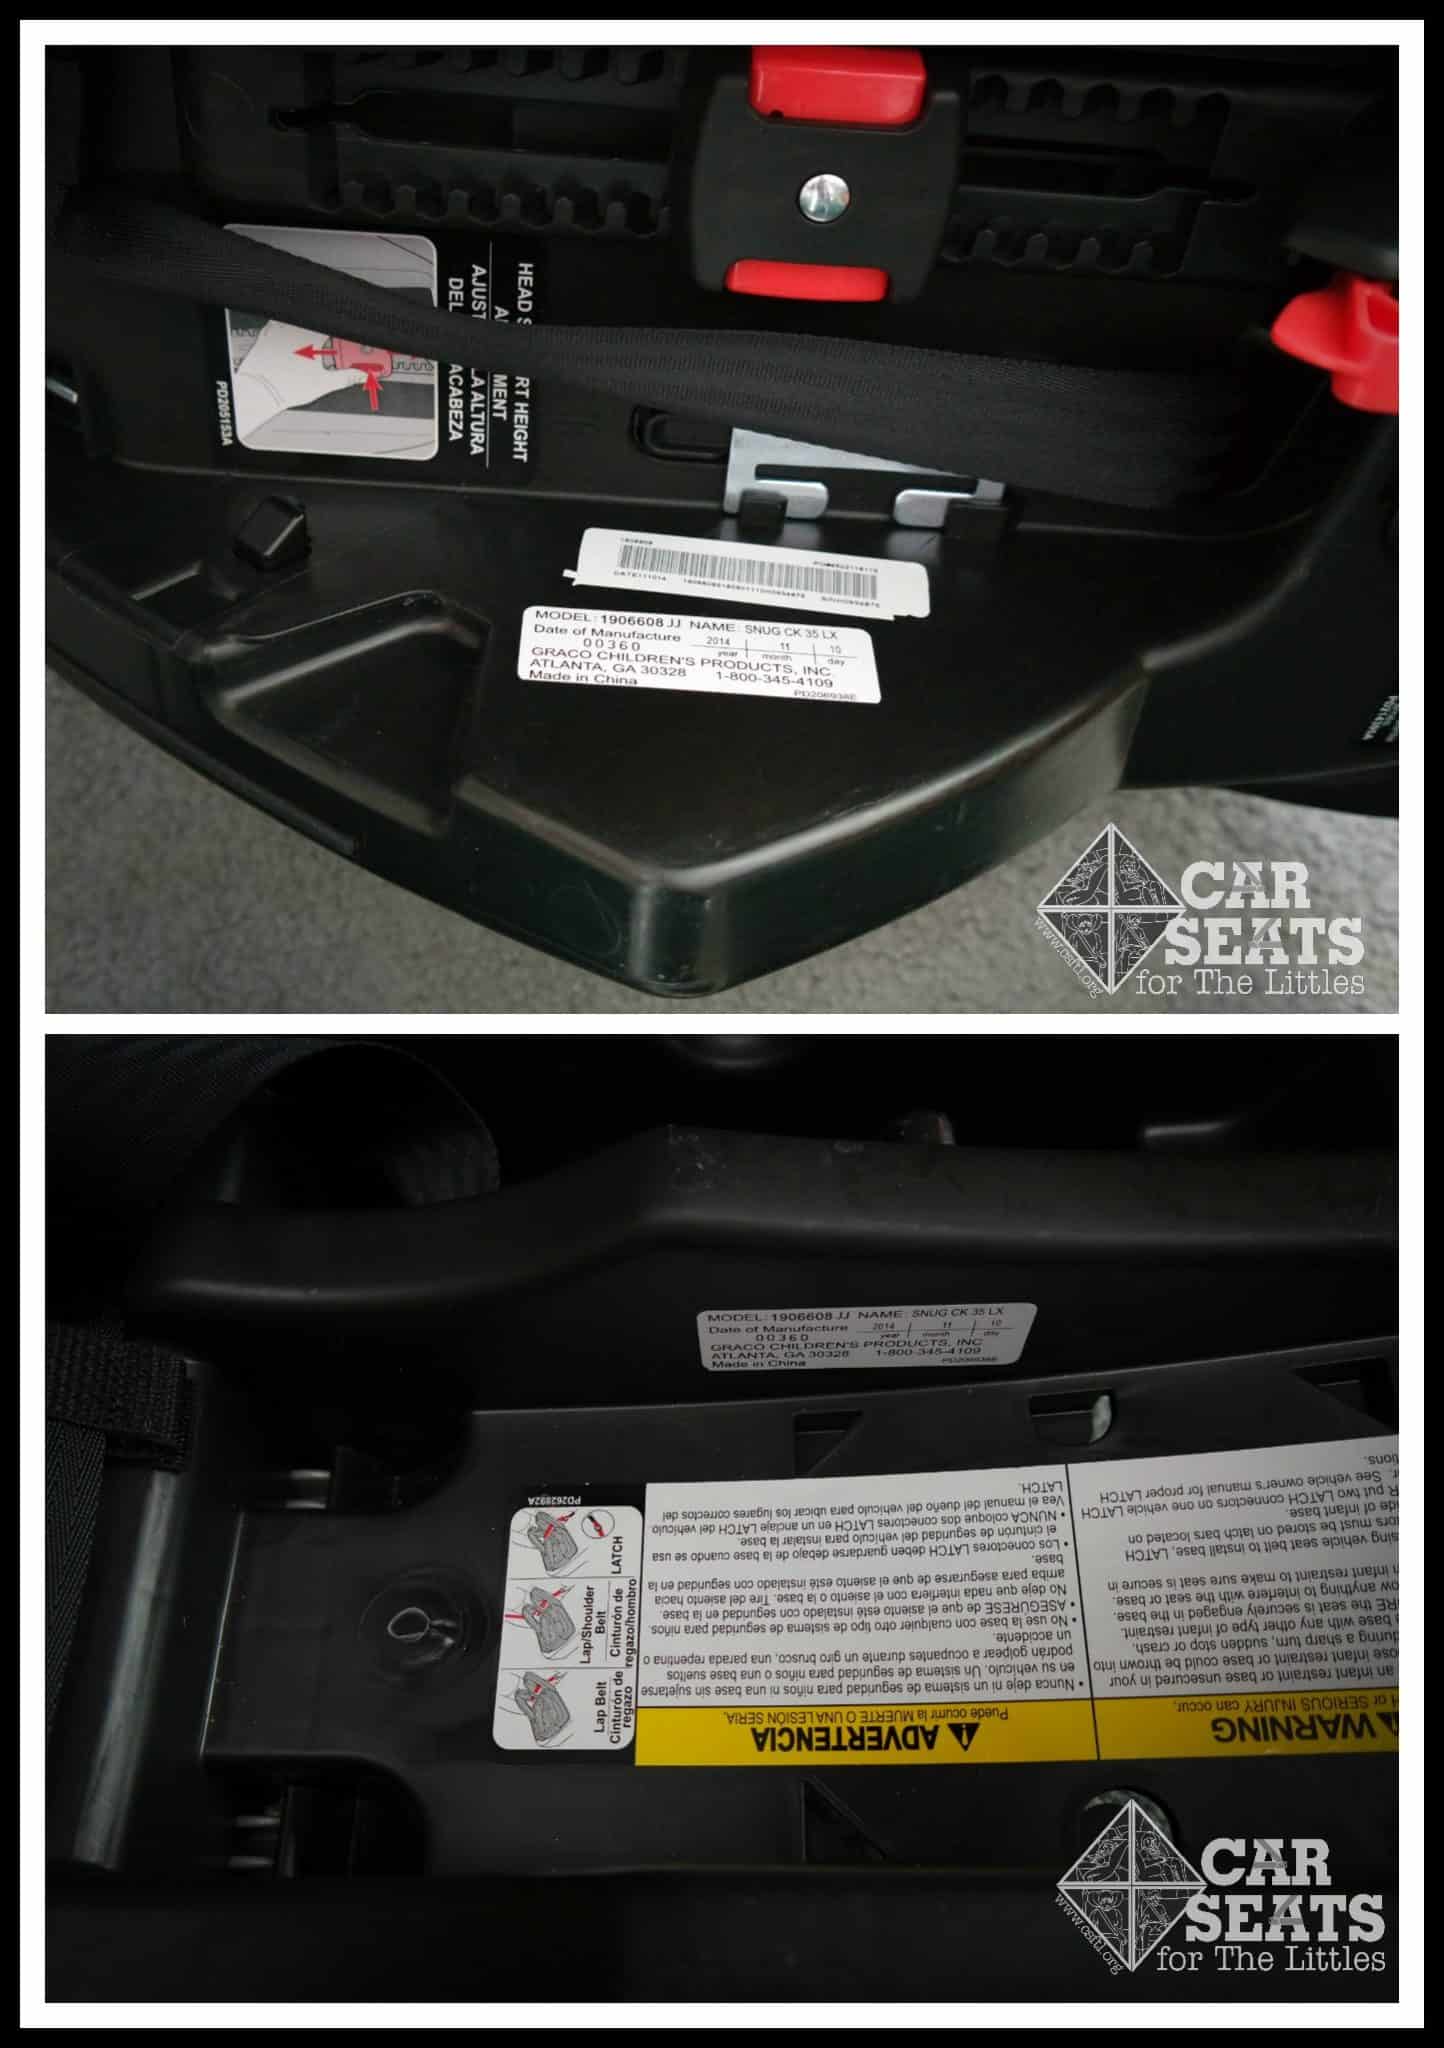
Skipping model verification risks permanent damage—some infant carriers like the Graco SnugRide have permanently attached fabric. Flip your seat base to find the model number sticker (usually white with black text) or embossed plastic lettering. Cross-reference this with Graco’s online database or your manual before touching any fasteners. This 30-second check prevents accidental zipper breaks or snapped plastic connectors on models where covers shouldn’t be removed. If your manual is lost, search Graco’s Help Center using your product registration number—never assume removability.
Gather Car Seat-Safe Cleaning Supplies
Assemble these non-negotiable items before starting:
– Fragrance-free baby detergent (regular laundry soap contains harsh enzymes)
– Microfiber cloths or soft-bristle toothbrush
– Absorbent cotton towels
– Baby-safe stain remover like Dapple or Puracy
– Small container for buckles and clips
– Basin for hand-washing
Critical warning: Bleach, ammonia, fabric softeners, and essential oils degrade flame-retardant coatings and trigger infant skin reactions. One mom’s viral TikTok mistake—using OxiClean—caused permanent fabric discoloration and voided her warranty. Stick to baby-specific products only.
Remove Cover Without Damage
Locate Fastening System First
Graco uses three securement methods: full-perimeter zippers (common on convertible seats), hidden plastic snaps under side flaps (infant carriers), or industrial-strength Velcro (booster seats). Begin unfastening at the headrest area—never the base—to prevent fabric tearing from gravity pull. For zipper models, unzip 2 inches then reinforce with your non-dominant hand to avoid skipped teeth.
Detach Components Strategically
Work slowly: For snap systems, press the center button while peeling fabric away laterally. Velcro requires “peeling like tape”—pull parallel to the fabric, never upward. Immediately store buckles and chest clips in your container; 78% of reassembly errors stem from misplaced tiny parts. If resistance occurs, stop—you may have a non-removable model.
Photograph Each Removal Stage
Snap overhead phone photos after removing every component. During reassembly, these visual guides prevent reversed straps or misaligned harness slots—a critical safety oversight that could compromise crash performance.
Decode the Care Label’s Safety Instructions
Find the sewn-in label (typically inside seatback or under leg pad) before washing. This isn’t optional—it’s Graco’s warranty protection clause. Labels specify:
– Machine wash permission (convertible seats often allow it; infant carriers rarely do)
– Water temperature limits (cold/warm max; hot water melts foam)
– Detergent restrictions (zero fabric softeners—they coat fibers)
– Drying prohibitions (dryers are universally forbidden)
Ignoring label instructions risks cover shrinkage that creates dangerous gaps between fabric and shell. One parent reported a 30% shrinkage after hot washing, leaving harness straps improperly positioned.
Pre-Treat Stains Without Fabric Damage
Target Stain Types Correctly
Protein stains (milk, formula) require cold water pre-treatment to prevent “cooking” into fibers. Tannin stains (juice, fruit) respond to lukewarm water applications. Circle problem areas with your finger before treating to avoid spreading.
Apply Treatment Safely
Dab stain remover directly onto spots—never spray. Work solution inward using fingertip circles for 30 seconds. Never scrub: Aggressive brushing creates bald patches that compromise padding integrity. Let sit exactly 7 minutes (set a timer)—longer dwell times set protein stains permanently.
Machine Wash Only When Approved

Confirm Machine Wash Safety First
Check your care label: If it says “hand wash only,” skip this section entirely. Most infant seat covers (like Graco 4Ever) prohibit machine washing. For permitted models (convertibles like Argos 65), use:
– Cold water setting (max 85°F/30°C)
– Gentle cycle only
– 1 tbsp baby detergent max
– Zero additives—even “natural” fabric softeners
Critical: High-efficiency (HE) machines only—standard agitators rip harness slots. Always wash covers alone to prevent strap tangling.
Prevent Washing Damage
Place cover inside a mesh laundry bag or pillowcase secured with hair ties. Position straps away from drum edges to avoid catching. Never overload—restricted movement causes uneven cleaning and stress points at snap locations.
Hand Wash When Machine Isn’t Allowed
Prepare Perfect Cleaning Solution
Fill basin with wrist-tested lukewarm water (baby bath temperature). Add 1 tsp detergent max—swirl until fully dissolved. Over-sudsing traps residue that attracts future dirt and causes rashes.
Clean Methodically Without Harm
Submerge cover completely, pressing out air pockets. Work from cleanest areas (shoulder straps) to dirtiest (crotch buckle). Use your soft brush with 30-second passes per section—excessive scrubbing frays fibers. For harness slots, dab with damp microfiber cloth only—never immerse straps.
Banish Moisture Without Heat Damage

Why Dryers Compromise Safety
High heat melts internal polyurethane foam that cushions impacts and shrinks fabric by 15-20%. This creates gaps where debris accumulates, reducing crash energy absorption. One study showed dried-on detergent residue from improper rinsing reduced harness strength by 22%.
Air-Dry for Safety Preservation
Option A: Lay flat on dry towels, reshaping padding to original contours. Flip and replace towels every 90 minutes.
Option B: Hang on plastic hangers in climate-controlled room—never direct sun (fades UV-protective coatings).
Dryness test: Press palm against headrest padding for 10 seconds. If coolness remains, continue drying. Reinstalling damp covers breeds mold in 48 hours.
Reassemble for Crash-Ready Safety
Wait for Complete Dryness
Rushing reassembly with “almost dry” covers stretches fabric, causing misalignment. Properly dried covers feel crisp with no cool spots—typically 24-48 hours.
Follow Precision Attachment Sequence
Start at the seat base, aligning cover edges with shell grooves. For zipper models, connect bottom track first before zipping upward. Test every buckle: Chest clips should click firmly, and harness straps must glide smoothly through slots with zero resistance. Any stiffness indicates misrouted straps—a critical failure point in crashes.
Prevent Future Messes With Smart Maintenance
5-Minute Daily Spot Cleaning
Keep baby wipes in your car for immediate spill response—blot, never rub. Address accidents within 5 minutes to prevent permanent staining. Weekly vacuum crevices with brush attachments to remove crumbs that grind into fabric.
Monthly Safety Audits
During cleaning, inspect for frayed harness webbing, cracked plastic buckles, or loose stitching. Small issues caught early prevent expensive replacements—and potential safety failures.
Avoid These 4 Costly Cleaning Mistakes
Never:
– Use bleach or vinegar (degrades flame retardants)
– Machine wash infant seat covers (voids warranty)
– Dry near heaters or in direct sun (causes foam degradation)
– Wash harness straps (water immersion weakens fibers)
Critical reminder: The car seat shell cleans with warm water and cloth only—never submerge plastic components. Harness straps require spot cleaning only; full washing reduces tensile strength by 30%.
Contact Graco When in Doubt
Call customer support immediately if:
– Care label is missing (required for warranty)
– Cover shrinks after proper washing
– Buckles malfunction post-reassembly
– You’re unsure about any step
Have your model number (found on seat base) ready—this speeds resolution by 80%. Graco’s technicians provide free video guidance for complex reassembly issues.
A properly cleaned Graco car seat isn’t just visually fresh—it’s a safety-critical component that functions as designed in crashes. By following these model-specific protocols, you preserve both hygiene and the engineering that protects your child. Set phone reminders for quarterly deep cleans and immediate spot treatment after spills. Remember: when it comes to how to clean Graco car seat components, precision isn’t perfectionism—it’s non-negotiable safety. Keep this guide bookmarked, and you’ll navigate every mess with confidence, knowing your child’s ride remains as safe as the day you bought it.


