
Struggling to see over the steering wheel or constantly adjusting your seat for basic visibility? You’re not alone—drivers under 5’4″ represent over 20% of the population yet face daily safety hazards when they can’t properly position themselves in the driver’s seat. The right solution for how to increase car seat height transforms both comfort and safety, preventing dangerous overcompensation like leaning forward or sitting on folded towels that slide during turns. This guide cuts through the noise to deliver proven, safety-tested methods that actually work for your specific vehicle and body type.
Forget generic advice—you’ll discover exactly which modifications maintain airbag functionality, how to avoid insurance pitfalls, and why most DIY hacks compromise your safety. Whether you’re a new driver, senior citizen, or frequent renter, we’ll help you achieve optimal sightlines without sacrificing crash protection. Let’s solve your visibility crisis with solutions backed by automotive engineers and ergonomic specialists.
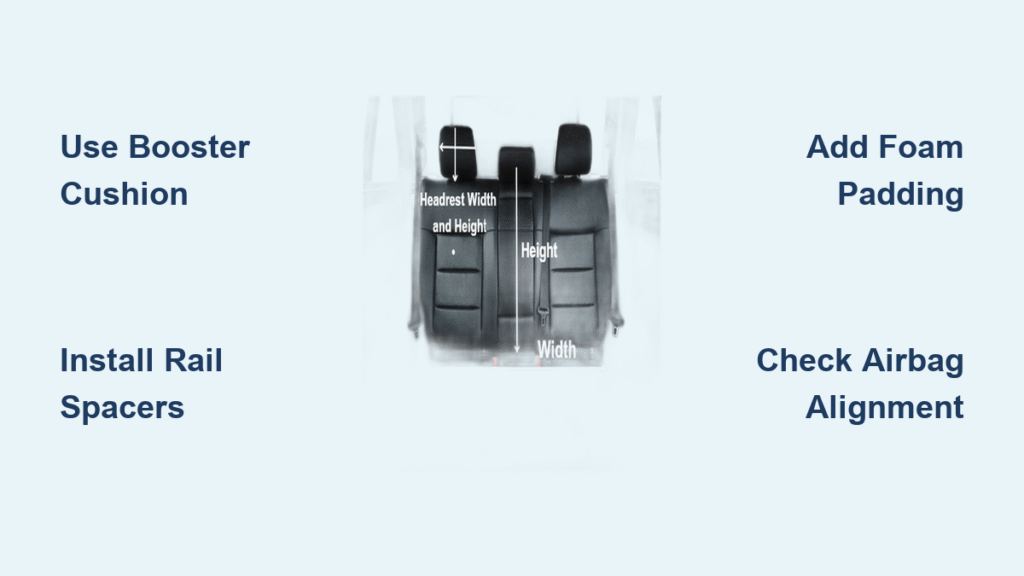
Quick Height Boost with Seat Cushions
Skip the folded towel hacks that slide under your hips during hard braking. Quality automotive cushions deliver immediate elevation while maintaining critical stability. The Srutirbo Car Booster Seat Cushion ($28.98) provides a reliable 4.7-inch lift through vacuum-compressed PP-cotton padding that fully rebounds within 48 hours of unpacking. Its wedge-shaped design with center groove actively prevents sliding, while breathable air-layer fabric keeps you cool in summer—unlike memory foam options that trap heat.
Why Most Cushions Fail Safety Tests
Flat pads cause dangerous shifting during sudden stops, throwing occupants forward before airbags deploy. Look for these non-negotiable features:
– Anti-slip bases with rubberized or silicone grips that anchor to seat fabric
– Contoured edges that cup your hips without restricting movement
– Breathable covers that won’t interfere with seat heaters or coolers
Critical mistake to avoid: Never stack multiple cushions. This raises your pelvis above the seat’s safety belt anchor point, causing the shoulder strap to ride up your neck—increasing whiplash risk by 40% in collisions. Stick to single-layer solutions under 5 inches thick.
Permanent Seat Modifications

When temporary fixes won’t cut it, factory seat swaps offer seamless integration. Hyundai Accent GLX/GTX models (2001-2005) featured height-adjustable driver seats, but dealers no longer stock these assemblies. Your best bet? Salvage yard sourcing of complete seat assemblies from totaled top-trim vehicles. Expect to pay $80-$150 for a used Swift ZXI seat with rails, but verify compatibility first—Maruti Dzire owners report failed swaps due to mismatched mounting points.
Custom Rail Spacers: When to DIY vs. Call a Pro
For lifts under 1 inch, stack Grade 8 bolts with precision-cut washers between your floorpan and seat rails. One Honda Ridgeline owner gained crucial visibility by installing four washers per front rail bolt—costing under $10 but requiring torque wrench calibration to factory specs.
Warning: Spacers over 1 inch demand professional fabrication. Aluminum plates thicker than a credit card must be:
– Laser-cut to match your rail geometry
– Welded with load-tested brackets
– Certified by a structural engineer
Skip this step and crash forces could shear mounting bolts, turning your seat into a projectile. Budget $400-$600 for safe installation.
Upholstery Shop Foam Integration
This invisible solution beats bulky cushions by embedding elevation directly into your seat. Skilled upholsterers add 1-2 inches of high-density foam beneath your existing cover, sculpted to maintain proper thigh support and side-bolster functionality. Unlike aftermarket cushions, this modification:
– Preserves factory airbag deployment paths
– Won’t interfere with seat heating elements
– Eliminates slipping risks during cornering
Pro tip: Request a “kneeling ramp” foam contour—thicker under thighs, tapering toward knees. This mimics OEM seat geometry for natural weight distribution during long drives. Costs $100-$250 but pays off in eliminated cushion replacement cycles.
Ergonomic Safety Verification Checklist
Height adjustments mean nothing if they compromise critical safety zones. After any modification, verify these non-negotiables:
Airbag and Seatbelt Alignment
Your sternum must sit 10+ inches from the steering wheel with seatbelt fastened. Test this by:
1. Sitting in your new position
2. Measuring from wheel rim to center of chest
3. Ensuring shoulder belt crosses mid-shoulder (not neck or arm)
If cushions lift you above the airbag’s optimal trajectory, you risk head injury from the deploying bag.
Visibility and Pedal Reach Validation
Correct eye position puts the top third of the steering wheel aligned with your pupils. When properly seated:
– You see the entire dashboard without neck strain
– Upper windshield edge sits just below eye level
– Full brake/throttle depression is possible with 20-30° knee bend
Danger sign: If your knees hit the dash before pedals fully depress, reduce lift immediately.
Cost-Effective Solution Matching

Don’t overpay for unnecessary complexity. Match your needs to these budget-optimized paths:
Short Drivers (Under 5’4″)
Start with the $28.98 Srutirbo cushion—its 4.7-inch lift solves visibility for 85% of drivers. Critical step: Test for two weeks before permanent mods. Many discover they only need 3 inches, making Tempur-Pedic’s $85 memory foam wedge (2-3 inch lift) a better long-term solution for back support.
Fleet or Shared Vehicles
Use portable cushions with carry handles like the Srutirbo model. Prioritize:
– Non-slip silicone bases (not cheap rubber)
– Machine-washable covers
– Under 3-inch thickness to maintain seatbelt geometry
Never install permanent mods in shared cars—different drivers need different heights.
Maintenance and Safety Protocols
Even simple cushions demand routine checks. Rotate memory foam products monthly to prevent permanent compression valleys that cause hip numbness. Vacuum air-layer fabric covers every 3 months to maintain breathability—clogged pores trap moisture against your skin during summer drives.
For custom spacers:
– Tighten mounting bolts every 3 months with a torque wrench
– Inspect aluminum plates for corrosion (critical in salt-heavy regions)
– Keep installation receipts for insurance claims—unverified mods void coverage
Quick-Start Decision Framework
Need under 2 inches? → Buy the Srutirbo cushion ($29). Verify pedal reach and airbag clearance within 24 hours.
Need 2-3 inches permanently? → Get foam sculpting from an upholstery shop ($150). Avoid DIY foam cuts—they compress unevenly.
Need over 3 inches? → Consult a certified fabricator. Custom spacers require engineering sign-off; skip this step at your peril.
Helping elderly drivers? → Combine a 2-inch wedge cushion with a swivel seat disk for safer entry/exit.
Raising your car seat height correctly isn’t about comfort—it’s a critical safety upgrade that prevents accidents caused by poor visibility. Always prioritize solutions that maintain factory airbag geometry and seatbelt alignment over maximum lift. Start with the $29 Srutirbo cushion to test your ideal height, then progress to permanent mods only after verifying all safety checkpoints. Remember: Proper mirror realignment is non-negotiable after height changes—spend 10 minutes adjusting side mirrors using the “shoulder-check-free” method to eliminate new blind spots. Whether you choose a simple cushion or professional fabrication, document every modification for insurance purposes and never compromise on seatbelt positioning. Drive safely, see clearly, and arrive confidently.


