
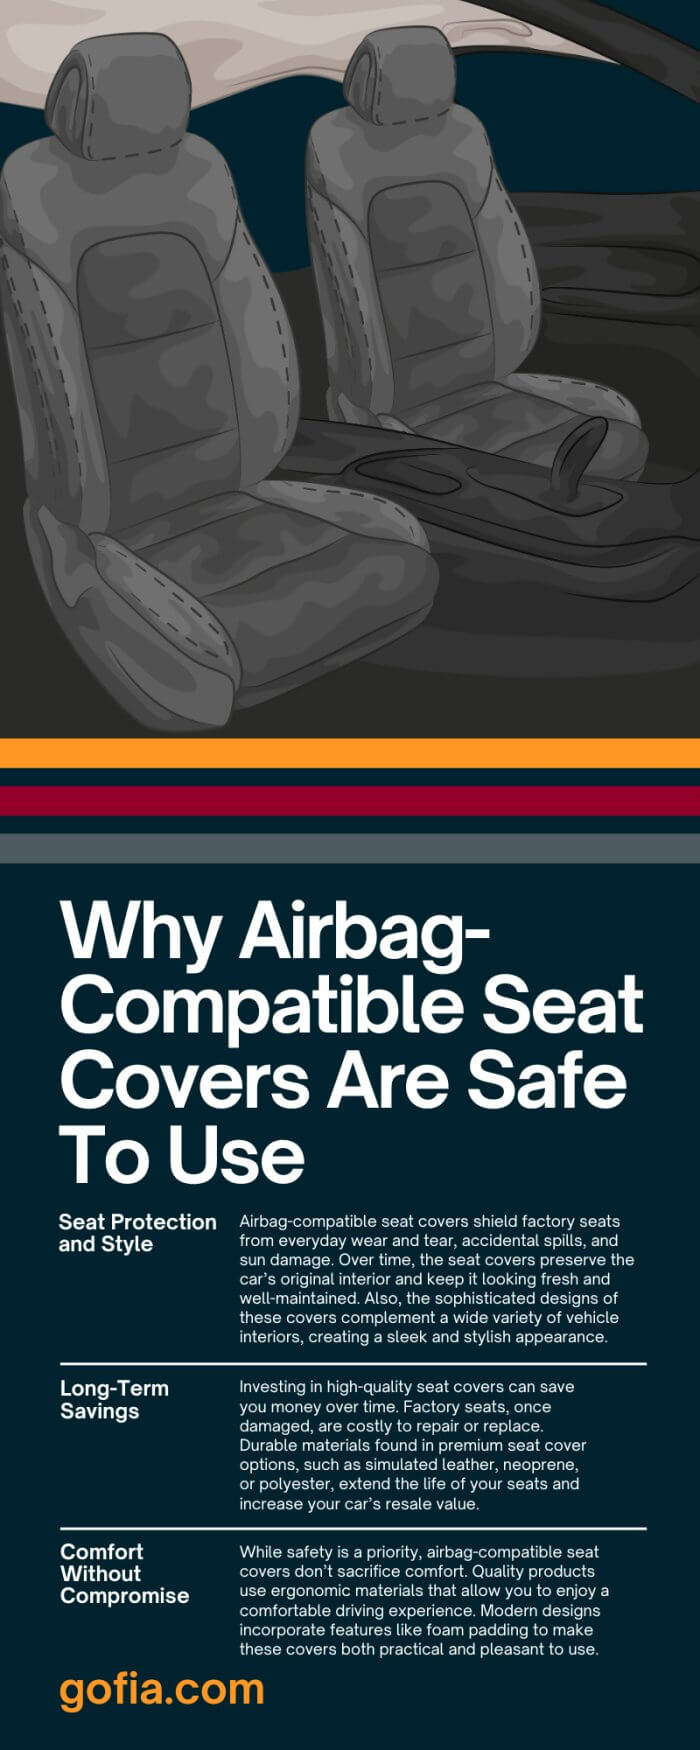
Your new car seat covers just arrived, and that box looks like a fabric tornado hit it. Don’t panic—what seems like a tangled mess transforms into a 30-minute victory when you follow the right sequence. Whether you’re shielding leather from muddy paws or reviving sun-bleached cloth seats, this guide cuts through the confusion. Skip the YouTube trial-and-error; we’ll get your covers locked in tight with zero airbag risks or shifting fabric.
Verify Your Kit Before You Start
Lay every piece in direct sunlight for 30 minutes. Warm fabric stretches 30% easier, slashing your install time. Spread components on your driveway or garage floor and match them to your vehicle’s seat layout: front seat bottoms (2), front backrests (2), side bolsters (2), rear bench bottom (1 or split), rear backrest (1 or split), and headrest sleeves (5 total). Dig into the accessory bag for S-hooks, buckles, spare elastic cords, and 24″ zip-ties. Missing a critical piece? Contact the seller now—don’t discover it mid-install when your seats are half-disassembled.
Critical Compatibility Checks
- Non-removable headrests? Stop immediately—covers won’t fit. Check your vehicle manual; some require prying off plastic caps to access release pins.
- Side airbags? Identify break-away stitching or airbag symbols on covers. These must face outward during installation to avoid deployment interference.
- Heated seats? Only neoprene, mesh, or labeled polyester covers work. Verify the compatibility tag—heat-resistant materials prevent electrical shorts.
Essential Tools for Car Seat Cover Install

Skip the “I’ll just use my hands” trap. Keep these within arm’s reach:
– Plastic trim tool (prevents dashboard scratches)
– Long-nose pliers (fishes straps through seat crevices)
– 24″ zip-ties (create instant pull loops for stubborn straps)
– Sharp-tip scissors (punctures precise headrest holes)
– Work gloves (seat frames have razor-sharp edges)
Pro Tip: Tape zip-ties to your pliers handle—no more dropping them under seats.
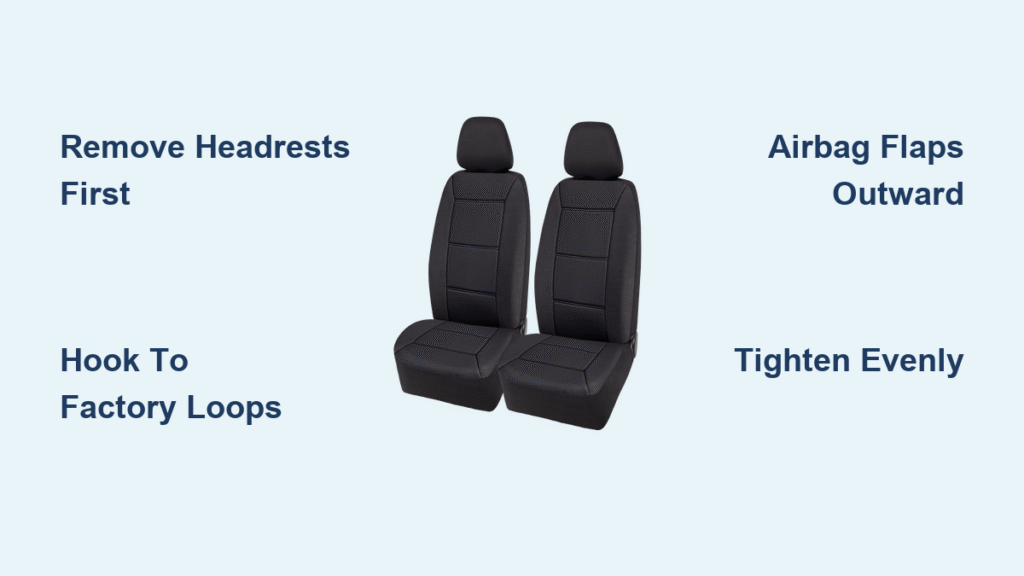
Remove Headrests First (The Make-or-Break Step)
Front seats: Press the release button at one post’s base while lifting straight up. Rear seats often hide plastic caps over release pins—gently pry them off with your trim tool. Place headrests on a towel to avoid scratches. Critical move: Snap a phone photo of your original seat setup. When you’re surrounded by loose fabric and straps, that reference saves 20 minutes of guesswork.
Install Front Seat Bottom Covers Correctly
- Slide covers like socks over the seat base, aligning seams with bolster edges.
- Reach underneath to grab elastic straps with S-hooks.
- Hook ONLY to factory loops above seat tracks—never attach to moving slider rails.
- Tighten evenly until the cover resists shifting more than ½ inch when you wiggle it.
Why this fails: Hooking straps to seat-track sliders causes covers to lurch forward during braking. If yours slides, unhook and re-route straps to the rigid metal loops welded above the tracks.
Fit Front Backrest Covers Without Airbag Risks
- Confirm airbag emblems face outward—this is non-negotiable for safety.
- Slide covers from top to bottom, pulling fabric over the entire backrest.
- Feed straps through the gap between backrest and seat base.
- Connect buckles under the seat while a helper pulls the cover taut.
- Smooth wrinkles by hand, tucking excess fabric into side crevices with your trim tool.
Two-Person Hack: Have someone sit in the seat, leaning back firmly. This tension makes strap routing foolproof and eliminates sagging.
Tackle Rear Bench Installation (Split or Single)
For 60/40 Split Benches
- Leave zippers open during initial placement.
- Lift the bench by pushing rearward firmly, then lifting upward to release clips.
- Center the cover and align seat belt openings before lowering the bench.
- Secure straps to factory loops underneath—do this before reconnecting zippers.
- Reconnect zippers only after the bench is fully seated.
Warning: Tightening straps before reinstalling the bench causes uneven gaps. Reinstall the bench first, then snug the straps.
Finish with Rear Backrest & Headrests
- Fold down the rear backrest (if possible) for easier access.
- Slide the cover like a pillowcase over the folded position.
- Pull straps through hinge gaps and hook underneath.
- Recline upright and check clearance with the parcel shelf—no bunching allowed.
- Slip sleeves over headrests and scissor a tiny X at post locations. Start small—enlarge holes gradually with scissors.
- Reinsert headrests through both cover and seat.
Critical Fix: If headrest posts won’t align, don’t force them. Enlarge holes incrementally—tearing the fabric voids warranties.
Advanced Tricks for Tight OEM Seats

Plastic bag method: Slip a heavy-duty garbage bag over the seat foam. Position the cover over the bag, then tear the bag away through openings. Reduces friction by 70% on stubborn seats.
Zip-tie fishing: Loop a 24″ zip-tie through a buckle to create a pull cord. Thread it across wide gaps, then attach your strap and pull through. Beats contorting under seats for 10 minutes.
Quick Troubleshooting Fixes
| Problem | Instant Solution |
|---|---|
| Cover shifts forward during braking | Re-hook straps to factory loops above seat tracks |
| Headrest holes misaligned | Enlarge holes gradually with sharp scissors |
| Airbag warning light activates | Verify airbag flap faces outward; check tear-away seam |
| Excess fabric on bolsters | Tuck into crevices using plastic trim tool |
Post-Install Test & Maintenance
Sit aggressively and shift your weight—if the cover moves, re-tighten straps immediately. Trim excess strap length but leave 2 inches for future adjustments.
Maintenance schedule:
– Vacuum weekly to prevent grit abrasion
– Remove and machine-wash quarterly (cold water, gentle cycle)
– Re-tension straps every 6 months (elastic stretches over time)
– Air-dry only—heat destroys elastic fibers
Final Checklist Before Driving
- [ ] All 7 cover pieces present and installed
- [ ] Airbag flaps face outward (safety priority)
- [ ] Straps secured above seat tracks
- [ ] Headrest holes cut precisely—not torn
- [ ] Covers pass the “aggressive wiggle test”
- [ ] Excess straps trimmed to 2-inch tails
- [ ] Install date logged for warranty claims
Pro Note: Most brands cover seam splitting for 1–3 years—tape your receipt inside the glove box. Now toss those old covers and enjoy that new-car feeling every time you slide behind the wheel. Your DIY victory isn’t just about looks; it’s about knowing exactly how those covers stay put when you hit the brakes.


