That moment when you’re standing in the airplane aisle with your wiggling toddler and a car seat in hand—heart racing as you wonder if you’ll figure out how to secure it before takeoff. You’ve carefully chosen an FAA-approved seat, but now you’re facing unfamiliar seat belts and limited space. The truth is, installing a car seat on an airplane is often simpler than in your car, and with the right approach, you can secure your child safely in under two minutes.
Most parents don’t realize the FAA mandates specific requirements for in-flight car seat use. Flying with a lap-held child creates dangerous risks during turbulence—your little one could become a 30-pound projectile at the first bump. This guide cuts through the confusion with precise, actionable steps to install your car seat correctly every time, whether you’re traveling domestically or internationally.
FAA Car Seat Rules You Must Know
Your child’s safety depends on understanding these non-negotiable regulations before boarding. The FAA requires specific certification that goes beyond standard car seat approval.
Required FAA Approval Sticker
Look for the white sticker with red lettering stating “This restraint is certified for use in motor vehicles and aircraft.” No sticker means no flight—airlines will refuse boarding. Convertible seats include additional language specifying approval only in harness mode; booster modes cannot be used on planes. If your sticker has faded or peeled off, contact the manufacturer immediately for a replacement before traveling.
Child Weight Requirements
Children under 40 pounds should fly in an FAA-approved restraint system. This isn’t arbitrary—the NTSB found lap-held children become dangerous projectiles during turbulence. Your legal right to use a car seat is protected when you purchase a seat for your child, regardless of age. Airlines cannot refuse this right, though international carriers may have different rules you must research beforehand.
CARES Harness Alternative
For children 22-44 pounds, the CARES harness offers a lightweight alternative. This five-point harness straps directly to the airplane seat and works best for kids over 30 pounds. While convenient for travel, it provides less protection than a full car seat and won’t work for your destination’s ground transportation.
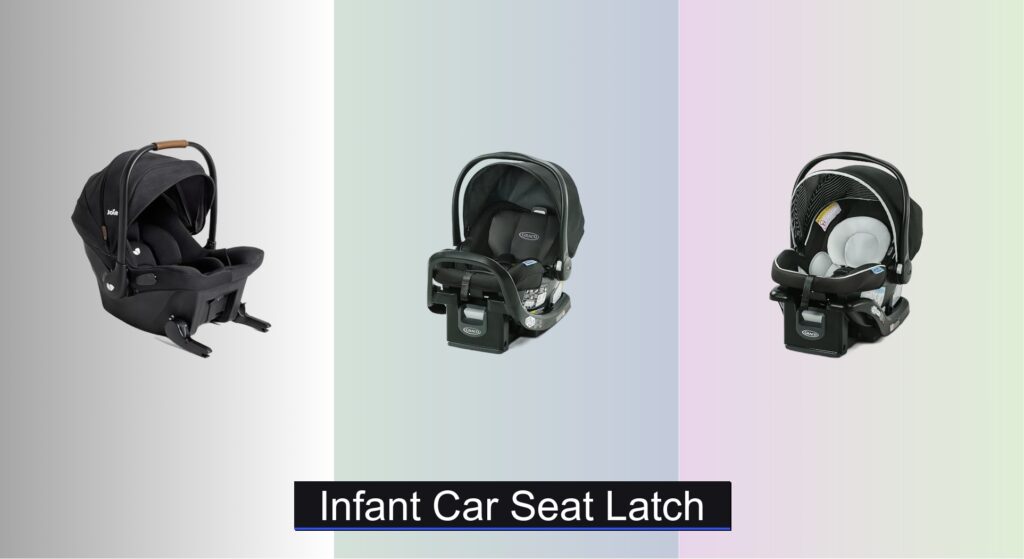
Choose the Right Travel Car Seat
Not every car seat works well for air travel. The wrong choice creates installation headaches and frustrated fellow passengers.
Size and Weight Limits
Measure your car seat against typical airline seat dimensions of 16-17 inches wide. Convertible seats often fit better than bulky infant carriers. Consider these travel-friendly options:
– Lightweight champions: Seats under 15 pounds save your back during airport navigation
– Compact designs: Foldable or narrow profiles ease aisle maneuvering
– Universal fit: Avoid seats wider than 17 inches to prevent installation issues
Essential Travel Features
Look for built-in lock-offs that simplify installation without extra parts. Cupholders keep drinks accessible during long flights. Removable, washable covers become lifesavers when turbulence strikes. The Doona infant seat-stroller combination transforms seamlessly between modes, eliminating separate stroller needs.
Pre-Flight Planning Strategy
Smart preparation prevents 90% of in-flight car seat disasters. These steps happen days before departure.
Seat Selection Secrets
Book window seats on single-aisle aircraft—it’s required for car seat installation. For families with multiple children, use the “AB-AB” configuration: window and middle seats in two consecutive rows. This prevents blocking other passengers while keeping your family together. Avoid exit rows, bulkhead rows, and rows immediately adjacent to exits.
Ticketing Tactics
Always purchase seats for children under 2. The safety benefits outweigh the cost, and you might score free seats on light flights. Gate agents often accommodate car seats in empty seats even when you didn’t purchase them—politely ask during boarding.
Install Car Seat Step-by-Step

Installation follows the same principles as your car but with aircraft-specific adjustments.
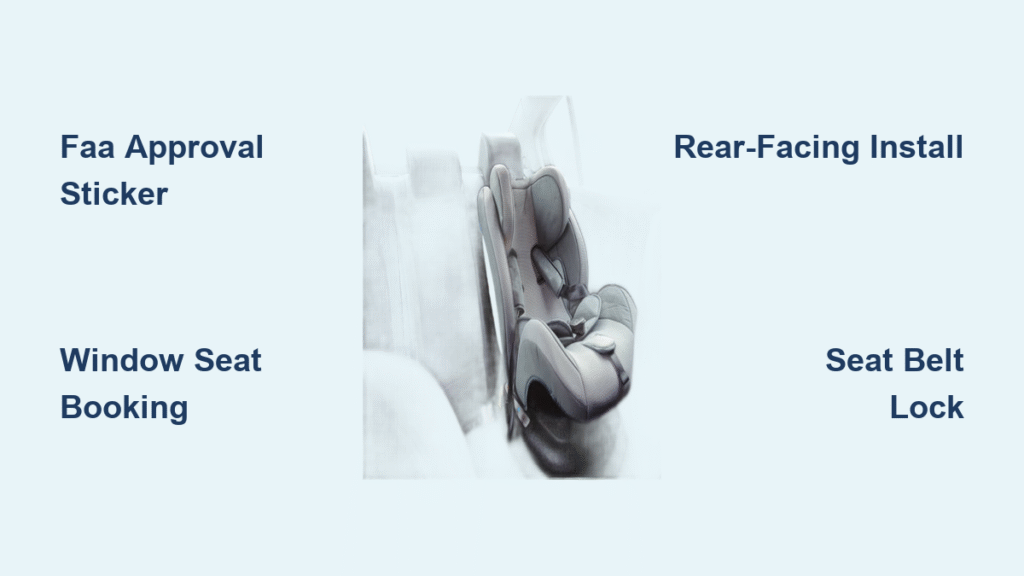
Rear-Facing Installation Process
- Position the seat: Place it rear-facing in the window seat
- Route the belt: Thread the airplane seat belt through the car seat’s rear-facing belt path
- Lock the mechanism: Pull the seat belt completely out until you hear it ratchet, then let it retract while maintaining tension
- Check security: Ensure less than 1 inch of movement at the belt path
- Adjust angle: Position more upright than in your car—this is normal and safe for aircraft use
Forward-Facing Installation Steps
- Identify belt path: Use the forward-facing belt path, different from rear-facing
- Route and secure: Thread seat belt through designated path
- Lock and test: Engage seat belt lock as above, checking for minimal movement
- Verify position: Seat back should rest against aircraft seat back
Handle Special Systems
ClickTight systems: Bypass the tensioning mechanism entirely—consult your manual for aircraft-specific instructions. Lock-off panels: Route belt over but don’t engage locking mechanisms. Tension panels: Follow manufacturer instructions to bypass during flight installation.
Troubleshoot Common Problems

Even experienced travelers hit snags. Here’s how to solve them quickly.
Seat Belt Won’t Lock
Pull the belt completely out until you hear ratcheting sounds. This engages the locking mechanism. If still loose, request a seat belt extender, though this may compromise safety. Most international flights don’t require locking clips since their seat belts have built-in lock-offs.
Car Seat Tilts Sideways
Verify you’re using the correct belt path for your installation direction. Consider a locking clip for international seats lacking built-in lock-offs. The seat belt path should be level with the aircraft seat’s base. If tilting persists, adjust the aircraft seat back position slightly.
Crew Questions Installation
Remain calm and reference FAA regulations on your phone. Request a supervisor if the flight attendant persists. Most conflicts resolve quickly when you reference specific rules rather than argue. Keep your car seat manual handy for verification.
Manage In-Flight Challenges
Once installed, optimize your child’s comfort and your sanity during the flight.
Position Changes Mid-Flight
The FAA allows repositioning if your child meets both rear and forward-facing requirements. Switch positions to facilitate meal service or improve sleep comfort. Rear-facing naturally contains dropped items and prevents seat-kicking. Forward-facing positions allow tray table use for older children.
Storage Limitations
Car seats cannot be stowed overhead during takeoff and landing. Some international flights allow infant seat storage in bins, but verify with crew first. Keep small items in seat pockets rather than under the seat in front where they might roll away during turbulence.
Entertainment Solutions
Bring activities with safety straps to prevent floor retrieval. Cupholders provide easy drink access. Consider lap trays when aircraft tray tables won’t deploy over forward-facing seats. The upright positioning actually helps contain dropped items during rear-facing travel.
Special Circumstances Guide

International travel and premium cabins require extra preparation.
International Variations
Research each airline’s policy before booking. Some countries prohibit car seats entirely. Others may require “belly belts” banned in US airspace. Bring translated installation instructions for language barriers. International flights often have simpler installation since their seat belts typically have built-in lock-offs.
Premium Cabin Restrictions
New premium classes like United Polaris and Air Canada Signature may not accommodate car seats. Confirm compatibility during booking. Regional jets often have narrower seats requiring careful car seat selection—measure your seat against the aircraft’s specifications.
Post-Flight Inspection Protocol
Your car seat took a journey too—inspect it before trusting it again.
Immediate Damage Check
After each flight, examine for:
– Cracks in the plastic shell
– Bent or twisted metal components
– Frayed harnesses or loose stitching
– Stress marks around belt paths
Cleaning After Air Travel
Aircraft environments require thorough cleaning. Remove and wash covers according to manufacturer guidelines. Wipe hard surfaces with approved cleaners. Consider this mandatory after every flight, not optional. Airplane cabins harbor significantly more germs than typical environments.
Document Any Issues
If you discover damage, photograph it immediately and contact the airline’s baggage service office before leaving the airport. Most airlines have specific timeframes for reporting damage claims. Gate-checking rather than regular luggage checking reduces damage risk.
Key Takeaways for Success
Installing a car seat on an airplane becomes second nature with preparation. Remember: verify FAA approval stickers, choose window seats when possible, and practice installation before travel day. The extra effort ensures your child flies safely and you arrive stress-free.
Keep your car seat manual handy, download airline policies to your phone, and don’t hesitate to advocate for your child’s safety. The flight attendants want your child secured correctly—they’re just following procedures too. With these steps, you’ll board confidently knowing your most precious cargo is protected at 35,000 feet.