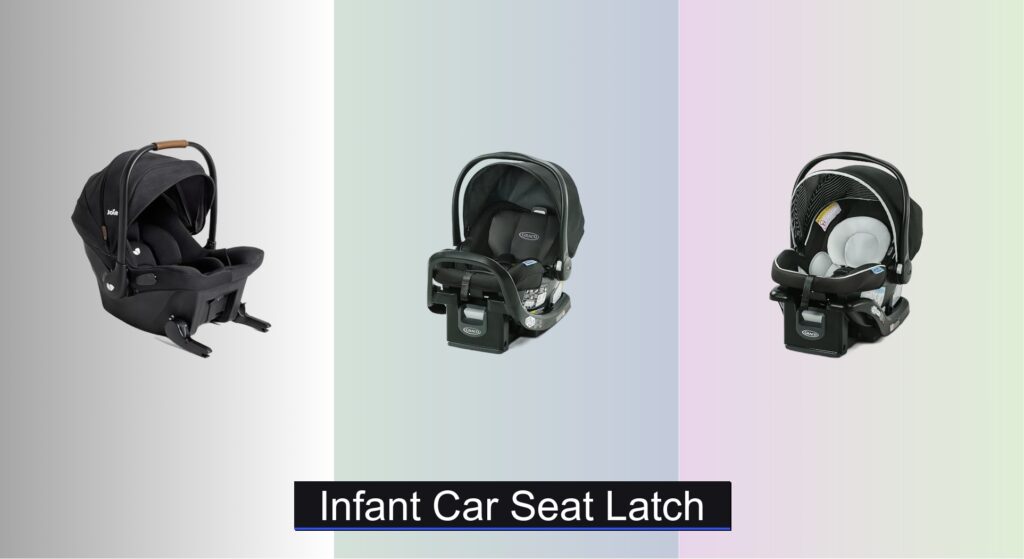
Your heart pounds as you buckle your newborn into the car for the first time. That tiny body in the Doona car seat represents everything precious in your world, yet many parents spend those initial drives second-guessing whether they’ve secured it correctly. Proper installation isn’t just recommended—it’s the critical difference between safety and catastrophe during sudden stops. This guide eliminates the guesswork by walking you through every precise step for base or base-free Doona car seat installation. You’ll master rear-facing positioning, harness adjustments, and handle mechanics that meet strict safety standards. By the end, you’ll confidently secure your baby knowing exactly how to install Doona car seat correctly for every journey.
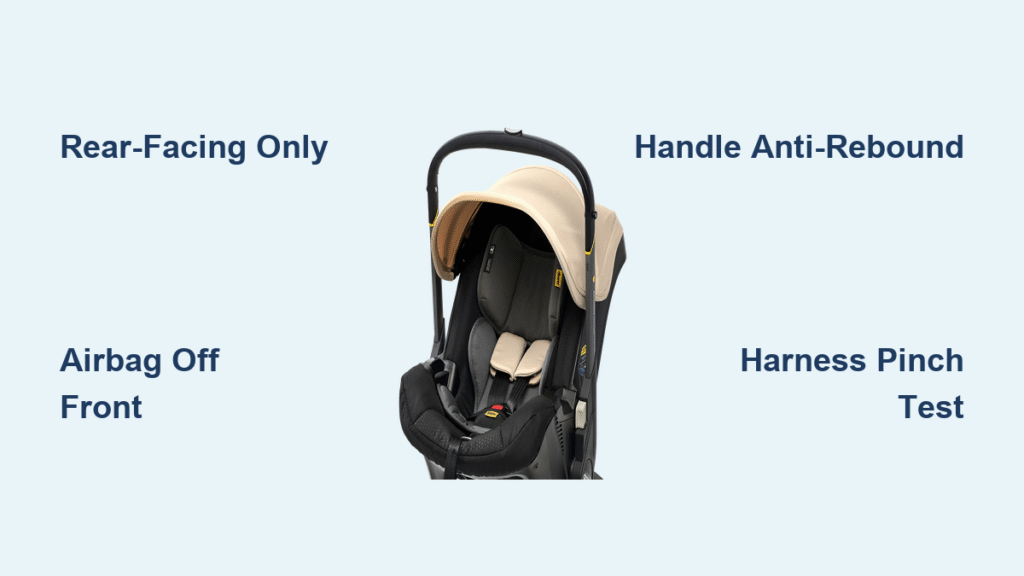
Never Install Doona Forward-Facing—Rear-Only Is Non-Negotiable
The Doona car seat must face your vehicle’s rear at all times—no exceptions. This orientation channels crash forces into the seat shell rather than your baby’s fragile neck and spine. Forward-facing installation is physically impossible due to the seat’s structural design, but some parents mistakenly attempt it when babies seem cramped. Resist this impulse: your child’s developing vertebrae need rear-facing protection until at least age 2. If your baby appears uncomfortable, check if they’ve outgrown the newborn insert (typically around 3-4 months) or if harness straps are twisted. Remember, rear-facing significantly reduces injury risk by distributing impact forces across the strongest parts of your baby’s body.
Front Passenger Seat Installation: Airbag Deactivation Is Mandatory
Installing your Doona in the front seat demands one critical safety step: deactivating the passenger airbag. An active frontal airbag can cause fatal injuries to rear-facing babies during deployment. Consult your vehicle manual—deactivation usually involves a key switch in the glove compartment or dashboard. Before driving with baby, verify the airbag status indicator shows “OFF” or displays the airbag-off symbol. If uncertain, contact your dealership rather than risking your child’s life. Note that rear-facing seats are never permitted on rear-facing or side-facing vehicle seats regardless of airbag status.
Anti-Rebound Handle Position: Your Crash Protection Barrier

After securing the Doona in your vehicle, tilt the handle toward the seat back into the “anti-rebound position.” This creates a protective energy-absorbing barrier that prevents dangerous rotation during collisions. The handle must form a gentle arc against your vehicle’s seat—not sticking straight up or forward. Think of it as forming a protective cocoon around your baby. This position is required whether using the base or installing base-free. Never leave the handle upright during travel; it compromises the seat’s crash performance by eliminating this crucial stabilization point.
Base vs Base-Free Installation: Choosing Your Method

Installing With Base: One-Time Setup for Daily Convenience
Using the Doona base simplifies daily installations but requires careful initial setup. Refer to page 45 of your US user guide (page 35 for European models) for model-specific diagrams. The base attaches via your vehicle’s ISOFIX/LATCH anchors or seatbelt routing—never mix systems. For ISOFIX installation:
1. Connect base connectors to vehicle anchors until you hear dual clicks
2. Push down firmly on base while tightening anti-rebound bar
3. Verify less than 1 inch of movement at belt path
The base stays permanently installed, letting you click the Doona in/out daily. This method reduces installation errors by 50% compared to base-free setups according to safety studies.
Installing Without Base: Essential for Taxis and Rentals
Base-free installation is vital for travel but demands precision. Route your vehicle’s seatbelt through the Doona’s color-coded guides (red for US models, blue for European). Critical steps include:
1. Thread seatbelt through lower belt path groove
2. Pull shoulder belt across top guide
3. Lock seatbelt mechanism per your vehicle’s instructions
4. Test tightness—you should move the seat less than 1 inch side-to-side at the belt path
Never use locking clips with Doona; the seatbelt must lock automatically. This method takes 2-3 minutes per installation but requires double-checking after each use.
Harness System Setup: Precision Fit for Safety
Shoulder Strap Height: Level With or Below Shoulders
Position shoulder straps at or just below your baby’s shoulders. Newborns require the lowest harness slot, while growing infants move up as shoulders rise above slots. Incorrect height causes dangerous upward sliding during crashes. For accurate placement:
– Straps should emerge from slots level with or slightly below shoulder line
– Never position straps above the shoulders
– Adjust after growth spurts (typically monthly for newborns)
Check strap height before every drive—babies outgrow slots faster than parents realize.
Five-Step Harness Adjustment Process
- Disconnect straps from metal harness plate at seat back
- Remove strap pads if bunching or too thick for baby’s size
- Thread straps through correct height slots without twists
- Reconnect to plate, ensuring straps route between metal bar and seat body
- Verify even length on both sides before buckling baby
Twisted straps create pressure points that compromise safety. If straps won’t lie flat, disconnect and restart the threading process.
Pinch Test: The Only Harness Tightness Check You Need
After buckling your baby, perform the pinch test at collarbone level: try pinching the harness strap vertically. If fabric gathers between your fingers, it’s too loose. Correct fit means:
– Straps lie flat against chest without sagging
– No slack when pressing on chest area
– Harness doesn’t press into skin or force unnatural posture
Critical warning: Straps leaving red marks require immediate adjustment—they indicate dangerous over-tightening that restricts breathing.
Troubleshooting Common Installation Issues
Fixing “Too Tight” Harness for Newborns
When harness feels restrictive for young infants:
– Confirm straps route between Doona body and metal bar (not outside)
– Remove infant insert if baby weighs over 8 lbs or appears cramped
– Untwist straps—even slight twists create false tightness
– Lower shoulder straps to lowest position
Many parents unknowingly keep newborns in the insert too long. If baby’s head rests above the seat shell’s top edge, remove the insert immediately.
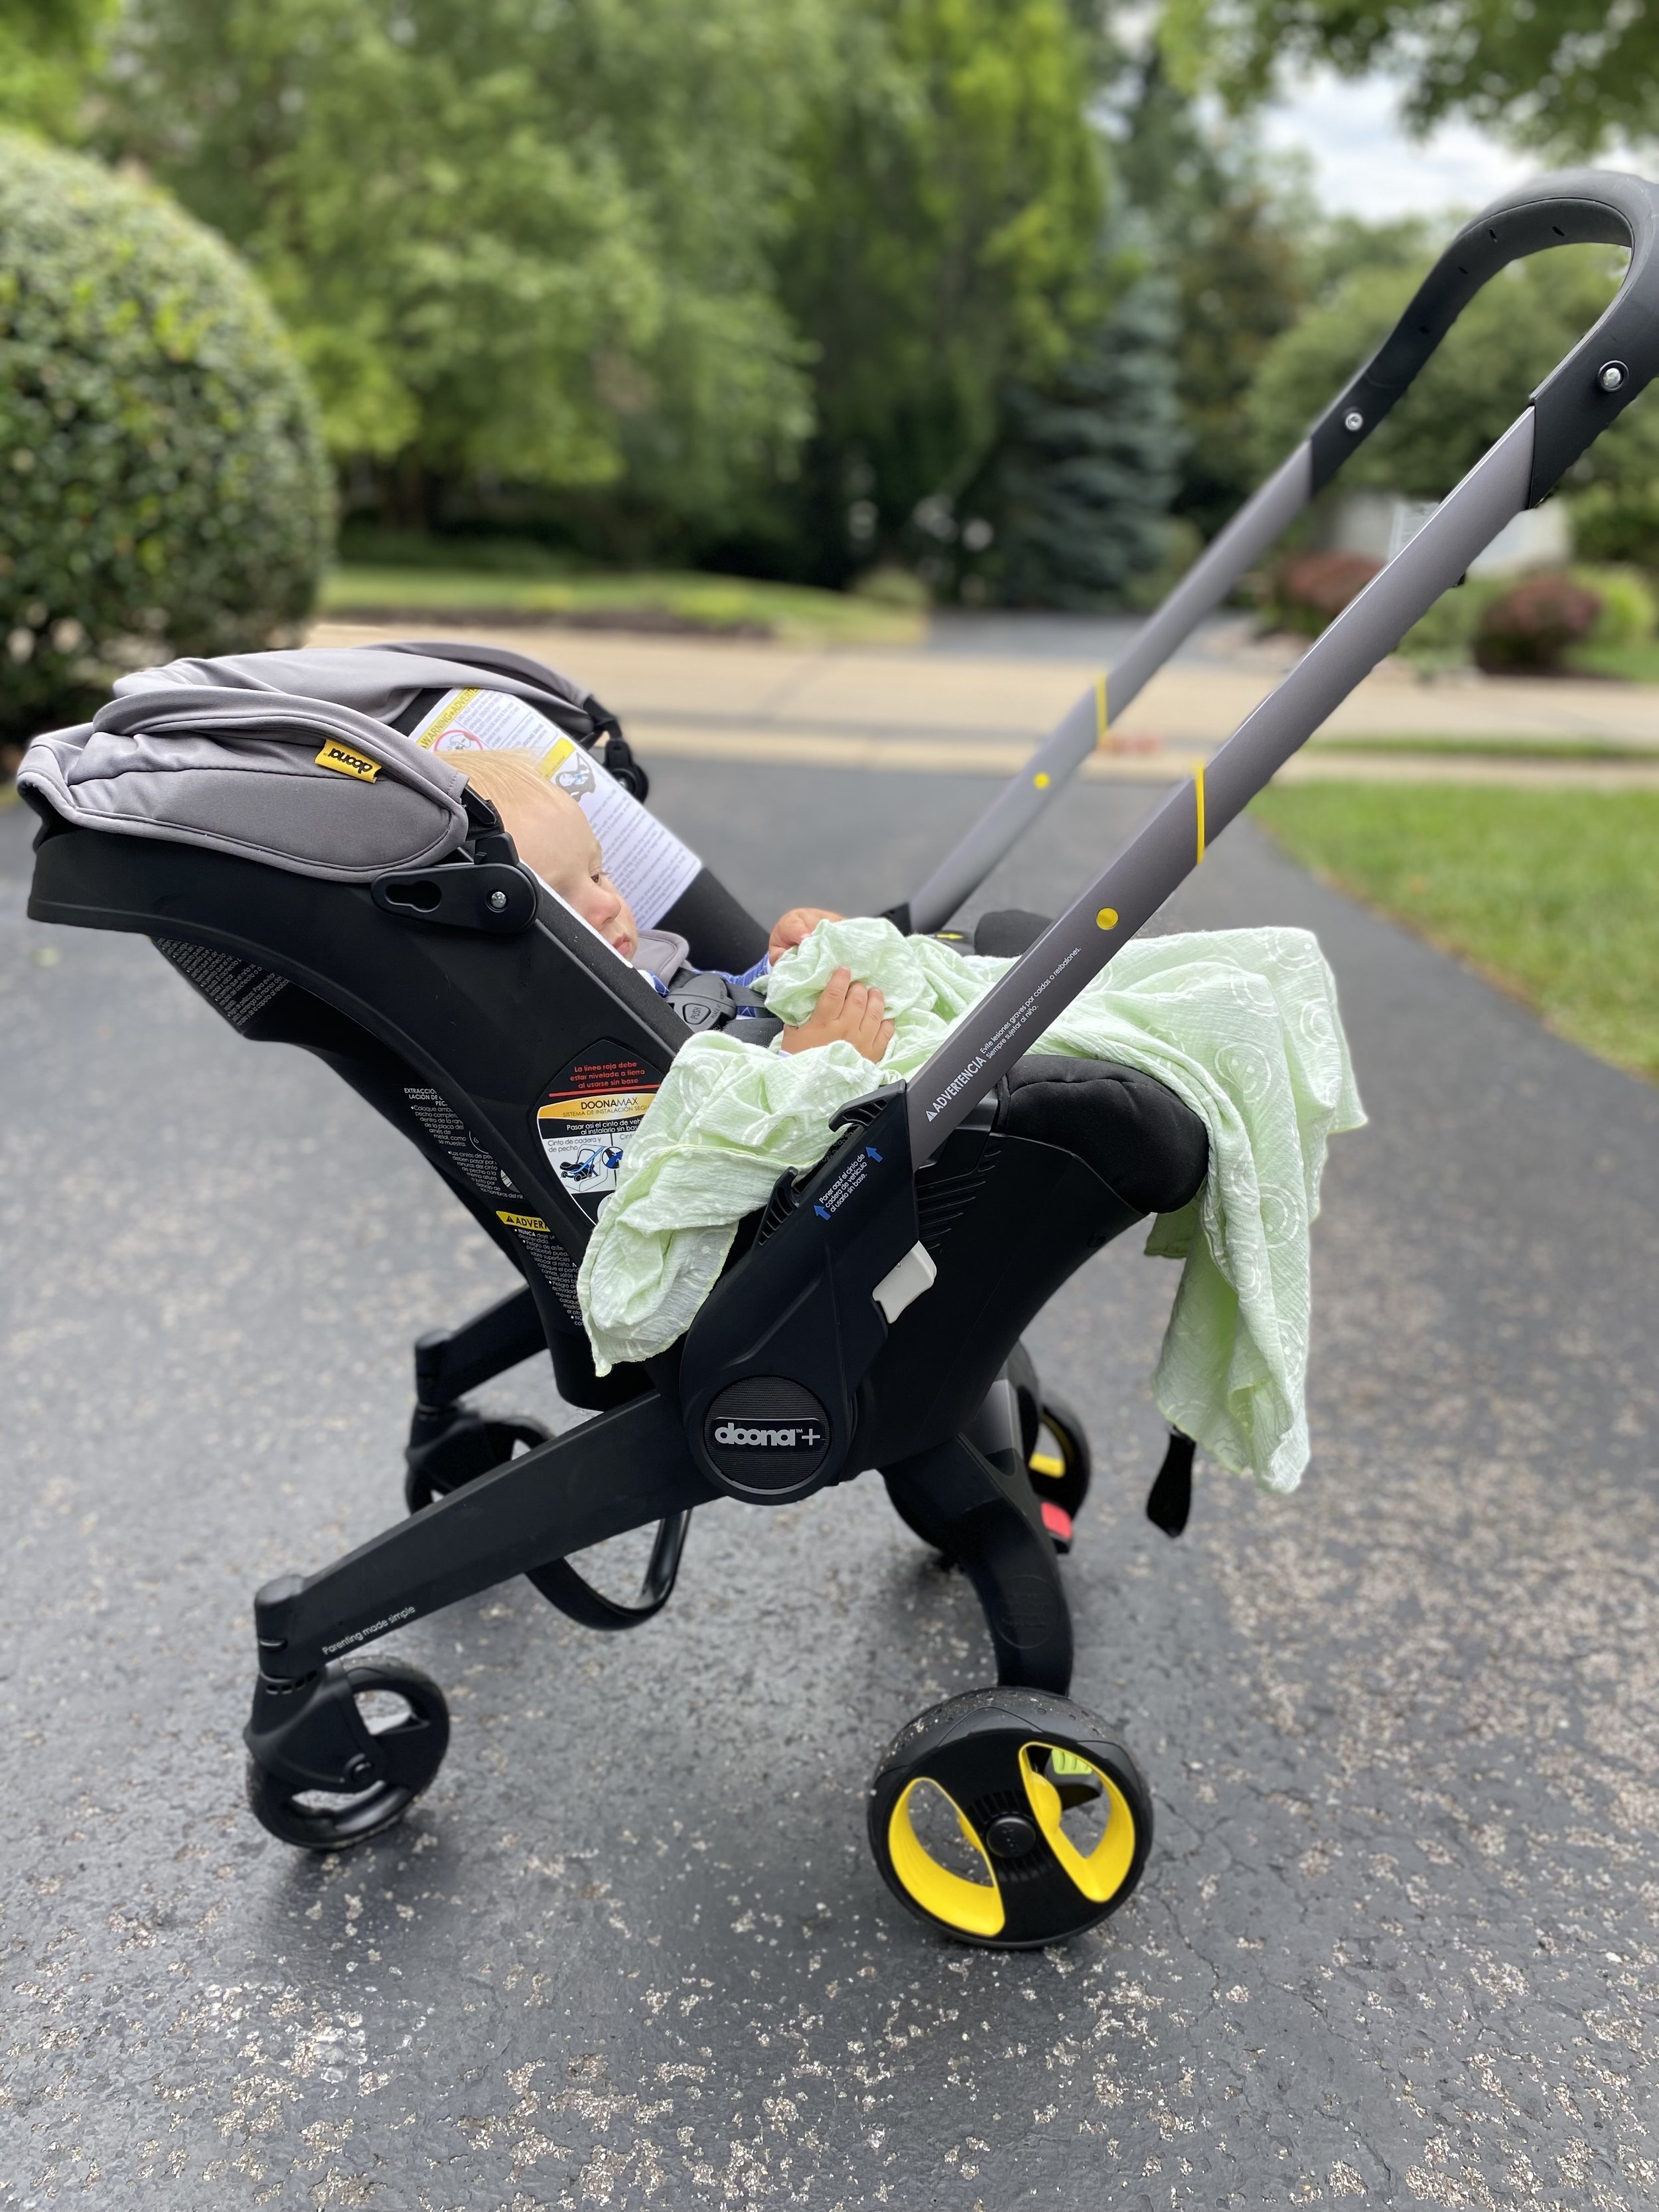
Solving Handle Extension Problems
The handle only extends in rear-facing stroller mode:
1. Press both white side buttons simultaneously
2. Rotate handle fully rearward to stroller position
3. Press top white button
4. Pull handle toward you to extend
If stuck, check for debris around buttons. Never force extension—the mechanism prevents accidental movement during car use for safety.
Handle Won’t Rotate: Button Technique Matters
Handle rotation fails when:
– Buttons aren’t pressed simultaneously (press both firmly)
– Rotation force is uneven (twist smoothly, not abruptly)
– Debris blocks mechanism (clean with soft brush)
Always press buttons all the way down before rotating. If resistance persists, consult the “How To Use” video for visual guidance—never use excessive force.
Pre-Drive Installation Checklist (90 Seconds)
Before every journey, verify:
– [ ] Seat faces rearward (never forward)
– [ ] Base or seatbelt tight (≤1 inch movement at belt path)
– [ ] Handle tilted toward vehicle seat (anti-rebound position)
– [ ] Harness straps at correct shoulder height
– [ ] Harness passes pinch test with no slack
– [ ] Chest clip positioned at armpit level
– [ ] Zero twisted straps or routing errors
Monthly Maintenance: Preventing Hidden Hazards
Check these critical points monthly:
– Base connections: Ensure ISOFIX anchors click securely
– Harness wear: Replace if frayed or stiff (max 6-year lifespan)
– Handle function: Test rotation and extension mechanisms
– Belt paths: Vacuum debris from guides monthly
Store your user guide in the Doona’s back pocket—digital copies are available on Doona’s official website. After any minor collision, replace the seat immediately as hidden damage compromises safety.
Final Safety Imperatives: Don’t Gamble With Installation
Installing your Doona correctly is the most vital parenting task you’ll ever perform. If uncertain, seek free professional checks at fire stations or hospitals—these 15-minute inspections prevent lifelong regret. Never rely solely on this guide; always cross-reference with your specific model’s user manual (page 45 for US versions). When traveling, watch the “How To Use” videos before installing in rental cars. Remember: that moment you double-check the harness could be the difference between a minor fender-bender and tragedy. Your baby’s safety depends on these precise installation details—master them now, so every drive feels like the peaceful journey it should be.