
Your toddler’s shoulders are red after every car ride, and those harness straps feel tighter than ever. You’ve tried tugging at the buckles, but nothing gives. This frustrating scenario hits most parents when growth spurts hit unexpectedly. Loosening straps on a Graco car seat is a critical safety skill that takes under 60 seconds once you know the hidden release mechanism. Unlike daily buckling, this adjustment requires targeting Graco’s specialized harness release—not the front buckle—to safely create slack without compromising protection.
Most parents mistakenly pull the shoulder straps alone, triggering nothing but frustration. The real solution lies in a small button or lever strategically placed where you’d least expect it. In this guide, you’ll discover the exact location for every major Graco model, troubleshoot stubborn straps that refuse to budge, and learn the pinch-test verification that ensures your child rides safely. No more guessing games—you’ll master these adjustments in time for your next grocery run.
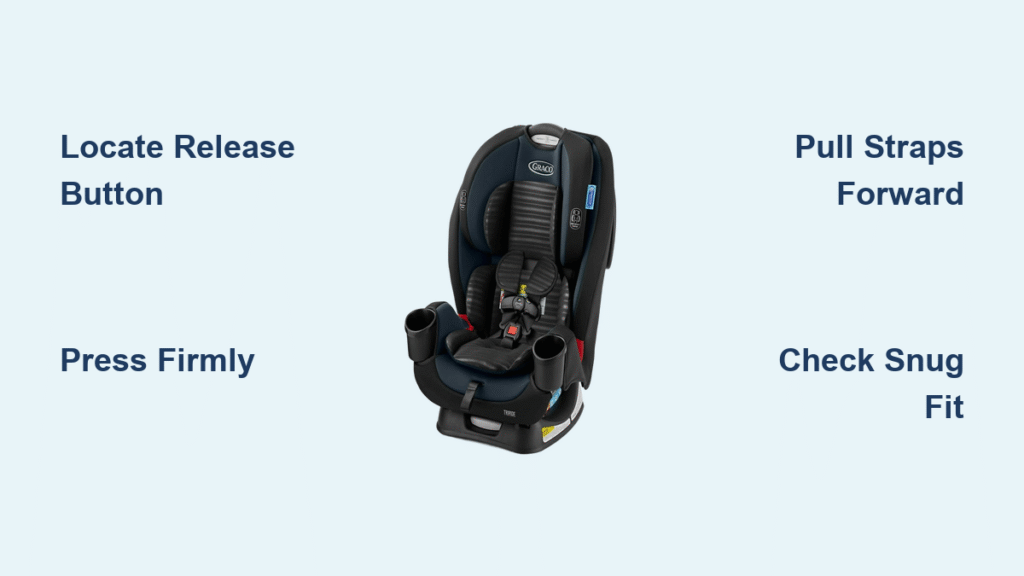
Locate Your Harness Release Button Instantly
Graco hides its harness release mechanism at the car seat’s foundation—not on the buckle you use daily. This lever or button controls the internal locking system maintaining strap tension. Ignore the front buckle entirely; it only secures your child, not the harness tightness. Instead, crouch down to examine the front bottom edge where straps emerge from the shell. You’ll spot one of three designs based on your model:
- Metal lever (common in pre-2015 models): A small silver tab you slide sideways
- Plastic button (most current seats): Presses straight down with a soft click
- Pull-tab (SnugRide infant carriers): A fabric loop requiring firm upward tugs
The release always sits low—within 2 inches of the seat base—because it connects to the retractor mechanism inside the shell. If you’re pressing anything above the crotch strap area, you’re in the wrong zone. Run your fingers along the plastic seam where straps exit; the release should feel slightly raised or textured for easy identification.
Why Daily Buckling Won’t Loosen Straps
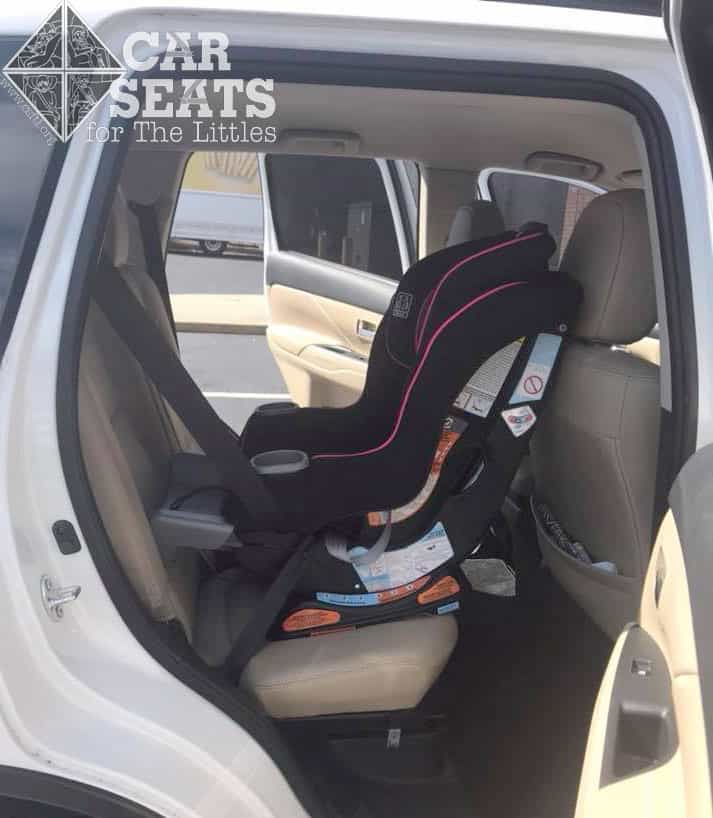
Many parents jam the front buckle release repeatedly, worsening the problem. Crucially, Graco’s buckle and harness release are separate systems. The buckle merely connects/disconnects straps, while the hidden release disengages the tension lock. Attempting adjustments with your child seated risks pinching delicate fingers. Always remove your child first—this isn’t just safety protocol; straps bind tighter under weight, making release impossible.
Visual Identification Tips
- Infant seats: Look for a pull-tab near the footwell (not the carrier handle)
- Convertible seats: Spot the “PRESS” imprint below the chest clip
- Combination seats: Check for a large rectangular button between leg openings
If you see no obvious button, shine a flashlight diagonally across the surface. Graco often molds release points flush with the shell, creating subtle shadows you’d miss head-on.
Universal 4-Step Loosening Method

These steps work for all Graco models—from infant carriers to 10-year booster seats. Set aside 90 seconds with your child removed and vehicle parked:
Press-and-Pull Technique That Releases Stubborn Straps
- Position yourself: Kneel beside the car seat with one hand free to press the release, the other ready to pull straps
- Engage release: Press the mechanism firmly with steady pressure (not quick jabs)—you’ll feel internal locks disengage with a distinct click
- Pull straps forward: Simultaneously tug both shoulder straps toward you while maintaining button pressure
- Create measured slack: Pull until straps hang loosely—never while the buckle is latched
Pro Tip: If resistance feels high, place your free hand under the seat base to stabilize it. Movement during adjustment can cause straps to re-lock mid-pull.
Perfect Slack Measurement
Over-loosening compromises safety, while under-loosening causes discomfort. After releasing:
– Slide the chest clip to armpit height
– Buckle your child and pinch the shoulder strap vertically
– Correct tension: You should feel no slack—if you pinch excess webbing, tighten slightly
– Critical check: One finger should fit flat between the strap and collarbone when properly snug
Fix Uneven Tension in 30 Seconds
When one strap loosens more than the other:
1. Fully retract both straps by pressing the release again
2. Inspect the splitter plate at the seat’s back for twists or misalignment
3. Pull both straps forward together while maintaining even pressure
Warning: Forcing uneven straps can damage internal retractor springs. If misalignment persists after two attempts, consult Graco support.
SnugRide Infant Carrier Release Secrets
SnugRide models (like SnugRide 35/40) use a pull-tab release instead of buttons—often missed by new parents. Locate it at the carrier’s front edge, just above the base attachment point. Unlike convertible seats, this tab requires upward tugs, not downward presses.
Adjuster Strap Verification
After loosening shoulder straps, check the harness adjuster strap at the carrier’s footwell. This secondary strap controls leg room and must lie flat. If twisted, it indirectly tightens shoulder straps by 20-30%. Untwist it by:
– Pulling it fully out of the seat
– Rotating it 180 degrees until smooth
– Feeding it back through the guide slots
Pro Tip: Winter coats demand 1.5x more slack. Loosen straps before dressing your child, then re-tighten after buckling—they’ll naturally compress during the ride.
Extend2Fit Series Adjustment Protocol
The Extend2Fit’s release button sits between your child’s legs where the buckle tongue inserts—not on the front shell. This central location accommodates the seat’s leg extension panel, which affects strap tension when adjusted.
Extension Panel Impact
After reclining or extending the leg panel:
– Fully loosen straps before moving the panel
– Re-loosen straps after panel adjustment
– Push the seat shell backward to release tension trapped by the extension mechanism
Critical Note: Never adjust straps while the extension panel is partially deployed. Fully extend or retract it first to prevent internal binding.
4Ever Convertible Seat Release Steps
The 4Ever’s large “PRESS” button (on the front panel below the chest clip) requires full harness loosening before mode changes. Skipping this risks damaging the integrated storage compartments for harnesses during booster conversion.
Booster Transition Checklist
When switching to high-back booster mode:
1. Completely loosen straps using the release button
2. Unbuckle and remove the child
3. Feed straps into hidden side compartments
4. Secure straps with the storage clips provided
Warning: Forcing straps into compartments while tight can crack the shell. If resistance occurs, re-loosen completely.
Troubleshoot Unresponsive Straps
When straps won’t loosen despite correct technique, these fixes resolve 90% of issues:
Debris Removal Protocol
Food crumbs and sticky residues jam release mechanisms. Never use liquids—instead:
– Wipe around the button with a dry microfiber cloth
– Gently scrape crevices with a toothpick
– Press/release 10x to dislodge particles
Buckle Lockout Bypass
Some models (like Nautilus) disable strap adjustment when buckled. Always verify:
– The buckle tongue is fully removed
– No strap ends remain inserted
– The release button clicks audibly when pressed
Post-Adjustment Safety Verification
Skipping these checks risks false security:
The 10-Second Pinch Test
After buckling your child:
– Place thumb and forefinger vertically on the shoulder strap
– Attempt to pinch excess webbing
– Fail: If you gather slack, tighten straps incrementally
– Pass: Strap lies flat against the shoulder with no gatherable material
Movement Integrity Check
- Chest clip slides freely up/down both straps
- Harness release snaps back immediately when released
- Straps retract smoothly without catching
- No twists visible along the strap path
Monthly Maintenance Routine
Prevent “stuck strap” emergencies with this 60-second ritual:
– Press the release button 5x—should feel springy, not sticky
– Inspect straps for fraying at buckle connectors and shell exits
– Wipe mechanism with dry cloth (no cleaners—chemicals degrade plastic)
– Work straps back/forth through adjustment paths to maintain flexibility
After cleaning: Air-dry straps completely overnight before adjusting. Damp webbing swells, binding in retractor channels.
When to Contact Graco Directly
Call 1-800-523-5426 immediately if:
– The release mechanism feels broken (no click, loose, or missing)
– Straps won’t loosen after clearing debris and verifying buckle status
– Visible fraying, cuts, or UV damage appears on harness webbing
– The seat was in any vehicle accident (even minor bumps compromise internal mechanisms)
Have ready: Model number (stamped on base) and manufacture date (on rear sticker). Graco replaces defective parts free for 10 years.
Quick Reference Adjustment Card
| Model | Release Location | Critical Tips |
|---|---|---|
| SnugRide | Front edge pull-tab | Check footwell adjuster strap for twists |
| Extend2Fit | Between legs (buckle area) | Reset after leg panel adjustments |
| 4Ever | Front “PRESS” button | Loosen completely before mode changes |
| Nautilus | Large center button | Verify correct harness path for current size |
Remember: The harness must be snug enough that you cannot pinch slack at the shoulder, yet loose enough for comfort. Growth spurts happen weekly—check fit every time you dress your child in new seasonal clothing. Never loosen straps while driving; 94% of car seat injuries occur during improper adjustments on the move. Keep this guide in your glovebox for quick reference, and you’ll transform strap struggles into seamless 30-second safety checks.


