
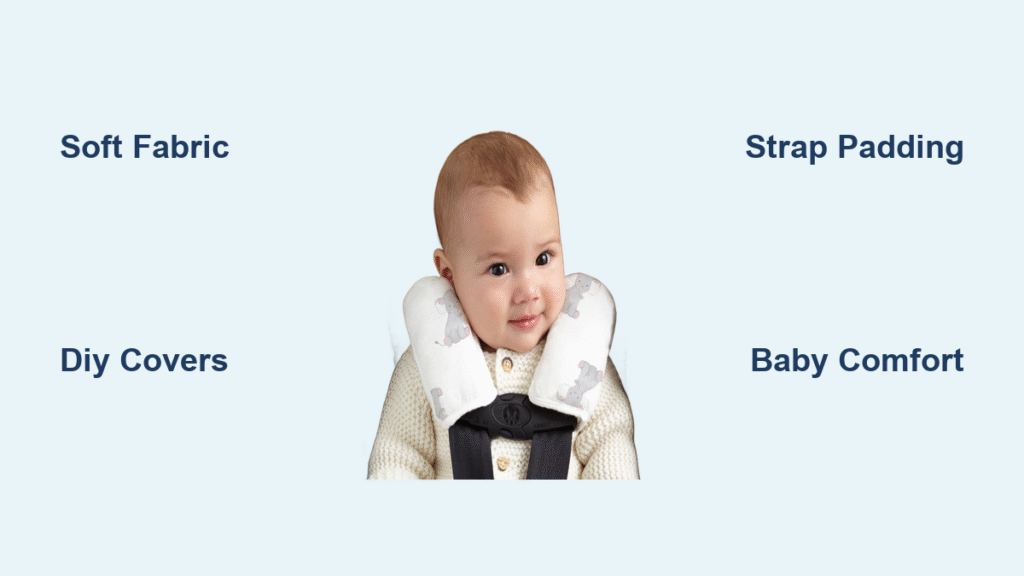
As a new parent, you’ve likely noticed how the thin, often scratchy straps on your infant car seat can irritate your baby’s delicate skin during long drives. Chafing, discomfort, and even minor rashes are common complaints, but you don’t have to live with them. The good news? Learning how to make infant car seat strap covers is a simple DIY project that adds padding and softness using everyday materials, providing quick relief and customization in under an hour.
In this comprehensive guide, we’ll go beyond basic sewing to cover everything from selecting safe materials to troubleshooting common issues, ensuring your homemade covers fit perfectly and prioritize safety. By the end, you’ll have confident, step-by-step instructions to create durable strap covers that protect your little one, plus pro tips to make them last. Whether you’re a beginner crafter or just want a budget-friendly fix, you’ll solve this problem completely and enjoy smoother car rides.
Why Make Your Own Infant Car Seat Strap Covers?
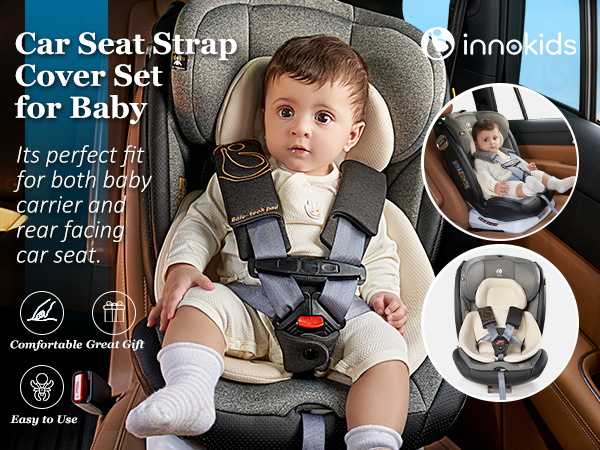
Before diving into the how-to, it’s worth understanding the benefits. Infant car seats are designed for safety first, but the straps—typically made of nylon or polyester—can rub against a baby’s neck, shoulders, or legs, especially if they’re adjustable or exposed to sweat. Homemade strap covers add a layer of cushioning with soft fabrics like cotton or fleece, reducing friction without altering the seat’s harness system.
These DIY covers are customizable: choose patterns that match your nursery decor, add hypoallergenic padding for sensitive skin, or make them removable for easy washing. Plus, they’re cost-effective—under $10 if you repurpose fabrics—compared to store-bought options that can run $15-30. Importantly, when done right, they comply with car seat safety standards by not interfering with the harness tightness or buckle function. Always cross-reference your car seat manual (e.g., for Graco or Chicco models) to ensure modifications don’t void warranties.
Materials and Tools Needed for Infant Car Seat Strap Covers
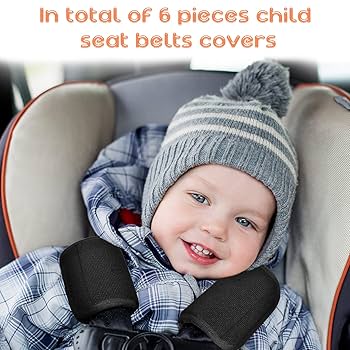
Gathering the right supplies is key to a successful project. Focus on soft, breathable, and non-toxic materials to keep your baby safe. You’ll need enough for two shoulder straps and two crotch straps (standard for most infant seats like the Britax B-Safe or Peg Perego Primo Viaggio).
Here’s a breakdown in table form for easy reference:
| Item | Quantity | Specifications |
|---|---|---|
| Soft fabric (e.g., cotton, flannel, or minky fleece) | 1/2 yard | Machine-washable, hypoallergenic; avoid anything with loose weaves that could snag |
| Padding or batting (e.g., polyester fiberfill) | 1/4 yard | Thin layer (1/4-inch thick) for cushioning; quilt batting works well for even distribution |
| Hook-and-loop tape (Velcro) | 2 yards | 1-inch wide, sew-on style; soft side for baby’s skin contact |
| Thread | 1 spool | Matching color, heavy-duty polyester for durability |
| Scissors or rotary cutter | 1 | Sharp fabric scissors to prevent fraying |
| Sewing machine or needle for hand-sewing | 1 | Basic machine with zigzag stitch; hand-sewing option for beginners |
| Measuring tape | 1 | Flexible for accurate strap measurements |
| Pins or clips | Set of 10 | Fabric pins to hold pieces in place |
| Iron | 1 | For pressing seams; use low heat on synthetics |
Tip: Source materials from a craft store like Joann or online at Amazon. Total cost: $5-15. If you’re eco-conscious, repurpose old baby blankets or receiving cloths.
Preparation Steps and Safety Considerations
Proper prep ensures your strap covers are safe and effective. Start by inspecting your infant car seat—models vary slightly, so measure the straps precisely. Remove any existing covers or pads if present, and clean the harness with a mild soap solution to remove residue (let dry fully).
Key Safety Considerations
Warning: Never use materials that could obstruct the harness adjustment, buckle release, or chest clip. DIY covers must allow the straps to slide freely and maintain a secure five-point harness fit. Test for flammability—avoid untreated synthetics near car interiors. Consult your car seat’s user manual or the National Highway Traffic Safety Administration (NHTSA) guidelines at nhtsa.gov for approved modifications. If your seat has a recall (check safercar.gov), address it first.
Preparation steps take about 10-15 minutes:
1. Measure each strap: Shoulder straps are typically 1-2 inches wide and 12-18 inches long; crotch strap is narrower at 1 inch wide and 6-8 inches. Add 2 inches to each end for overlap.
2. Create a pattern: Trace the strap onto paper, cut out, and add 1/2-inch seam allowances on all sides.
3. Pre-wash fabrics: This prevents shrinkage after sewing.
4. Set up your workspace: Work on a clean, flat surface with good lighting. If hand-sewing, have a thimble for tough fabrics.
Address variations: For angled straps (common in seats like the Evenflo LiteMax), adjust the pattern to curve slightly. If your baby has allergies, opt for organic cotton certified by GOTS standards.
Step-by-Step Process to Make Infant Car Seat Strap Covers
This DIY takes 45-60 minutes total, depending on your sewing experience. We’ll break it into three phases: patterning and cutting, assembly, and attachment. Use a 1/4-inch seam allowance throughout for snug fits.
Phase 1: Patterning and Cutting the Fabric
Start here to ensure a precise fit—rushing this leads to sloppy covers.
- Lay out your fabric on a cutting mat. Pin the paper pattern to the outer fabric (the side facing the baby) and cut two pieces per strap (one for front, one for back).
- For padding: Cut batting to match the strap length but 1/2 inch narrower on sides to avoid bulk.
- Cut Velcro: For each strap end, cut two 2-inch pieces (one hook, one loop side).
- Repeat for all straps: You’ll have 8 fabric pieces (4 front, 4 back) and corresponding batting.
H4: Handling Variations
If your car seat has padded inserts already (e.g., in Uppababy Mesa), make covers thinner by skipping batting on one side. For wider straps on convertible seats, scale up the pattern by 1/4 inch.
This phase: 15 minutes. Pro tip: Label pieces with masking tape (e.g., “left shoulder front”) to avoid mix-ups.
Phase 2: Sewing the Covers
Now assemble—sewing secures everything without loose threads that could irritate skin.
- Pin batting between the front and back fabric pieces for each strap section, right sides facing out.
- Sew around the edges with a straight stitch, leaving one short end open for turning.
- Clip corners and turn right-side out; press with an iron to flatten.
- Attach Velcro: Pin the soft loop side to the inside of one end (baby-contact area) and the hook side to the outside of the other end. Stitch securely with a zigzag for stretch.
- Topstitch around all edges (1/8 inch from seam) to secure batting and prevent shifting.
H4: Hand-Sewing Alternative
If no machine, use a whipstitch for edges—it’s slower (add 20 minutes) but effective for small projects. Double-knot threads for durability.
Important: Test the sewing tension on scrap fabric first; loose stitches can unravel in the wash.
This phase: 20-30 minutes. For beginners, watch a quick YouTube tutorial on “sewing padded straps” for visual guidance.
Phase 3: Installing and Securing the Covers
Attachment is straightforward but critical for safety.
- Slide the open end of each cover onto the car seat strap, positioning the padded side against the baby’s skin.
- Overlap the Velcro ends to secure—ensure it doesn’t bunch the strap or block the adjuster.
- Tug gently to confirm the harness slides smoothly; the cover should stay in place without slipping during a test buckle-up.
H4: Fitting Adjustments
If too loose, add elastic loops sewn into the sides (1/4-inch wide). For crotch straps, make them shorter to avoid interference with the buckle.
This phase: 10 minutes. Immediately test by buckling a stuffed toy or weighted doll to simulate use.
Post-Completion Testing and Troubleshooting

Once made, verify everything works. Buckle and unbuckle the harness 5-10 times, adjusting straps to full recline and upright positions. Check for even padding distribution—no lumps that could pinch.
Common issues and fixes:
– Covers slipping: Sew small tacking stitches to the strap (removable with a seam ripper) or use grippy fabric like microfleece.
– Bulkiness affecting fit: Trim batting slightly and resew; if it prevents tight harnessing, remake without padding.
– Velcro not sticking: Reinforce with extra stitching or switch to stronger industrial Velcro.
– Irritation persists: Wash covers first (machine on gentle cycle) and monitor for reactions; switch fabrics if needed.
Time for full testing: 5-10 minutes. If issues arise, disassemble and tweak—better now than mid-drive.
Pro Tips for Perfect Infant Car Seat Strap Covers
Elevate your DIY game with these expert insights:
– Customize for seasons: Use breathable cotton in summer and insulating fleece in winter to regulate temperature.
– Add personalization: Embroider your baby’s initials or attach a small tag with care instructions for easy laundry ID.
– Avoid common mistakes: Don’t over-pad—excess can loosen the harness fit, compromising crash safety (per NHTSA standards). Always measure twice before cutting.
– Optimize durability: Pre-treat fabrics with fabric protector spray to repel spills; this extends life beyond 6-12 months.
– Eco-friendly twist: Use upcycled materials like old towels for batting—sustainable and soft.
– Quick maintenance: Spot-clean with baby-safe wipes between washes; air-dry to preserve shape.
– Scale for growth: Make extras for when transitioning to toddler seats, adjusting patterns for wider straps.
These tweaks can make your covers last through multiple kids.
When to Seek Professional Help or Buy Ready-Made
DIY is empowering, but if sewing isn’t your thing or safety doubts linger, consider alternatives. Signs you need pro help: If your car seat is under warranty (most last 1-2 years), modifications might void it—consult the manufacturer (e.g., via Graco’s support line). Or if the straps are damaged (fraying or recalls), replace the harness professionally through certified technicians at auto shops or baby gear specialists.
Look for providers: Certified Child Passenger Safety Technicians (CPSTs) via safekids.org— they offer free inspections. For ready-made covers, brands like Skip Hop or Itzy Ritzy provide universal fits ($10-20). What to check: Machine-washable, non-toxic certifications (OEKO-TEX), and compatibility with your model.
Cost ranges: Pro installation/check: $50-100; store-bought covers: $15 average. Warranty tip: Keep originals if modifying.
FAQ
Q: Are DIY infant car seat strap covers safe?
A: Yes, if they don’t interfere with the harness system. Use non-flammable, soft materials and ensure the straps remain adjustable and secure. Always verify with your car seat manual and perform a fit test. The AAP (American Academy of Pediatrics) recommends no additions that loosen the fit, so prioritize snugness.
Q: How long does it take to make these covers?
A: About 45-60 minutes for a beginner, including prep and testing. Experienced sewers can finish in 30 minutes. Factor in drying time if pre-washing fabrics.
Q: What fabrics are best for sensitive skin?
A: Opt for 100% cotton or bamboo—both are hypoallergenic and breathable. Avoid wool or synthetics that trap heat. Test a swatch on your baby’s arm first for reactions.
Q: Can I make these without a sewing machine?
A: Absolutely! Hand-sewing works for simple edges and Velcro attachment. It takes longer (add 20-30 minutes), but use a sturdy needle and strong thread for security.
Q: How do I wash the strap covers?
A: Remove them via Velcro, machine-wash on gentle cycle with baby detergent, and air-dry. Avoid dryers to prevent shrinkage. Wash every 1-2 weeks or after spills.
Q: Will these fit all infant car seats?
A: Most universal designs work for popular models like Graco SnugRide or Maxi-Cosi Mico, but measure your straps first. For odd sizes (e.g., narrow European seats), adjust the pattern accordingly.
Q: What if the covers make the harness too loose?
A: Trim padding or shorten the cover length. Retest the fit with a doll—if the chest clip won’t tighten to the recommended position (red-to-green indicator on many seats), remove and remake.
Alternative Solutions to DIY Strap Covers
If sewing feels overwhelming, consider these options. Store-bought covers are pre-made and tested, while no-sew methods offer quick hacks.
| Solution | Pros | Cons | Best For |
|---|---|---|---|
| Buy ready-made (e.g., Skip Hop Duo) | Easy install, certified safe, variety of colors | Higher cost ($15-25), less customizable | Busy parents wanting zero effort |
| No-sew fabric wraps (use self-adhesive Velcro on towels) | Fast (10 minutes), no tools needed | Less durable, may shift over time | Temporary fix or travel |
| Professional padding kits (from car seat brands) | Tailored fit, warranty-safe | Expensive ($30+), limited styles | High-end seats like UPPAbaby |
| Skip covers altogether (add seat liners) | Broad protection for entire seat | Doesn’t target straps specifically | Babies with full-body sensitivity |
Weigh pros/cons based on your needs—DIY shines for personalization, but buying ensures compliance if you’re unsure.
Enjoy Safer, Comfier Car Rides with Your Baby
You’ve now got a full toolkit for how to make infant car seat strap covers, from materials to testing:
– Precise patterning and cutting for a custom fit
– Secure sewing techniques with safety in mind
– Easy installation and troubleshooting for peace of mind
Following this guide empowers you to create soft, protective covers that keep your baby happy and your drives stress-free, all while saving money and adding a personal touch. Don’t wait for another fussy trip—grab your supplies and start crafting today.
Have you made strap covers before, or tried a store-bought version? Share your tips or results in the comments below to inspire other parents! If issues persist, describe your car seat model for tailored advice.


