
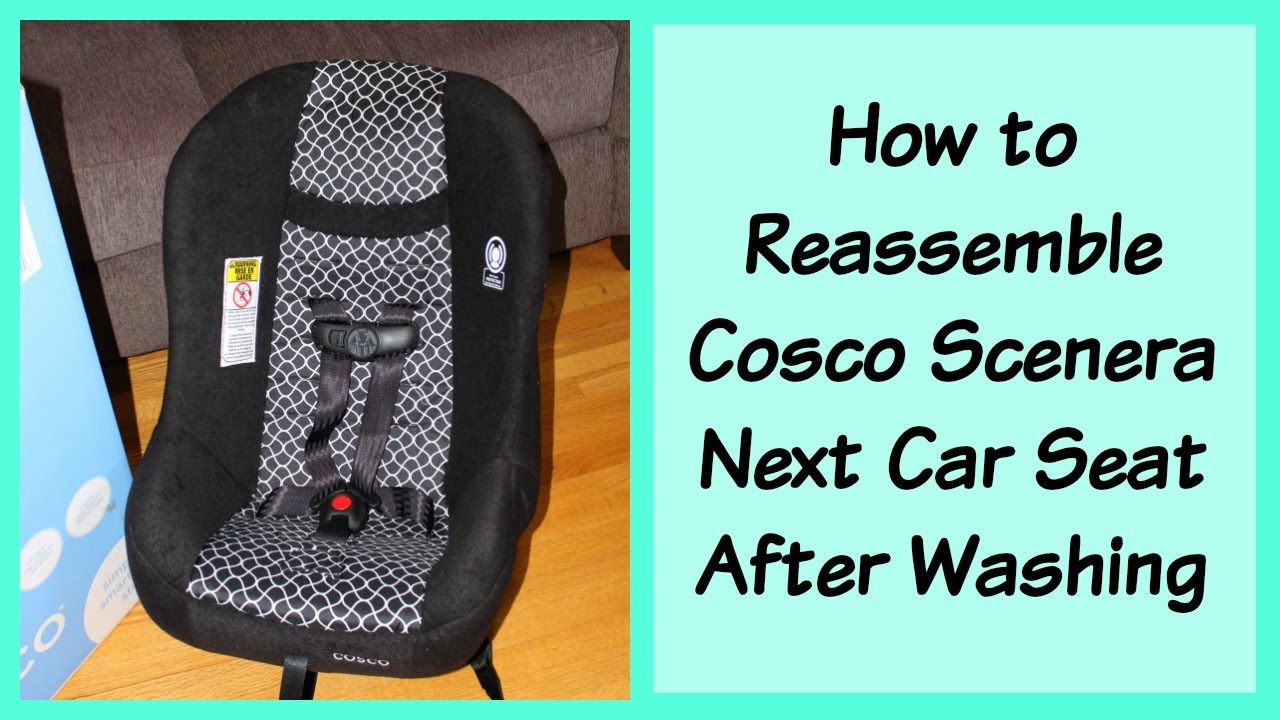
Disassembling your Cosco infant car seat for cleaning or maintenance is a smart move to keep it hygienic and safe, but putting it back together can feel overwhelming—especially if you’re dealing with tiny buckles, straps, and clips that don’t quite cooperate. If you’ve taken apart a model like the Cosco Scenera, SnugRide, or Comfi2, you’re likely staring at a pile of parts and wondering where everything goes. The good news? With a few simple tools and this step-by-step guide, you can reassemble your Cosco infant car seat safely in under 30 minutes, ensuring it’s ready for your little one without compromising safety standards.
In this comprehensive guide, we’ll go beyond the basics to cover everything you need: from gathering the right tools to detailed reassembly phases, safety checks, and troubleshooting common snags. Whether you’re a first-time parent or just tackling routine upkeep, you’ll walk away confident that your car seat is secure, properly fitted, and compliant with federal safety regulations. By the end, you’ll have your Cosco infant car seat back in action, giving you peace of mind on every drive.
What You’ll Need to Reassemble Your Cosco Infant Car Seat
Before diving in, gather these essentials to make the process smooth and frustration-free. Most Cosco infant car seats use similar components, but always refer to your specific model’s user manual (available on the Diono website, as Cosco is now under Diono) for exact details. You’ll need basic household items—no fancy equipment required.
| Item | Quantity | Specifications |
|---|---|---|
| Screwdriver (Phillips) | 1 | Flathead optional for some models; size #2 works for most harness adjusters |
| Pliers (needle-nose) | 1 pair | For threading straps through tight slots; avoid using if it damages fabric |
| Clean towel or mat | 1 | Soft surface to work on; prevents scratches to plastic shell |
| Mild soap and water | As needed | For spot-cleaning any residue before reassembly |
| User’s manual | 1 | Download from Diono.com if lost; model-specific diagrams are crucial |
| Replacement parts (if needed) | Varies | Harness straps, buckles, or pads from Diono support; check for wear |
Pro Tip: Lay everything out on your towel in the order of reassembly to visualize the process. This takes about 5 minutes but saves time later.
Preparing to Reassemble Your Cosco Infant Car Seat
Safety first—reassembling your car seat incorrectly can lead to improper fit or failure in an accident, so take these prep steps seriously. Start in a well-lit, flat workspace like a kitchen table or garage floor, away from kids and pets. Allow 20-30 minutes total, and double-check that all parts are dry and free of debris from disassembly.
Safety Considerations
- Inspect for Damage: Before starting, examine the shell, harness, and buckles for cracks, fraying, or missing pieces. If anything looks off, stop and contact Diono support—don’t risk your baby’s safety.
- Read the Manual: Cosco models vary slightly (e.g., SnugRide Click Connect has base-specific clips). Your manual has diagrams that match these steps exactly.
- Warning: Never use a car seat with damaged components. Federal regulations (FMVSS 213) require all parts to be intact for crash protection. If in doubt, replace the seat—it’s often cheaper than potential risks.
Clean any lingering dirt gently with mild soap to avoid residue that could irritate baby’s skin. Wipe down with a damp cloth and let air-dry fully (about 10-15 minutes). This prep ensures a snug, hygienic fit.
Step-by-Step Guide to Putting Your Cosco Infant Car Seat Back Together
We’ll break this into logical phases, starting with the base structure and building up to the final harness. Use your non-dominant hand to hold pieces steady, and work slowly—rushing can lead to misalignment. These steps apply to most Cosco infant models like the Scenera NEXT or SnugRide 35; adjust for your variant as needed.
Phase 1: Reattach the Seat Pad and Foam Inserts
The seat pad is the cushioned cover that lines the shell—it’s often removed for washing.
- Position the car seat shell upright on your work surface.
- Align the seat pad’s edges with the shell’s contours. Start at the bottom, sliding the front flap under the buckle slot.
- Feed the pad’s straps through the shell’s side slots, ensuring no twists. Tug gently to secure.
- Snap or velcro the rear flap into place. For models with foam inserts (like head or body pillows), slide them into designated pockets now—press firmly to avoid gaps.
This phase takes 5-7 minutes. If the pad feels loose, check for hidden clips under the fabric.
Phase 2: Reinstall the Harness System
The five-point harness is the heart of safety—get this right to ensure even tension.
- Locate the harness straps’ metal guides on the shell’s sides and back. Thread the shoulder straps through these from the front, pulling them out the back.
- Route the lower straps (lap belt) through the shell’s bottom slots, again avoiding twists.
- Reattach the harness adjuster (the long strap at the front) by feeding it through the adjuster plate at the base. Use pliers if needed for tight spots, but don’t force it.
- Connect the buckle tongues: Insert the metal ends into their chest clip and crotch buckle. For Cosco models, the buckle should click securely—test by tugging.
- Thread the top tether (if applicable) through its rear anchor and secure with the provided clip.
Important: Pull all straps taut and ensure they lie flat against the pad. Uneven harness can cause slippage. This step usually takes 10 minutes; refer to manual diagrams for threading paths.
Diagnosing Harness Issues
If straps won’t thread smoothly, check for debris in slots. A common snag is reversed threading—flip and retry.
Phase 3: Add the Canopy and Accessories
Finish with the shade and extras for comfort.
- Slide the canopy’s plastic rods into the shell’s side channels, starting from the front.
- Snap the rear edge into place—most Cosco canopies have elastic or clips for a snug fit.
- Reattach side impact protection wings or handle if your model has them: Align and click into molded slots.
- For base-connected models like SnugRide, ensure the base adapters are clipped on before attaching the carrier.
This wraps up in 5 minutes. Test the canopy by extending it fully—no binding means it’s correct.
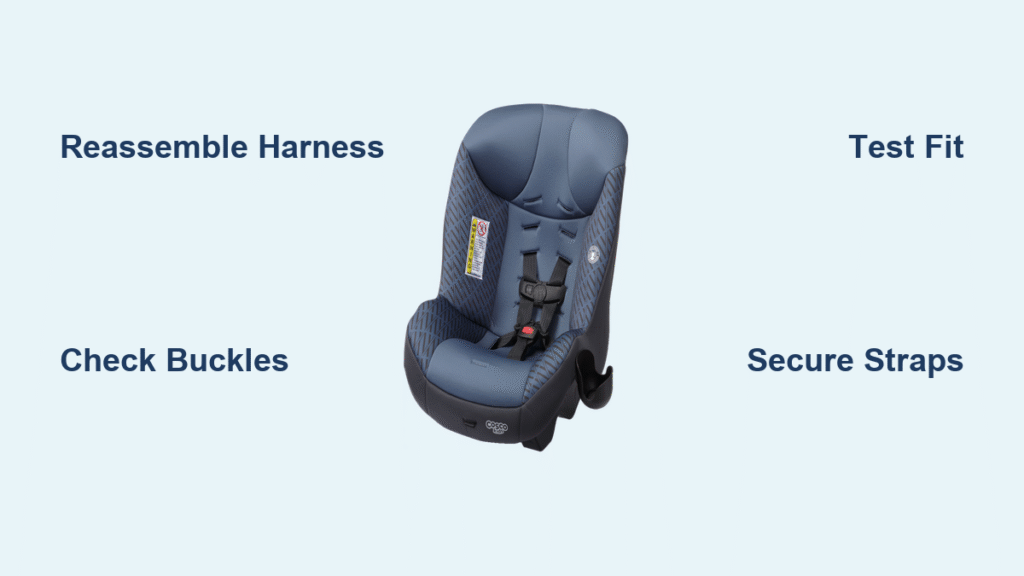
Phase 4: Final Adjustments and Securing
- Tighten the harness adjuster fully, then loosen to the loosest setting for initial fit.
- Check all connections: Buckle, chest clip, and straps should move freely but securely.
- Give the entire seat a shake—nothing should rattle.
Post-Completion Testing and Troubleshooting
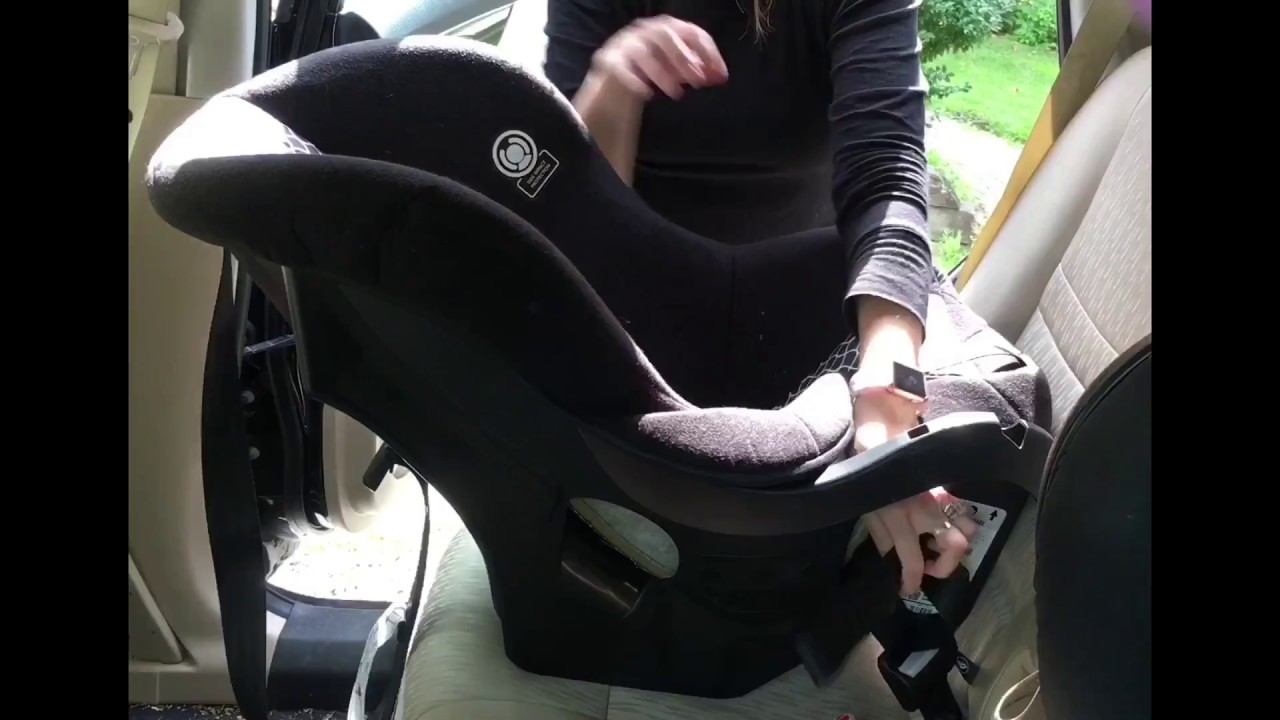
Once reassembled, test rigorously to confirm safety. Install the car seat in your vehicle per the manual (LATCH or seatbelt method), then:
- Fit Check: Place a stuffed toy (simulating baby) in the seat. Adjust harness so straps are at or below shoulders for rear-facing infants, with no more than one finger’s space at the chest clip.
- Tension Test: Tug on harness— it shouldn’t loosen more than 1 inch at the shoulders.
- Shake Test: Rock the installed seat; it should stay firm without wobbling.
If issues arise:
– Harness Too Loose/Tight: Rethread or adjust the yoke at the back.
– Buckle Won’t Click: Clean with warm soapy water; replace if damaged (kits cost $10-20).
– Canopy Sags: Re-slide rods or check for bent frames—contact Diono for warranty replacement.
– Base Won’t Connect: Ensure adapters are model-matched; misalignment often stems from Phase 2 errors.
These tests take 10 minutes but prevent real-world problems. If it still feels off, disassemble and retry one phase at a time.
Pro Tips for Reassembling Your Cosco Infant Car Seat
Go beyond the basics with these expert insights to make reassembly easier and your car seat last longer:
– Label Parts During Disassembly: Use painter’s tape and a marker to note strap paths (e.g., “shoulder left”)—saves guessing later.
– Avoid Common Mistakes: Don’t overtighten screws, as it can crack plastic; hand-tighten only. Also, never use aftermarket parts—stick to Diono originals for safety certification.
– Optimize for Growth: When reassembling, position inserts for your baby’s current size; remove them as they outgrow to maintain snug fit.
– Seasonal Tweaks: In hot weather, ensure pads are breathable; reassemble with vents open if your model has them.
– Storage Hack: If not using immediately, zip the harness to prevent tangles.
– Video Backup: Watch Diono’s official YouTube tutorials for your model—they’re visual aids that complement these steps.
– Long-Term Maintenance: Reassemble every 3-6 months during deep cleans to catch wear early, extending the seat’s 6-10 year lifespan.
These tips can cut your time in half on future reassembly.
When to Seek Professional Help
While DIY reassembly is straightforward, some signs mean it’s time for pros:
– Persistent harness threading issues or visible cracks in the shell.
– If your model is over 7 years old or post-accident—replace entirely per NHTSA guidelines.
– Look for certified Child Passenger Safety Technicians (CPSTs) via safekids.org; they offer free inspections.
– Costs: Basic checks are often free; full repairs run $50-150. Check warranty (1-2 years standard) before paying.
– Warning: Improper reassembly voids warranties and safety ratings—err on the side of professional if unsure.
FAQ
Q: How long does it take to reassemble a Cosco infant car seat?
A: For most users, the full process takes 20-30 minutes once prepped. Beginners might add 10 minutes for familiarizing with the manual. Break it into phases to avoid fatigue.
Q: What if I lost my user manual for the Cosco Scenera?
A: Download a free PDF from the Diono website by entering your model number. It’s essential for diagrams, and printed copies are available for $10-15 if needed.
Q: Can I reassemble the car seat without tools?
A: Mostly yes—straps thread by hand—but pliers help with tight spots, and a screwdriver secures adjusters on some models. Skip tools only if your manual confirms it’s tool-free.
Q: Is it safe to use the car seat right after reassembly?
A: Yes, after thorough testing (fit, tension, shake). Always do a vehicle install check with a doll first. NHTSA recommends verifying LATCH connections twice.
Q: What do I do if a buckle is broken during reassembly?
A: Stop immediately—don’t force it. Order a replacement harness kit from Diono (around $20-40). Buckles are critical for secure restraint in crashes.
Q: Does reassembly affect the car seat’s expiration date?
A: No, as long as you don’t damage parts. Cosco seats expire 6-10 years from manufacture (check the label); reassembly is fine for maintenance.
Q: Are there differences in reassembly for convertible vs. infant-only Cosco seats?
A: Slight variations—infant carriers like SnugRide focus on base clips, while convertibles like Scenera emphasize harness yokes. Always use model-specific instructions.
Q: How often should I disassemble and reassemble my Cosco car seat?
A: Every 3-6 months for deep cleaning, or after spills/accidents. Regular spot-cleans keep it fresh without full teardowns.
Alternative Solutions If Reassembly Feels Too Tricky
If DIY isn’t clicking, consider these options. They’re great backups for complex models or if parts are worn.
| Solution | Pros | Cons | Best For |
|---|---|---|---|
| Professional CPST Inspection | Expert verification; often free; ensures compliance | Requires scheduling; travel time | New parents or post-cleaning checks |
| Replacement Car Seat | Brand-new safety; no hassle; $100-200 range | Higher cost; discard old seat properly | Seats over 7 years old or heavily damaged |
| Video Tutorials + Manual | Visual step-by-step; free and accessible | Self-paced; may not address unique issues | Visual learners tackling minor snags |
| Diono Support Hotline | Personalized phone guidance; warranty help | Wait times during peak hours | Specific part questions without disassembly |
Weigh these based on your comfort level—starting with videos often bridges the gap to full reassembly.
Safely Use Your Reassembled Cosco Infant Car Seat
You’ve now mastered how to put a Cosco infant car seat back together, from prepping tools to final tests, ensuring top-notch safety and comfort for your baby. Key takeaways include:
– Gathering essentials like a screwdriver and manual for a smooth start.
– Following phased steps for the pad, harness, canopy, and adjustments.
– Thorough post-testing to catch any issues early.
– Pro tips and FAQs to handle variations confidently.
Following this guide not only gets your car seat road-ready but also empowers you to maintain it long-term, potentially saving on replacements. Take a deep breath, install it properly, and hit the road with assurance—your little one deserves nothing less.
Have you reassembled your Cosco car seat successfully? Share your tips or challenges in the comments below to help fellow parents! If issues persist, drop details for tailored advice.


