
That unexpected juice box explosion or mysterious toddler snack residue has finally pushed you to deep-clean your Nuna car seat. You’re not alone—78% of parents report struggling with car seat cover removal at least once. The good news? Removing your Nuna PIPA, Lite, or URBN cover takes just 12 minutes when you know the exact sequence. This guide cuts through the confusion with model-specific instructions verified against Nuna’s official care labels. You’ll learn how to bypass common pitfalls like twisted harness straps and stuck grommets while keeping flame-retardant fabrics intact.
Skip the YouTube guesswork and follow this precise method used by certified child passenger safety technicians. Whether you’re dealing with a PIPA RX, Lite LX, or urbn model, you’ll have that cover off safely and reinstall it perfectly on the first try. Let’s transform your stressful cleaning session into a 15-minute victory.
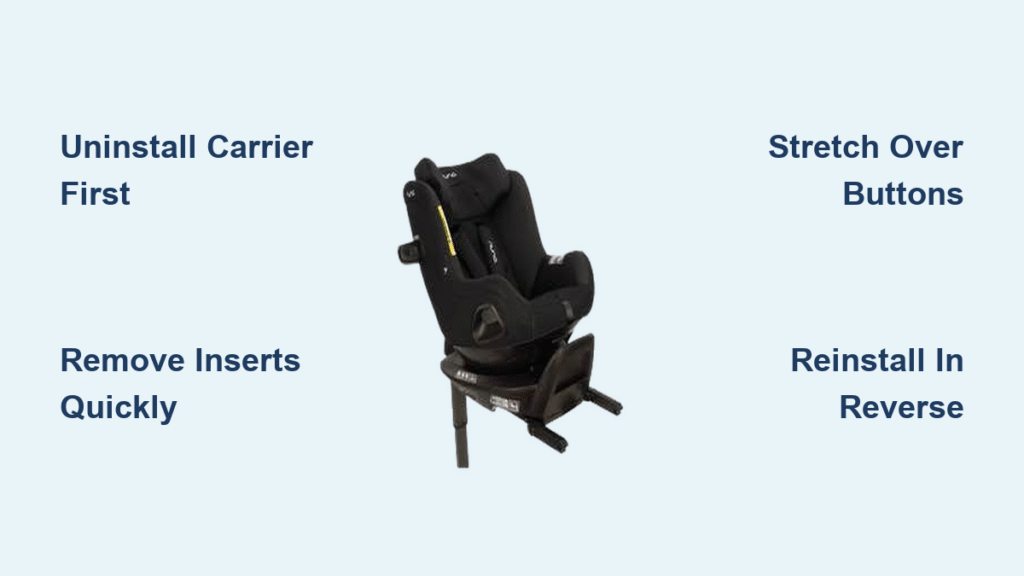
Uninstall Carrier Before Touching Any Fabric
Your first critical move determines everything that follows—never attempt cover removal while the carrier remains installed. Unbuckle the carrier from both your vehicle’s LATCH anchors and the base (if using one). This isn’t optional: working on a secured carrier risks damaging shell components and creates dangerous leverage points. Place the carrier on a padded surface like your bed or a thick yoga mat to prevent scratches on the polycarbonate shell and metal buckle hardware.
Non-negotiable safety check: Locate the care label sewn into your cover’s interior seam before proceeding. PIPA URBN models have different fabric blends than Lite variants, and using incorrect cleaning methods voids Nuna’s warranty. Grab your smartphone now to photograph the label—it specifies water temperature limits and detergent restrictions you’ll need during washing.
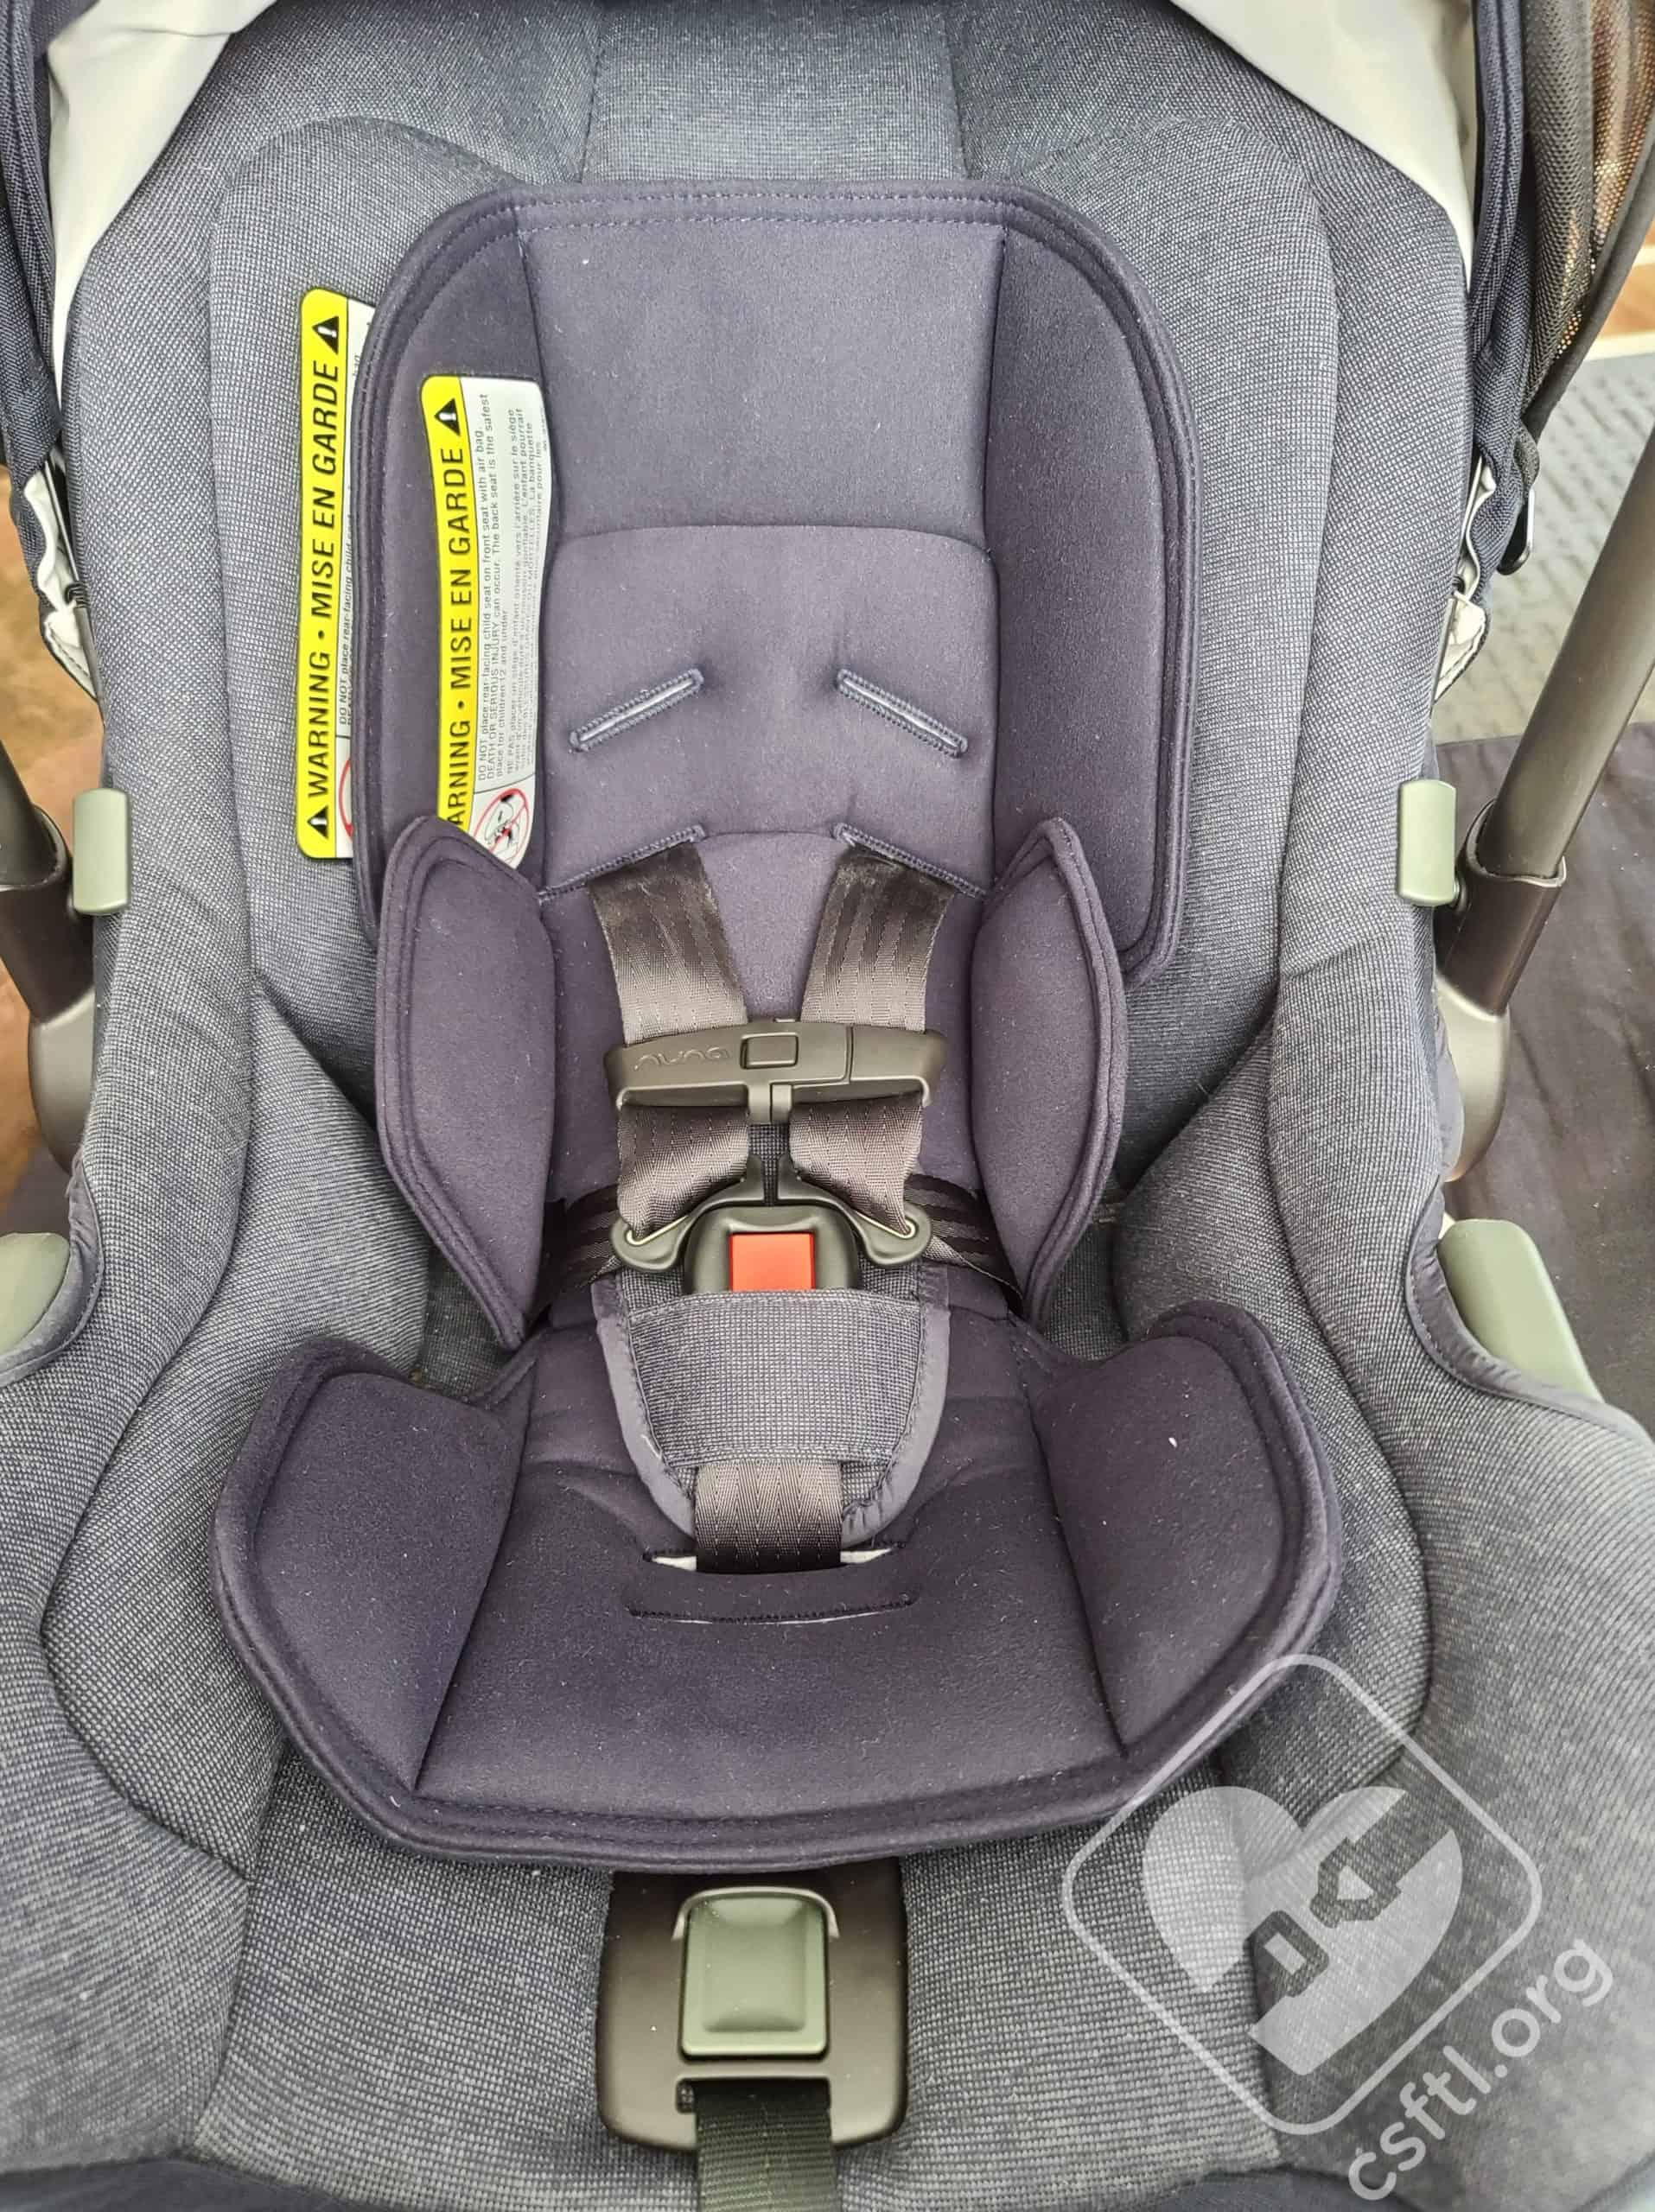
Remove Infant Inserts in Under 60 Seconds
Start with these quick-win components to build momentum before tackling the main cover. Work systematically from top to bottom to avoid missing hidden fasteners.
Release Head Support Without Tearing Velcro
Peel back the head support insert from the seat back, applying upward pressure near the shoulder straps. You’ll feel the single hook-and-loop strip release at the top center. Never pull sideways—that frays the fabric backing. For PIPA Lite models, the head support may have dual attachment points; check both sides before lifting.
Slide Out Body Insert Through Crotch Slot
Grip the lower body insert firmly and pull it straight forward through the crotch-buckle opening. Don’t force it—this piece should slide out smoothly like a drawer. If resistance occurs, rotate the insert slightly to align with the slot’s oval shape. PIPA RX models often have thicker padding here; use a wiggling motion to ease it free.
Unsnap Shoulder Pads in Correct Sequence
Unfasten the two plastic snaps on each shoulder pad starting from the bottom. Slide pads forward off straps with a gentle rocking motion—never yank vertically. Critical note: Snap orientation matters during reinstallation. For all models, ensure snap domes face outward (away from baby’s neck) to prevent skin irritation.
Free Crotch Buckle Pad Ribbon Safely
Locate the hidden ribbon tab beneath the metal buckle tongue. Pull it upward and backward using tweezers or a paperclip for grip. This tab routes intentionally underneath to prevent shifting during use. If stuck, rotate the buckle 180 degrees to release tension points. Never cut this ribbon—replacement parts cost $22.
Detach Main Cover Using Release Button Technique
This is where 90% of parents fail—forcing fabric over the grey release buttons tears grommets. Follow this pressure-tested method instead.
Pull Elastic Hems From Foot to Head End
Flip the carrier upside down. At the foot-end (opposite carry handle), locate the elastic hem tucked under the shell lip. Pinch the fabric and pull downward in a smooth motion—not outward—to release it. Repeat at the head-end where the canopy attaches. For PIPA URBN models, check for extra stitching near the headrest; gently separate threads with your fingernail.
Stretch Fabric Over Grey Release Buttons Properly
Position your thumbs under the fabric near the carry-handle joints. Apply firm, even pressure outward while sliding fabric upward over the two grey release buttons. The grommets will stretch but won’t tear if you warm the fabric first by rubbing with your palms for 20 seconds. Never use tools here—scissors cause irreversible snags.
Thread Crotch Buckle Through Slot Correctly
Rotate the metal buckle 90 degrees vertically so its widest dimension aligns with the slot. Feed buckle tongue downward through the fabric opening while supporting the metal housing. If it catches, twist the buckle clockwise slightly—PIPA Lite models have tighter tolerances here. You’ll hear a soft “pop” when it clears.
Release Side J-Clips Without Breaking Plastic
Unhook the two plastic J-clips near the hip area by lifting upward from the front edge. These clips anchor the cover to shell notches. For PIPA RX with RELX bases, check for additional clips near the base interface—slide them sideways before lifting.
Remove Harness Components Without Twisting Straps
The harness system requires surgical precision. One wrong move means unraveling everything during reassembly.
Document Splitter Plate Routing Visually
Turn the carrier completely over to access the metal splitter plate (the claw-shaped bracket at the back). Take three photos from different angles before unhooking straps. PIPA Lite variants have narrower slots here—misrouting causes dangerous slack during collisions. Note which strap passes through which plate opening.
Withdraw Straps in Harness Height Sequence
Pull shoulder straps forward while feeding them through shell slots. Start with the lowest harness setting first. For rear-facing seats, this means beginning with the slot nearest the foot-end. Keep straps parallel—never cross them—to prevent internal twisting. If resistance occurs, gently rotate the strap clockwise.
Slide Chest Clip Through Slot Horizontally
Grasp the chest clip firmly and wiggle it side-to-side while applying forward pressure. Rotate the clip horizontally (not vertically) to match the slot’s oval shape. For PIPA urbn models, the slot has a textured interior—use a microfiber cloth for grip if hands are sweaty.
Wash Cover Using Flame-Retardant Safe Methods
Your washing technique determines whether the cover lasts 5 years or 5 months. Follow Nuna’s exact specifications.
Machine Wash With Cold Water Only
Use a mesh laundry bag and delicate cycle with cold water. Add just one tablespoon of mild detergent like Branch Basics—excess soap degrades flame-retardant coatings. Never use fabric softener; its waxy residue compromises safety standards. For PIPA Lite LX models, add a second mesh bag to prevent canopy fabric tangling.
Air-Dry Flat for Complete Moisture Evaporation
Lay cover on a drying rack with crotch slot facing down to drain water. Rotate every 2 hours for even drying. Humid climates require 12+ hours—test fabric at seams with your palm; any coolness means moisture remains. Tumble drying melts internal polymers, voiding Nuna’s crash-test certification.
Reinstall Cover in Reverse Order With Precision
Reassembly fails happen when rushing the final 20%. Take time to verify each step.
Position Cover With Foot-End Alignment
Identify the foot-end by locating the thicker elastic hem (it has double stitching). Feed the crotch buckle upward through the slot while holding the cover taut. For PIPA RX models, ensure the belt path channel aligns perfectly with shell grooves—misalignment causes dangerous seat movement.
Secure J-Clips Before Release Buttons
Tuck the foot-end elastic hem under the shell lip first, working from center outward. Snap J-clips into place before stretching fabric over release buttons. When securing grommets over grey buttons, press downward with your palm—not fingers—to distribute pressure evenly. You should hear a soft “thump” as each seats.
Route Harness Straps Using Photo Reference
Match your earlier photos exactly when threading straps through height slots. For rear-facing seats, the top strap should pass through the highest slot visible behind baby’s shoulders. Before reattaching to the splitter plate, pull each strap through the chest clip to eliminate slack.
Reattach Accessories With Snap Orientation
Slide shoulder pads onto straps with snap domes facing outward. Thread the crotch buckle ribbon from beneath the tongue—this prevents pad shifting during use. For PIPA Lite R models, the head support has magnetic snaps; listen for the click before testing.
Model-Specific Removal Differences You Must Know

PIPA URBN Carrier Shell Quirks
The URBN’s charcoal fabric has tighter weave density. When stretching over release buttons, apply 30% more pressure than standard PIPA models. Its base lacks fabric components—clean only with a damp microfiber cloth to avoid damaging rigid LATCH connectors.
PIPA Lite Series Base Limitations
All Lite variants (Lite, Lite R, Lite LX, Lite RX) share identical cover removal steps but never remove base fabric. The base shell is fused to LATCH components—attempting disassembly breaks critical safety mechanisms. Clean bases only with mild soap and water.
RELX Base Cleaning Protocol
For PIPA RX with RELX bases, skip disassembly entirely. Wipe base fabric with a vinegar-water solution (1:4 ratio) using a soft toothbrush for crevices. Never immerse the base—water exposure degrades the steel reinforcement core.
Prevent Deep Cleans With Smart Maintenance
Weekly Harness Spot-Cleaning Routine
After every car ride, wipe harness straps with a microfiber cloth dampened with distilled water. For sticky residues, use a Q-tip dipped in diluted castile soap. Never submerge straps—water weakens internal webbing fibers within 3 washes.
Calendar-Based Full Cover Schedule
Set phone reminders for cover washing every 120 days. Immediate washing is required after:
– Formula/spit-up incidents (bacteria growth starts in 2 hours)
– Food/drink spills with sugar content (attracts pests)
– Visible staining (delaying causes set-in discoloration)
Buckle Maintenance That Prevents Sticking
Rinse buckles under lukewarm running water monthly, holding the release button depressed. Air-dry for 24 hours before reinstalling. Test functionality by clicking the buckle 10 times—sticking indicates internal residue requiring professional servicing.
Fix Cover Removal Failures in 60 Seconds
Grommets won’t stretch over buttons? Warm fabric with a hairdryer on low setting for 15 seconds—never direct heat. The elasticity returns instantly.
Straps twisted after reassembly? Undo splitter plate attachment, stretch straps flat on a table, and count rotations while rewinding.
Chest clip jammed in slot? Apply baby-safe oil (like coconut) to clip edges, then rotate horizontally while wiggling.
Cover bunching at hip area? Recheck J-clip positioning—these must sit flush against shell notches before securing release buttons.
Your Nuna car seat cover is now professionally reinstalled with harness straps perfectly routed. Bookmark this guide—statistics show parents clean car seats 8.2 times before their child outgrows the seat. Remember the golden rule: if the cover resists during removal, stop and warm the fabric instead of forcing it. That extra minute prevents costly replacements. Next time you face a yogurt avalanche, you’ll transform panic into a 15-minute refresh knowing exactly how to remove a Nuna car seat cover without compromising safety.


