
That jagged rip on your driver’s seat isn’t just ugly—it’s actively getting worse. Every time you slide in, friction pulls the tear wider, exposing foam and accelerating damage. Leather tears grow 30% larger within weeks if ignored, turning a $50 fix into a $1,400 seat replacement. But here’s the good news: you can repair most tears yourself for under $60 using techniques that last over a year. This guide reveals exactly how to assess your damage, choose the right repair method, and prevent future tears—without dealership markups or guesswork.
Stop Your Leather Tear From Getting Worse Now
Don’t wait for the tear to reach the foam layer—that’s when repairs become impossible. Immediate action prevents permanent damage by stabilizing the edges. Start with this 5-minute emergency assessment:
Critical damage indicators requiring same-day attention:
– Visible foam or backing material
– Sharp, frayed edges that catch on clothing
– Tears running along seat seams or existing creases
– Multiple cracks radiating from the main tear
Grab a flashlight and run your finger along the tear. If the leather feels brittle or powdery, you’re dealing with advanced hardening from UV exposure—common in driver’s seats after 3-5 years. Tears under 2 inches with flexible edges are still salvageable with DIY methods. Anything larger than 4 inches or showing hardened leather needs professional intervention immediately.
Choose Your Repair Method Based on Tear Size

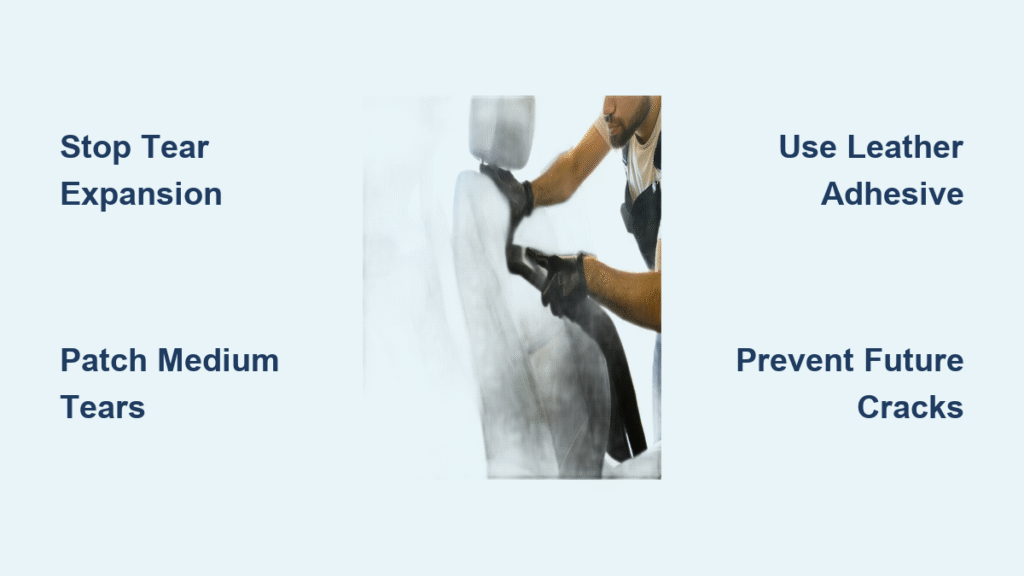
Fix Small Tears (1-2 Inches) with Adhesive in 30 Minutes
This is the most cost-effective solution for fresh, flexible tears. Genuine leather responds best, while NuLuxe or vegan leather may require multiple applications due to surface hardening.
What you’ll need:
– Leather-specific adhesive (Tandy Leather Eco-Flo or Barge All-Purpose Cement)
– Leather filler compound
– Color-matched dye (test on hidden area first!)
– Microfiber cloth and toothpicks
– Palette knife for smoothing
Step-by-step repair:
1. Clean thoroughly with leather cleaner, removing all oils and debris—this is why 70% of DIY repairs fail
2. Trim loose threads with sharp scissors to create clean edges
3. Apply adhesive sparingly along both tear edges using a toothpick (excess glue causes stiffness)
4. Press edges together firmly for 60 seconds while applying even pressure
5. Fill gaps with leather compound using downward strokes to avoid air bubbles
6. Texture match while compound is pliable using a pick tool for perforated areas
7. Apply dye in thin layers, allowing 2 hours between coats for true color matching
Pro tip: Work in a warm room (above 65°F). Cold leather won’t bond properly. Most repairs fail because people skip the filler step—this creates structural integrity against future stress.
Patch Medium Tears (2-4 Inches) Without Visible Seams
When tear edges won’t meet or you see foam, patches become essential. Skip cheap vinyl patches—they peel within months. For lasting results:
Professional-grade patching technique:
– Cut genuine leather patch ½ inch larger than tear on all sides
– Taper patch edges at 45° angle using utility knife for invisible blending
– Apply adhesive to both patch and seat, wait 30 seconds before bonding
– Roll firmly with rubber roller to eliminate air pockets
– Apply filler over patch seam, then dye to match
Emergency fix: Gorilla Tape in black or brown lasts 12+ months when applied correctly. Clean area with alcohol wipe, apply tape smoothly without wrinkles, and trim excess with razor blade. This stops tear expansion while you arrange permanent repair.
Why Sewing Makes Leather Tears Worse
Forget what you’ve seen online—sewing leather car seats is a disaster. Factory leather is often thinner than 0.5mm, and needle punctures create new stress points that cause additional cracking. Upholstery thread works only for fabric seats using zigzag stitching, but never attempt this on genuine or synthetic leather. One Toyota owner reported turning a 2-inch tear into a 6-inch gash after sewing—the leather simply can’t handle the tension.
Professional Repair Reality Check

Dealership vs. Independent Shop Cost Breakdown
Dealerships charge $700-$1,400 for seat cover replacement but rarely do the work themselves. They outsource to leather specialists who visit weekly, then add 40-60% markup. You’re paying for:
– OEM color matching (±5% accuracy)
– Factory warranty (typically 1 year)
– Convenience of one-stop service
Independent shops deliver better value at $100-$400 for localized repairs. They use identical techniques but without the markup. Real-world examples:
– Driver seat bolster repair: $265
– Passenger seat tear fix: $395
– Complete seat bottom replacement: $200-$265
Critical insight: For Subarus with NuLuxe seats, document damage early—Subaru of America has granted $500 goodwill coupons toward $800 repairs when owners show progressive cracking photos.
Prevent Future Tears in 2 Minutes Weekly
Most tears follow predictable patterns: driver’s seat, door-side bolsters, along existing creases. Stop damage before it starts with this routine:
Weekly leather seat maintenance:
1. Remove debris from crevices using a soft brush
2. Wipe with damp microfiber cloth (never paper towels—they scratch)
3. Check for new micro-cracks along stress points
4. Apply leather conditioner to driver’s bolster area
Seasonal protection:
– Before summer: Apply UV protectant to prevent hardening
– Before winter: Deep condition to combat dry indoor air
– After winter: Clean salt residue that accelerates cracking
Seat covers are your best defense—install them before damage occurs. Custom-fit Wet Okole neoprene covers ($25-$50/seat) block UV rays while allowing seat heaters to function. Avoid thick universal covers that shift during driving and create new stress points.
Cost Decision Guide: DIY vs. Professional
Choose DIY repair when:
– Tear is under 3 inches with flexible edges
– You have steady hands (repair requires precision)
– Temporary fix is acceptable (lasts 3-12 months)
– Budget is under $60
Choose professional repair when:
– Tear exceeds 4 inches or shows hardened leather
– Seat is NuLuxe or vegan leather (harder to DIY)
– Color matching is critical for resale value
– Damage is on high-stress bolster area
Complete replacement becomes unavoidable when:
– Tears exceed 6 inches with visible foam
– Multiple tears exist across the seat
– Leather has hardened significantly
– You need OEM appearance for certified pre-owned resale
Emergency Tear Expansion Prevention
When you spot a new tear, act within 24 hours to prevent worsening:
1. Place a small piece of painter’s tape over the tear (prevents snags)
2. Avoid sitting directly on the damaged area
3. Apply leather conditioner around the tear edges to maintain flexibility
4. Book professional repair if tear exceeds 2 inches
Never do these:
– Use super glue (causes permanent stiffening)
– Pull on loose threads (expands tear instantly)
– Apply heat with hair dryer (accelerates hardening)
– Ignore small cracks—they become tears within weeks
That tear isn’t just a cosmetic flaw—it’s a ticking time bomb for your entire seat. By addressing it within 48 hours using the right method for your tear size, you’ll save hundreds compared to waiting. Start with the $12 Gorilla Tape emergency fix today to stop expansion, then schedule your permanent repair based on the damage assessment. Remember: leather tears grow exponentially, but your repair success depends entirely on acting before the material hardens. Your future self will thank you when your seats still look factory-fresh at 100,000 miles.


