
Your Imazing jump starter sits dead in your trunk when you need it most. The LED won’t light up, the charging cable makes no difference, and you’re stuck with a $100+ paperweight. This frustrating scenario affects thousands of jump starter owners, but most charging failures stem from just a handful of fixable causes.
Whether your jump starter refuses to charge entirely or charges intermittently, this guide walks you through systematic diagnosis and repair. You’ll learn why these failures happen, how to test each component, and when to repair versus replace your unit. No more guessing games when your emergency power source won’t accept a charge.
Why Jump Starters Stop Charging
Battery Degradation Timeline
Most portable jump starters use lithium-ion cells rated for 300-500 charge cycles. After 18-24 months of regular use, capacity drops significantly. The battery management system (BMS) may prevent charging when cells drop below safe voltage thresholds to avoid potential hazards.
Warning signs before complete failure:
– Takes noticeably longer to reach full charge
– LED indicators show erratic behavior during charging
– Unit holds charge for shorter periods when not in use
Charging Circuit Component Failures
The charging circuit contains several failure-prone components that can prevent your jump starter from accepting power:
- Charging IC: Controls voltage regulation, often fails from power surges
- MOSFET switches: Burn out from reverse polarity connections
- Diode bridges: Overheat during extended charging sessions
- Fuse protection: Blows when jump-starting severely discharged car batteries
Port and Connection Issues
USB-C and micro-USB ports on jump starters accumulate debris and experience mechanical wear. A loose connection prevents proper charging even with functional internal components. Bent pins, corrosion, and physical damage to the port are common culprits behind charging failures.
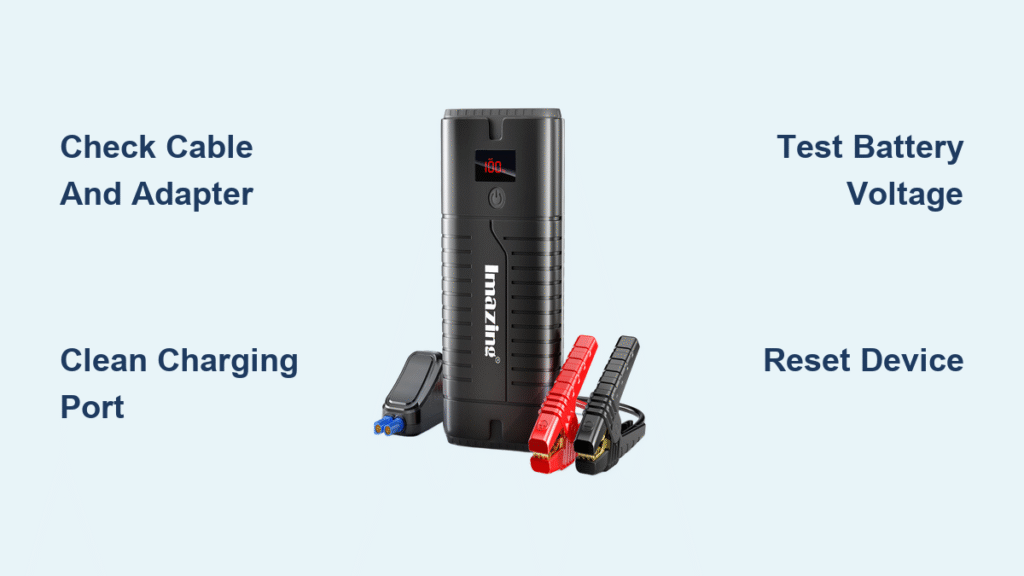
Quick Visual Inspection Steps
Check Power Adapter and Cable
Start with the simplest potential cause before diving into complex diagnostics:
- Test your cable with another USB-C device to verify functionality
- Inspect cable ends for bent pins, frayed wires, or corrosion
- Try different power sources – wall adapter, car USB port, or power bank
- Verify adapter output – ensure it meets minimum 2.4A requirement
Examine Charging Port Condition
Use a flashlight to thoroughly inspect the charging port:
- Look for debris – lint, dust, or metal shavings blocking connections
- Check port alignment – should be centered with no visible physical damage
- Test cable fit – should insert firmly with minimal wiggle room
LED Indicator Patterns
Different jump starter models display various charging states through LED patterns:
Normal charging:
– Solid red LED = charging in progress
– Solid blue/green = fully charged
– Blinking red = charging error
Problem indicators:
– No LED response = power circuit failure
– Rapid blinking = battery temperature issue
– LED turns off immediately = battery protection activated
Diagnostic Testing Procedures

Multimeter Battery Voltage Test
This reveals whether the battery or charging circuit failed:
- Locate battery terminals – usually accessible through USB port area
- Set multimeter to DC voltage – 20V range
- Test battery voltage – should read 11.1-12.6V for standard lithium packs
- Interpret results:
– Below 9V = deeply discharged battery
– 0V = battery disconnect or BMS failure
– Normal voltage but won’t charge = charging circuit issue
Charging Port Voltage Verification
Test if power reaches the charging circuit:
- Connect known-good cable and adapter
- Test voltage at port pins – should match adapter output
- Check for voltage drop – significant decrease indicates port damage
Reset Button Sequence
Some jump starter models include hidden reset functions:
- Hold power button 10+ seconds while connected to charger
- Press reset button (small recessed button near ports)
- Cycle power – disconnect/reconnect charger after reset
Common Battery Problems and Solutions
Deep Discharge Recovery
When voltage drops below safe levels:
Force charge method:
1. Use standard 5V/2A adapter (not fast charger)
2. Leave connected 24-48 hours
3. Check every 6 hours for LED response
4. Stop if unit becomes warm to touch
Warning: This only works if cells aren’t permanently damaged. Never attempt on swollen batteries.
Battery Replacement Process
When cells reach end of life:
Required tools:
– Phillips head screwdriver
– Plastic pry tools
– Soldering iron (for hardwired connections)
– Replacement lithium battery pack
Step-by-step replacement:
1. Remove screws from bottom cover
2. Carefully separate housing halves
3. Disconnect battery connector or desolder wires
4. Install new battery maintaining original polarity
5. Test before reassembly
Note: Opening your jump starter voids warranty. Consider professional service for newer units.
Charging Circuit Repairs
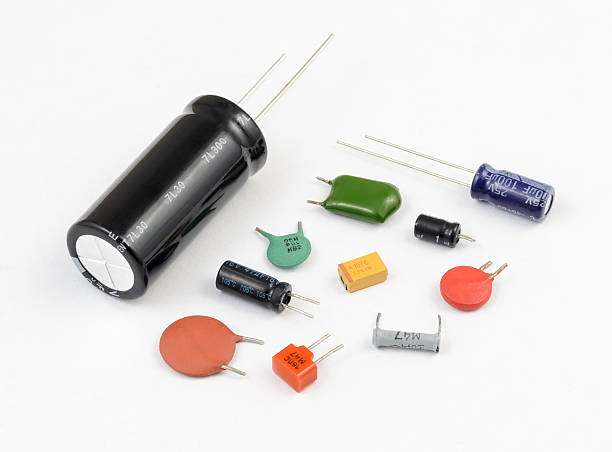
Identifying Failed Components
Common failure points in jump starter charging circuits:
Visual inspection checklist:
– Burn marks around charging IC
– Swollen or cracked capacitors
– Darkened PCB traces from overheating
– Missing or damaged solder joints
Component-Level Fixes
For electronics-savvy users:
Replace charging IC:
– Identify IC part number (often TP4056 or similar)
– Order exact replacement from electronics supplier
– Use hot air rework station for removal/installation
Fuse replacement:
– Locate small surface-mount fuse near USB port
– Test continuity with multimeter
– Replace with same amperage rating
Warning: These repairs require surface-mount soldering skills. Improper technique can destroy the circuit board.
Port Repair and Cleaning
USB-C Port Replacement
When physical damage prevents charging:
- Order replacement port – match exact model and pin configuration
- Remove old port using hot air and desoldering braid
- Clean PCB pads thoroughly
- Install new port ensuring proper alignment
- Test continuity before reassembly
DIY Port Cleaning Method
For debris-related charging issues:
Materials needed:
– Isopropyl alcohol (99%)
– Compressed air
– Plastic dental picks
– Microfiber cloth
Cleaning process:
1. Power off unit completely
2. Apply alcohol to port using cotton swab
3. Gently scrape debris with plastic pick
4. Use compressed air to remove loosened particles
5. Repeat until cable inserts smoothly
Preventing Future Charging Failures
Proper Storage Practices
Extend your jump starter’s lifespan:
- Store at 60-80% charge – avoid full discharge during storage
- Monthly top-offs – recharge every 30-45 days even when unused
- Temperature control – keep between 32-80°F (0-27°C)
- Moisture protection – use included storage case
Cable and Adapter Selection
Use only quality accessories:
Recommended specifications:
– USB-C cables: Certified 3A+ rating, 28/24 AWG wire
– Wall adapters: 5V/2.4A minimum, avoid fast chargers
– Car chargers: Use dedicated USB port, not cigarette lighter adapter
Usage Best Practices
Maximize battery longevity:
- Avoid deep discharges – recharge after each use
- Don’t leave connected – unplug when fully charged
- Limit jump start duration – 3-5 second bursts maximum
- Allow cooling – wait 5 minutes between jump attempts
When to Contact Manufacturer Support
Warranty Coverage Details
Most jump starters typically provide 12-24 month warranties:
Covered issues:
– Manufacturing defects in charging circuit
– Battery failure within warranty period
– Port defects not caused by physical damage
Not covered:
– Water damage indicators triggered
– Physical damage to ports or housing
– Battery degradation from normal use
Support Contact Process
Prepare these details before calling:
- Model number and purchase date
- Detailed problem description with LED behavior
- Troubleshooting steps already attempted
- Photos of any physical damage
Contact methods:
– Email: support@manufacturer.com
– Phone: 1-800-XXX-XXXX
– Live chat: Available on manufacturer website weekdays 9AM-5PM EST
Quick Reference: Jump Starter Not Charging Checklist
Immediate Actions (5 minutes)
- [ ] Try different cable and adapter
- [ ] Clean charging port with compressed air
- [ ] Test with another USB power source
- [ ] Check LED response patterns
Basic Diagnosis (15 minutes)
- [ ] Measure battery voltage with multimeter
- [ ] Inspect port for physical damage
- [ ] Attempt reset sequence
- [ ] Verify adapter output voltage
Remember: Most charging failures resolve with simple cable or port issues. Start with basic diagnosis before attempting complex repairs. When in doubt, contact manufacturer support for model-specific guidance. Regular maintenance prevents most charging issues—keep your emergency power source ready when you need it most.


